Navigate the instructor Class Homepage
Jump to section
After you are assigned as an instructor for a class, you will have access to the Class Homepage for each of the classes you are teaching.
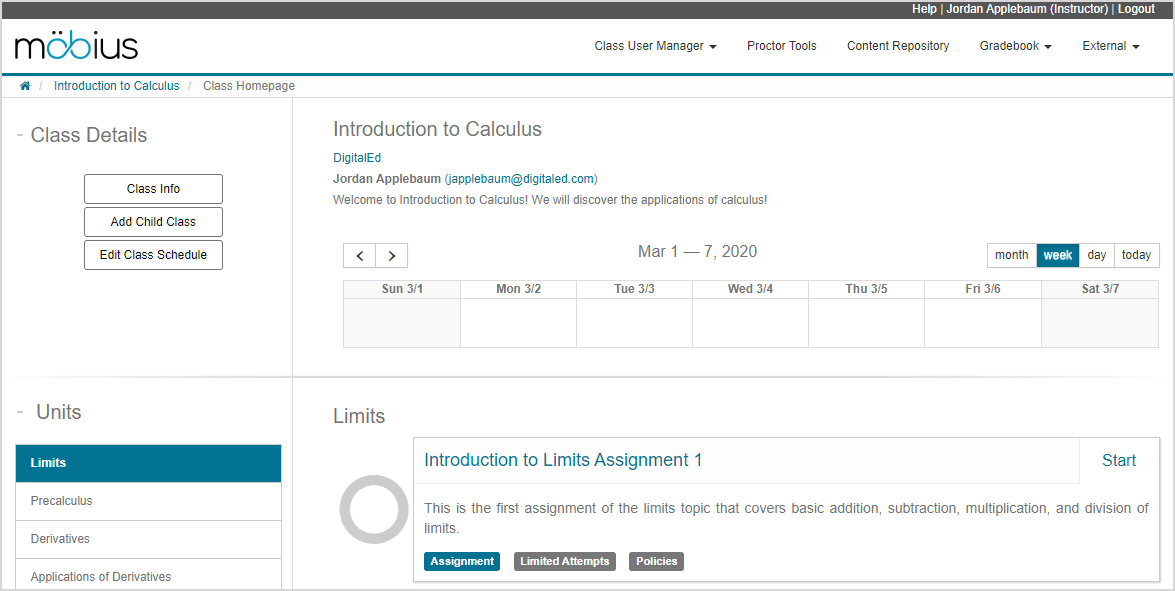
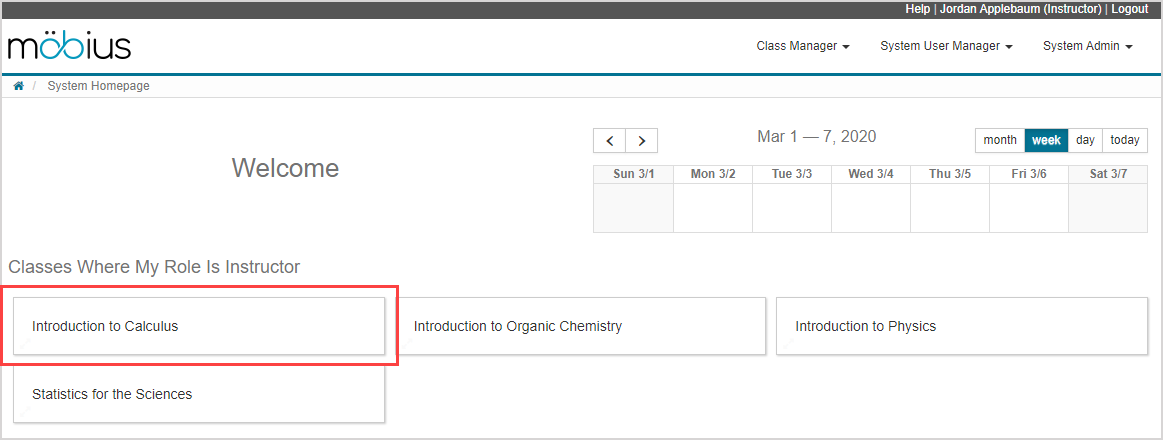
TIP: A Class Homepage is accessed by clicking on the class name from the System Homepage.
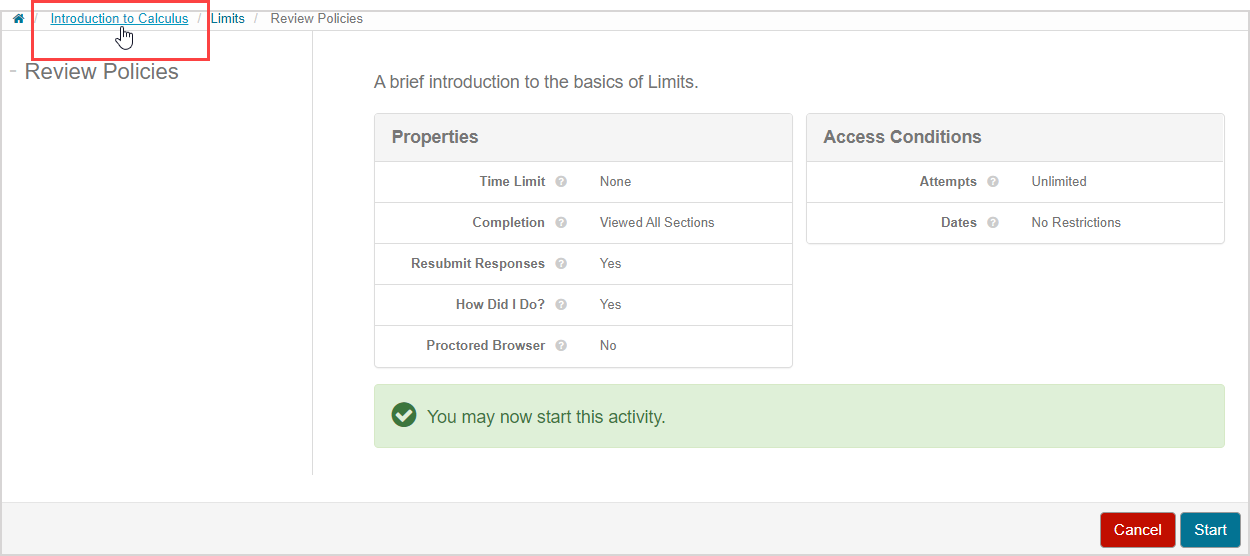
TIP: You can return to the Class Homepage from almost anywhere within your class by clicking the class name in the Möbius breadcrumbs.
NOTE: Depending on your role or settings defined by your organization's Möbius administrator, your Class Homepage and privileges may be slightly different than what is shown in this help topic. Example — You might be an instructor with a customized role that can't create classes. Therefore, the Add Child Class button will not be available to you in the Class Details pane.
Instructor menus
On the instructor Class Homepage, a range of navigation menus are available (depending on your privileges):

Class User Manager
The Class User Manager menu contains options relating to managing the users in your class:
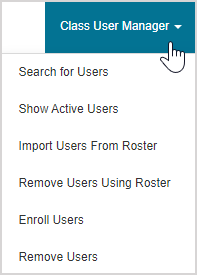
- Search for Users — Perform a basic or advanced user search within your organization or within a specific class (check out Search for a user).
- Show Active Users — View which users are currently using the system (check out View active users).
- Import Users From Roster — Enroll students into your class using a user roster file (check out Enroll users into my class).
- Remove Users From Roster — Unenroll students from your class using a user roster file (check out Remove a user).
- Enroll Users — Enroll users into your class through a user search (check out Enroll users into my class).
- Remove Users — Unenroll students from your class using a user search (check out Remove a user).
Proctor Tools
The Proctor Tools menu option navigates you to the Proctor Tools to find proctors and to proctor an activity (check out Use Proctor Tools).

Content Repository
The Content Repository menu option navigates you to the Content Repository where you can manage your class content (check out Understand the Content Repository).

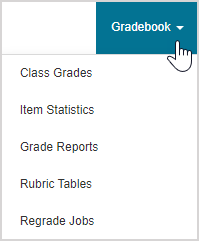
Gradebook
The Gradebook menu contains options relating to viewing and managing your class's grades (check out Understand the Gradebook).
External
The External menu contains options relating to managing documents from outside of Möbius:
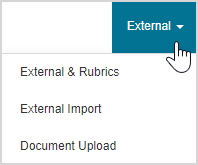
- External & Rubrics — Award grades for individual external activities and apply rubric tables (check out Submit grades for an individual external activity).
- External Import — Import student grades from activities completed outside of Möbius (check out Bulk import of external grades).
- Document Upload — Manage external documents from your students and upload them to Möbius on their behalf (check out Upload a student response to a document upload question).
Class Details pane
The Class Details pane contains three convenient buttons that allow you to perform common instructor tasks and general information about the class you are teaching is displayed.

The Class Details pane buttons are:
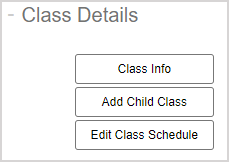
- Class Info —Click to modify the details about your class (check out Edit a class). Example — Class message
- Add Child Class — Click to create a child class of your current class (check out Create a class).
- Edit Class Schedule — Click to view and edit the Class Schedule (check out Work with the Class Schedule).
The following general information is displayed in the Class Details pane:

A.Class name — Name of your class.
B.Link — A clickable link for additional information.
C.Email address — The email address for the primary instructor.
D.Class message — A message to your students about the class.
E.Class Calendar — A calendar that contains class events and class dates (check out Work with the calendars).
NOTE: Multiple instructors or teaching assistants can be assigned to your class, but only the contact information of the primary instructor (C) is listed in the Class Details pane.
Units pane
Units are displayed in the Units pane.
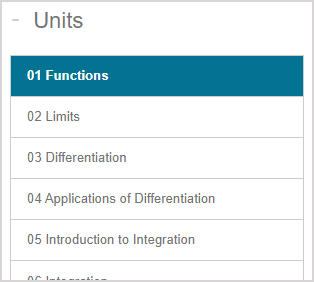
A unit must contain at least one activity in order for it to be visible in the Units pane.
For an activity to be accessed by your students, it must be stored in a unit within the Content Repository.
NOTE: The organization of your units on the Class Homepage is determined by how they are arranged in the Content Repository. Check out Understand the Content Repository.
The Units pane appears on your instructor Class Homepage the same as it would for your students on the student Class Homepage.
Click on a unit to reveal the activities it contains.

Activities pane
Activity — A lesson or assignment in Möbius.
The activities that you have created in the Content Repository are listed in the Activities pane.
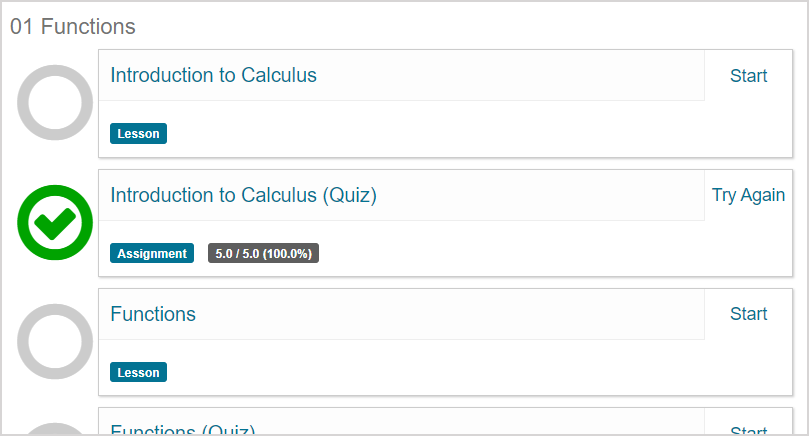
The Activities pane appears on your instructor Class Homepage the same as it would for your students on the student Class Homepage.
Click on a unit in the Units pane to display its contained activities in the Activities pane.
NOTE: The organization of your activities on the Class Homepage is determined by how they are arranged within units in the Content Repository. Check out Understand the Content Repository.
Class Homepage activity status icons
Activities listed in the Activities pane display a range of icons as a quick indication of the status of an activity based on your attempt history.
| Icon | Description |
|---|---|
Available for attempts — You can begin your first attempt at the activity. | |
| Completed — You've passed the activity or your attempt is awaiting manual grading. | |
Criteria not met — Your attempt didn't meet the minimum requirements be considered complete or your attempt didn't meet the minimum requirements to be considered as passed. | |
| In progress — Your attempt is in progress and is able to be resumed. | |
| Unavailable for attempts — The activity can't be attempted at this time. | |
| Progress not disclosed — Your attempt status of passed or failed the activity is hidden. |
TIP: Hover your cursor over an activity status icon to reveal a tool tip that explains the status of the associated activity.
![]()
TIP: Check out Complete an activity (instructor) for information about trialing an activity on your Class Homepage from a student's perspective.