Complete a free body diagram question
A free body diagram question requires you to draw forces at specific angles from one or more starting points (called control points) on top of a background image.
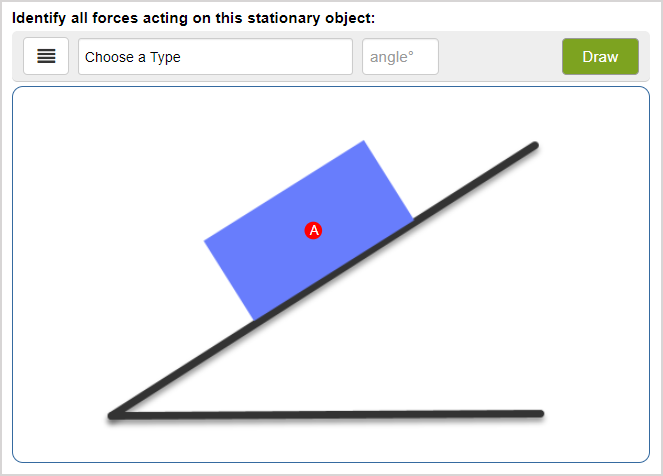
Draw forces
TIP: Here's some helpful information about drawing forces for your response to free body diagram questions:
- The forces that you draw on the free body diagram always originate from control point(s) that are pre-defined by your instructor.
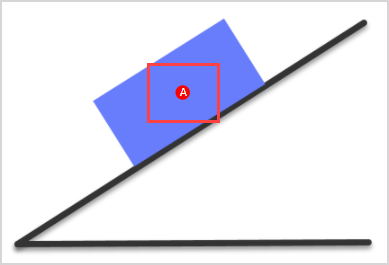
- Your free body diagram question may have more than one control point that you can draw forces from.
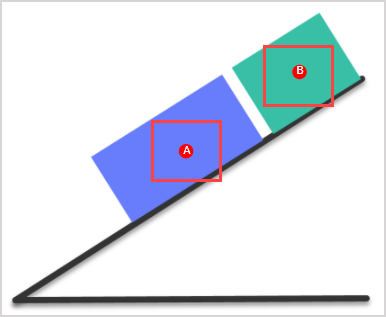
- Multiple forces can be drawn from a single control point.
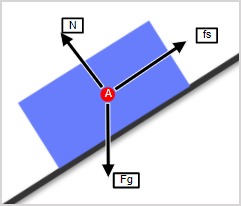
- Arrow length of your drawn force is disregarded for grading since force magnitudes aren't considered for Möbius free body diagram questions.
You can draw the forces for a response to a free body diagram question in two ways:
- Freehand
- Force type menu
Freehand
You can draw forces using the freehand method for a free body diagram question:
Click on the control point of interest and drag your cursor to the angle of the force you want to draw. Release your cursor when the arrow is at the intended angle.
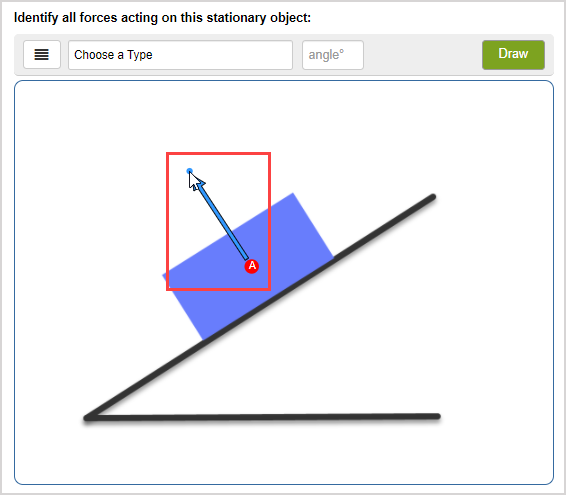
NOTE: The drawn angle is then indicated in the angle field in degrees when you release your cursor.
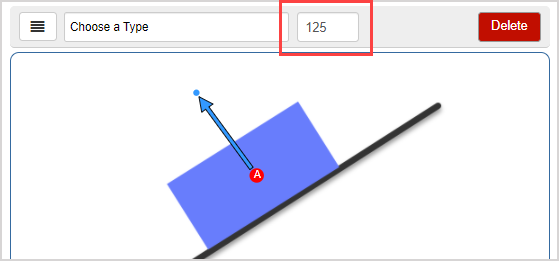
Click Choose a Type from the force type menu and select the force that's represented by the arrow you just drew in step 1.
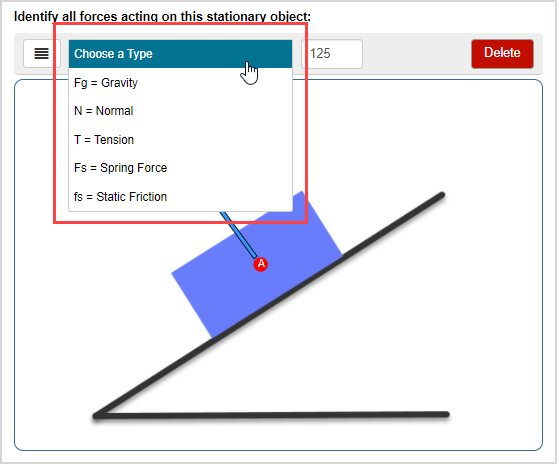
NOTE: There may be extra forces available in the force type menu for you to choose from to assess your understanding!
Click on the background of the free body diagram response area to confirm your drawn force.
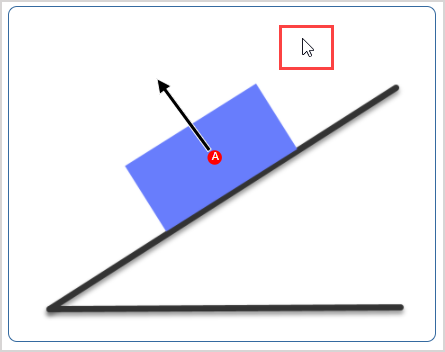
NOTE: The newly-drawn force's handle disappears and the arrow turns from blue to black when it's confirmed.
Repeat steps 1 to 3 for as many forces and control points as needed to answer the question.
Force type menu
You can draw forces using the force type menu for a free body diagram question:
Click Choose a Type from the force type menu to select the type of force you want to draw.
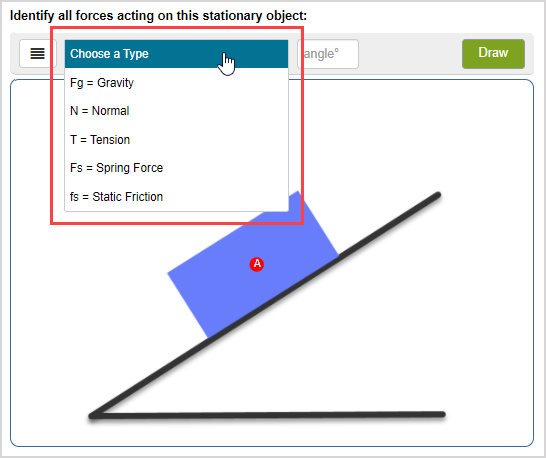
NOTE: There may be extra forces available in the force type menu for you to choose from to assess your understanding!
TIP: Does your free body diagram question have more than one control point? You'll need to define the control point that you want the force to originate from by selecting the desired control point from the Origin drop-down list, and then continue to step 2.
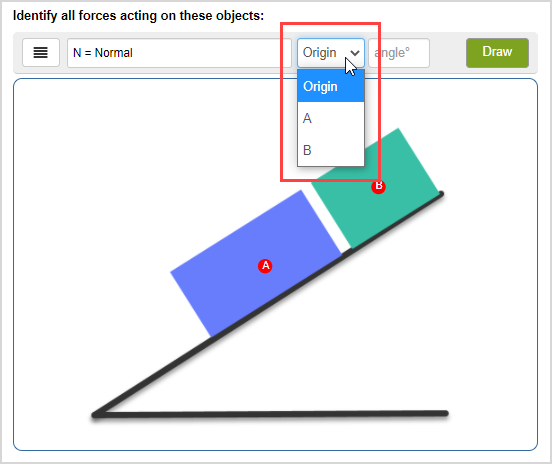
Enter a value in degrees (°) in the angle field that you want to use to draw the selected force.

NOTE: Valid angles are between -180° and 360°, inclusive. Half angles are also accepted (Example — 100.5°).
Click Draw.

Click on the background of the free body diagram response area to confirm your drawn force.

NOTE: The newly-drawn force's handle disappears and the arrow turns from blue to black when it's confirmed.
Complete steps 1 to 4 for as many forces and control points as needed to answer the question.
TIP: Alternatively, to draw additional forces using the force type menu:
Click the hamburger menu of the response area.

Click New Force.
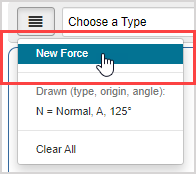
Repeat steps 1 to 3 of the Force type menu subsection for as many forces and control points as needed to answer the question.
Select drawn forces
Clicking on a force arrow selects it.
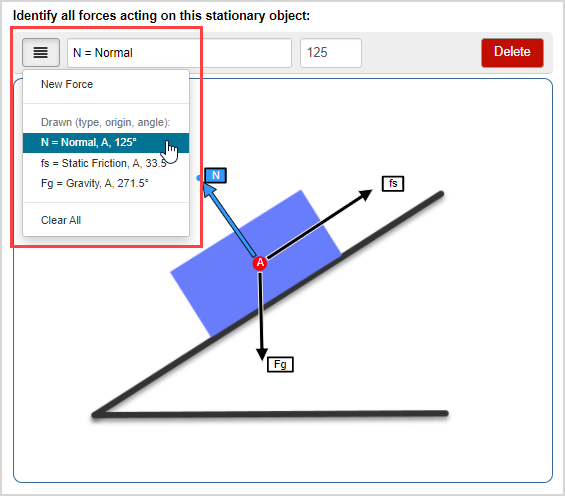
A selected force turns from black to blue and its handle appears (Example — the Normal Force (N) arrow is selected):
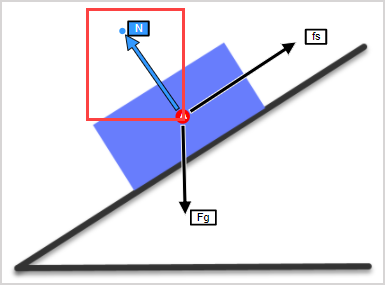
TIP: An alternative to select a force is to click the hamburger menu to view and select a drawn force from the Drawn list.
Edit drawn forces
You can edit these components of your drawn force(s):
- Label (Example — you meant to label a force as Normal Force (N) instead of Force of Gravity (Fg))
- Angle (Example — you meant to position the force arrow at 125° instead of 94°)
Label
To edit a drawn force's label:
Select the force arrow that you want to edit.
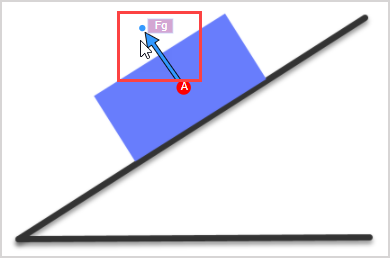
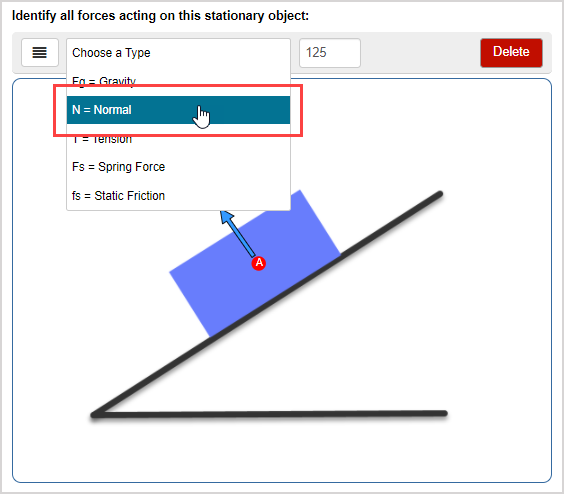
Select the intended force from the force type menu.
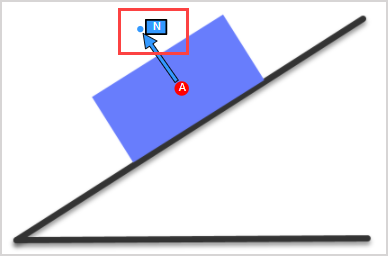
The selected force arrow is updated to your selection in step 2.
Angle
To edit a drawn force's angle:
Select the force arrow that you want to edit.
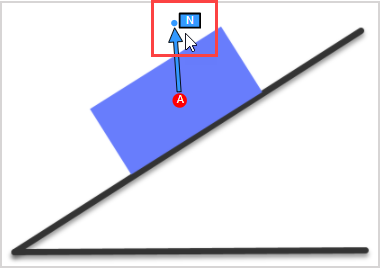
Click-and-drag the force's arrow handle to the intended angle.
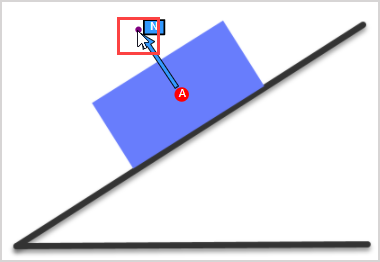
NOTE: The force's angle field updates as you reposition the force arrow.
TIP: Alternatively, you can edit the force's angle by:
Click on the force arrow that you want to edit.

Edit the degree value that appears in the angle field for the selected force.
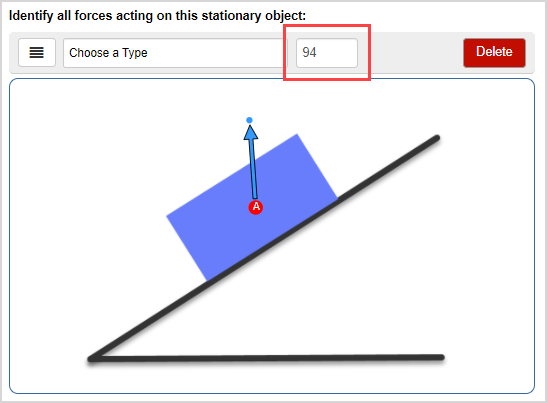
Click outside of the response area.
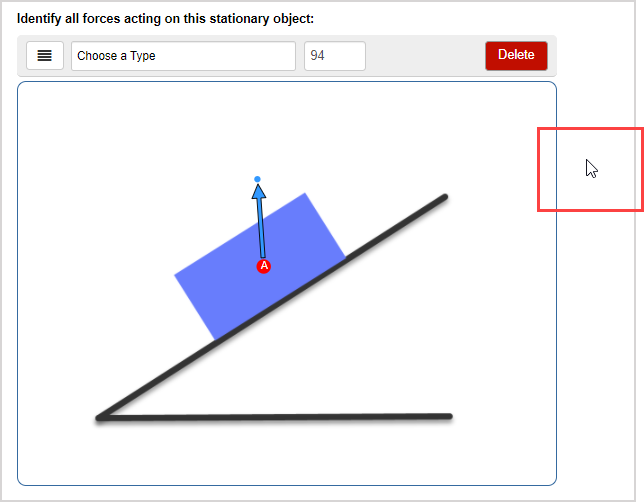
The selected force arrow updates to the newly-defined angle.
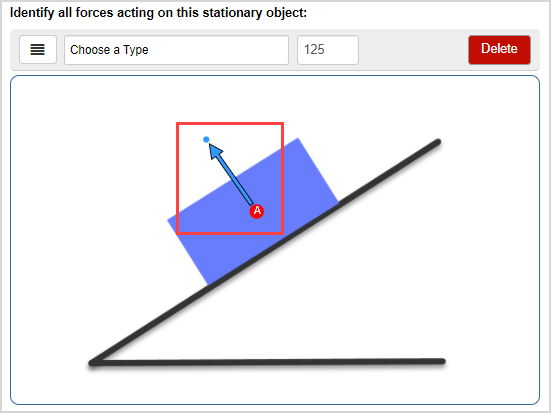
Delete a drawn force
You can delete:
- Individual forces
- All drawn forces
Delete an individual force
To delete an individual force from the free body diagram response area:
Select the force that you want to delete.
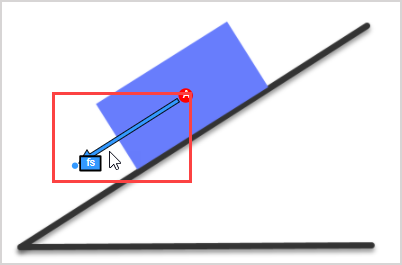
Click Delete.
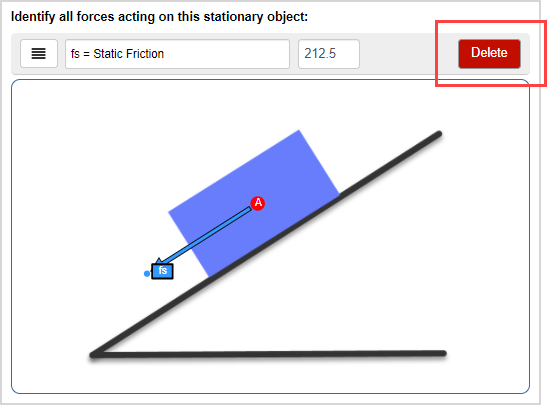
The selected force is deleted from the response area.
Delete all drawn forces
To delete all drawn forces from the free body diagram response area:
Click the hamburger menu of the response area.

Click Clear All.
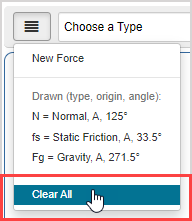
Click Yes, clear all! to clear all drawn forces from the response area.

TIP: Click No, thanks to cancel the deletion.

All drawn forces are deleted from the response area (if Yes, clear all! was selected at step 3).