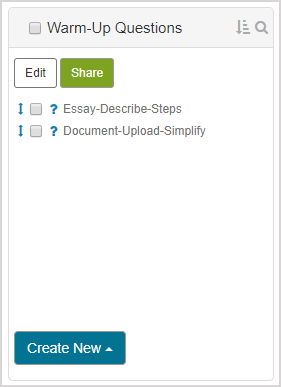
Create a group
Individual pieces of content can be organized into a group—or content group—from the Content Repository.
You can use a group to categorize your content based on educational goals, topics, levels of difficulty, etc.
Your group (or specific components of a group) can then be imported into activities.
Groups are content containers and are identified in the Content Repository by the group icon![]() .
.
NOTE:Units and groups share the same icon![]() .
.
The following types of content can be added to a group:
- Questions
- Interactive narratives
- Math Apps
- Text
- Other groups
NOTE: You can create a question group from within an Activity Editor (check out Create a question group for a lesson or Create a question group for an assignment). However, the question group that you create using the Activity Editor is only available to the activity that it was created in. The individual questions used in the activity-specific question group are available in the Content Repository, but not as the question group that you created within the Activity Editor.
To create a group
To create a group in the Content Repository:
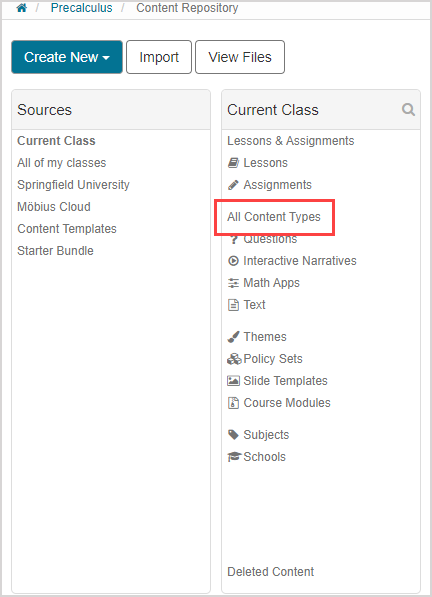
Click All Content Types in the Current Class source pane of the Content Repository.
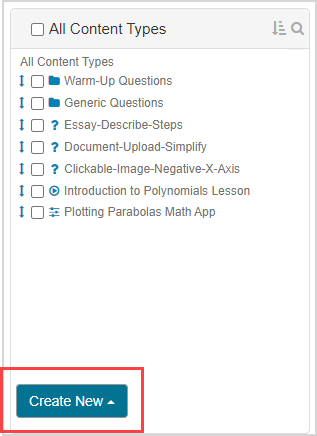
Click Create New.
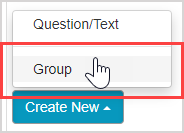
Click Group.
Define a name for the new group.

Click Add Group.

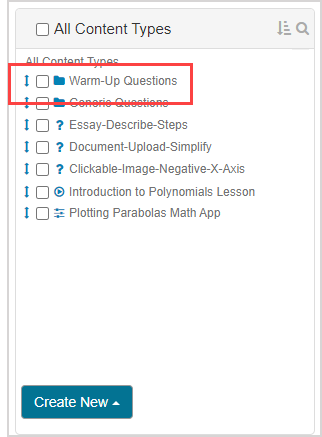
Your new group now appears listed in the All Content Types pane.
Add content to a group
You can add individual pieces of content (Example — questions, interactive narratives, Math Apps, text, or other groups) to a new or existing group.
To add content to a group:
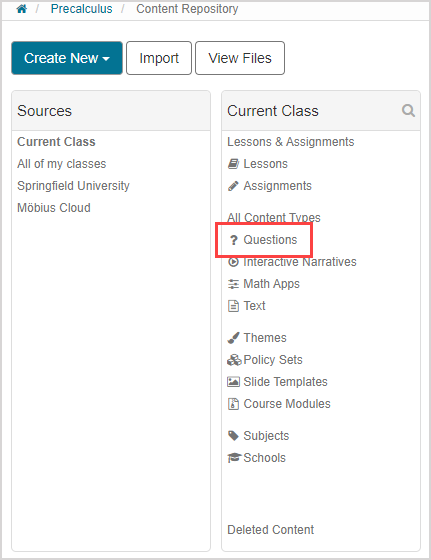
Navigate to the content pane within your Content Repository that you want to select content from.
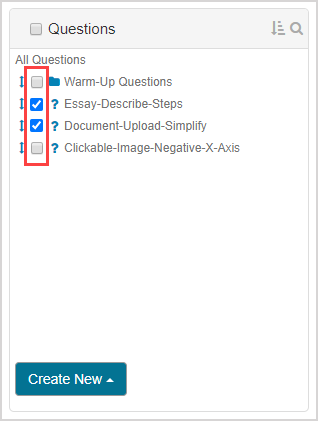
Select the check boxes of each individual pieces of content that you want to add to a group.
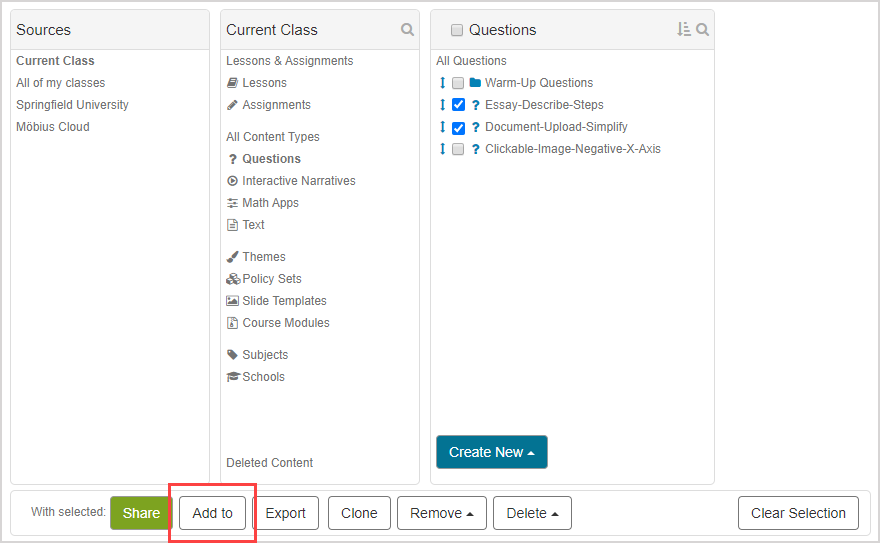
Click Add to from the bulk functions bar.
Select the check box of the group that you want to add the selected content to from the Add to window.
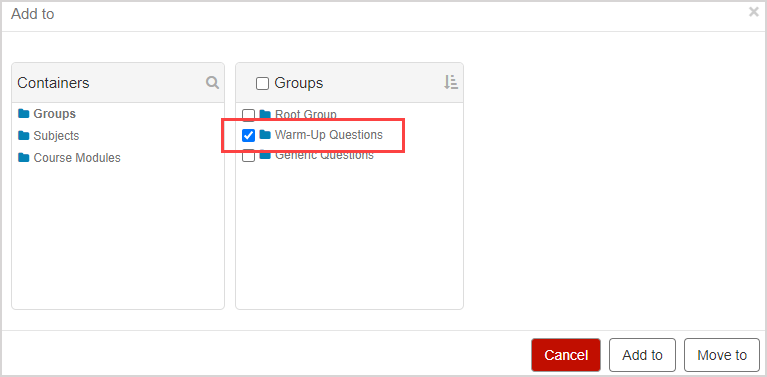
TIP: You can select multiple groups to add your selected content to.
Click Add to.

NOTE: If your selected content is already associated with a group, clicking Add to will preserve this content in its original group as well as copy them into the group(s) that you select in the Add to window of step 4. Your selected content is then stored in both the original group and the new group(s) you selected in step 4. Check out Relocate content to learn about the Add to function.

IMPORTANT: If your selected content is already associated with a group, clicking Move to won't preserve the storage of this content in the original group and will relocate it into the group(s) that you select in the Add to window of step 4. Your selected content is no longer stored in the original group that you used to select the content and is only associated with the new group(s) that you selected in step 4. Check out Relocate content to learn about the Move to function.

If your selected content is stored in more than one group, it's only removed from the group used to access the Move to function in the Add to window. The selected content is then removed from that group but not all other groups that it's stored in.
A success message appears that the selected content has been added to the new group (container). Click on the group name in the success message to be navigated to the new group containing your selected content.

TIP: Alternatively, you can click Done to return to the pane of the Content Repository that you used to select your content.

You can now perform a content-related tasks with your new group. Example — Share your group with another instructor or import your new group into an activity while working in an Activity Editor.
