Add audio to an interactive narrative
Audio can be added to an interactive narrative for students to listen to while viewing your presentation.
You'll use the Interactive Narrative Editor to record with a microphone, or upload audio files to an interactive narrative.
Audio is added to each interactive narrative slide individually; the duration of the slide is equal to the length of the applied audio file.
NOTE: The Play Audio playback mode is selected by default when you choose to upload or record an audio file to your slide.
You can:
- Upload an existing audio file to your interactive narrative
- Record audio with your microphone from right inside the Interactive Narrative Editor
TIP: In addition to audio, you can also add transitions to your slides which can be done at any time during the interactive narrative authoring process. Check out Add slide transitions to an interactive narrative for details on slide transitions.
NOTE: A slide without audio won't have a capture of the sounds of an audio file in the waveform bar (but might have transition markers depending on if you've applied transitions or not).
![]()
Once audio is applied to a slide, the capture of the audio sounds is visible.

General slide audio tips
Here are some general tips for working with slide audio in the Interactive Narrative Editor:
- Clicking in the waveform bar reveals the waveform bar selector, indicating the selected position in the slide's audio file.

- These additional waveform bar features are available when an audio file is applied to a slide:
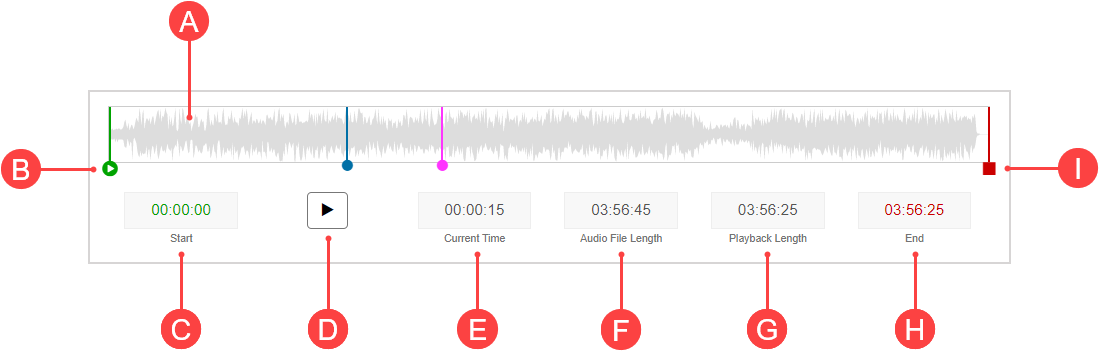
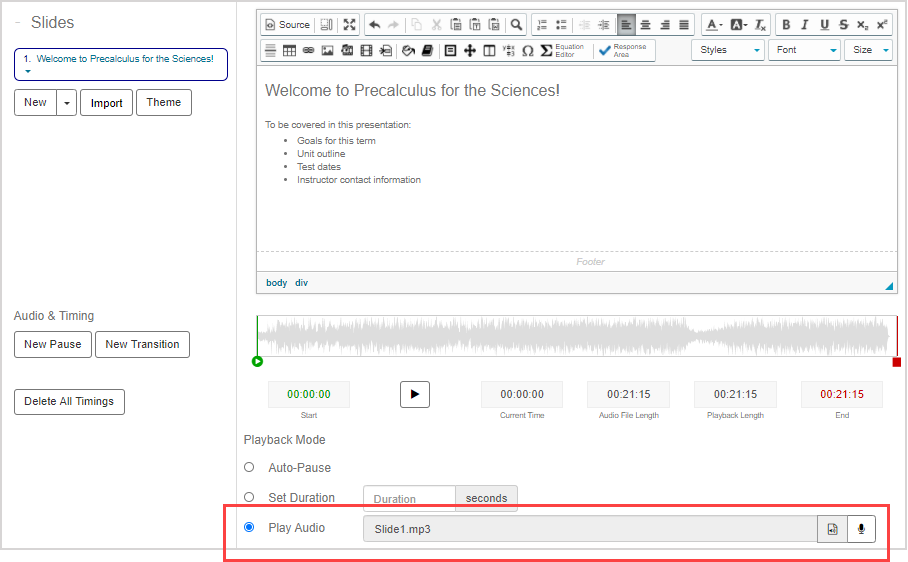
A.Audio track — Capture of the sounds of the applied audio file.
B.Audio start marker  — Transition marker that indicates the point when the audio file begins playing.
C.Start — Time stamp of when the audio file is set to begin playing with respect to the total runtime of the audio file.
D.Play audio button — Click to play an audio-only preview of your audio file from the waveform bar selector's current position.
E.Current Time — Time stamp of the waveform bar selector's current position.
F.Audio File Length — Total runtime of the applied audio file.
G.Playback Length — Total runtime from B to I.
H.End — Time stamp of when the audio file is set to finish playing with respect to the total runtime of the audio file.
I.Audio stop marker  — Transition marker that indicates the point when the audio file finishes playing.
- Click-and-drag the start marker and stop marker if you don't want to include the entire audio file in your slide.
- Hover your cursor over the start marker or stop marker to view their time stamps as a toggle tip.
- Switch the playback mode to Auto-Pause or Set Duration if you no longer want to have audio applied to the selected slide.
TIP: Check out Add slide transitions to an interactive narrative for details on playback modes.
- Record or upload a new audio file if you no longer want to use the assigned audio file for the selected slide.
Upload an audio file
To upload an existing audio file to your interactive narrative:
NOTE: The only audio file types that can be uploaded to an interactive narrative for the Play Audio playback mode are:
- wav
- mp3
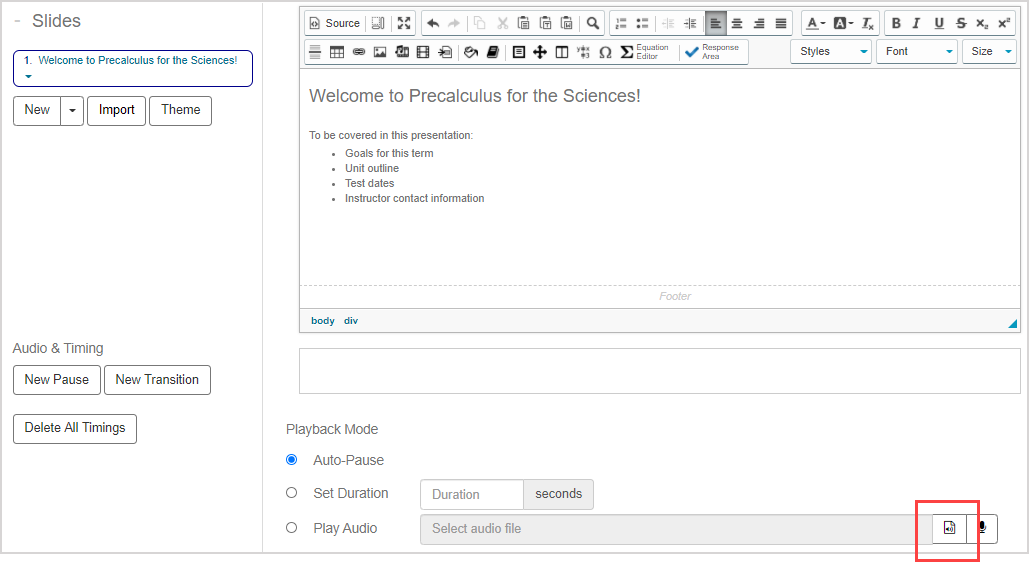
Click the Upload Audio icon in the Audio & Timing pane.
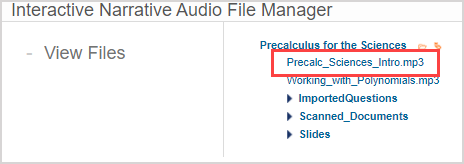
Navigate to the desired audio file in the Interactive Narrative Audio File Manager and click on it.
NOTE: If the audio file isn't already saved to your Interactive Narrative Audio File Manager, click the Upload file(s) to this point icon![]() .
.

Check out Upload external files to the Class File Manager for more details on saving the file to your Interactive Narrative Audio File Manager (the Class File Manager of the Interactive Narrative Editor).
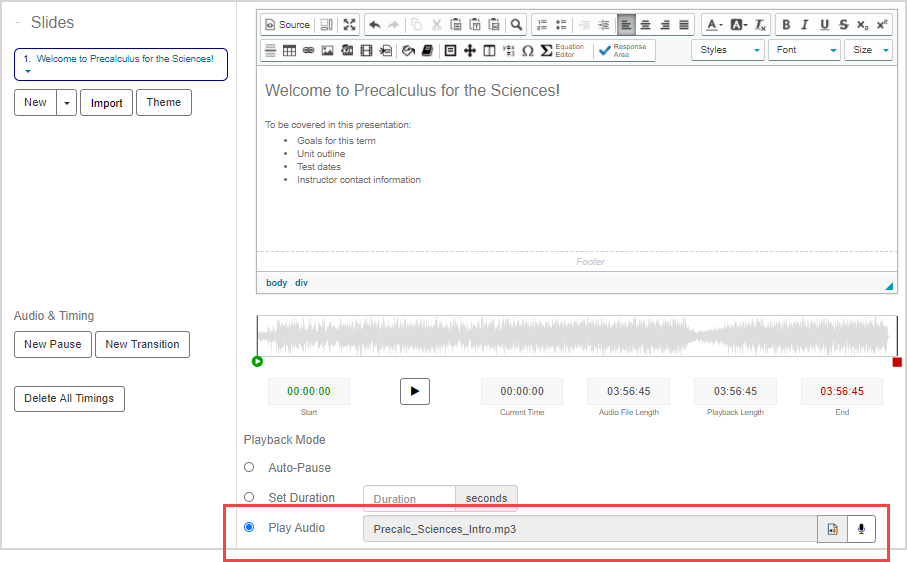
The audio file is uploaded to the slide and the Play Audio playback mode is automatically selected.
Click Save to save your progress and to continue working in the Interactive Narrative Editor.

Record an audio file
To record an audio file from right inside the Interactive Narrative Editor:
Click the Record Audio icon in the Audio & Timing pane.
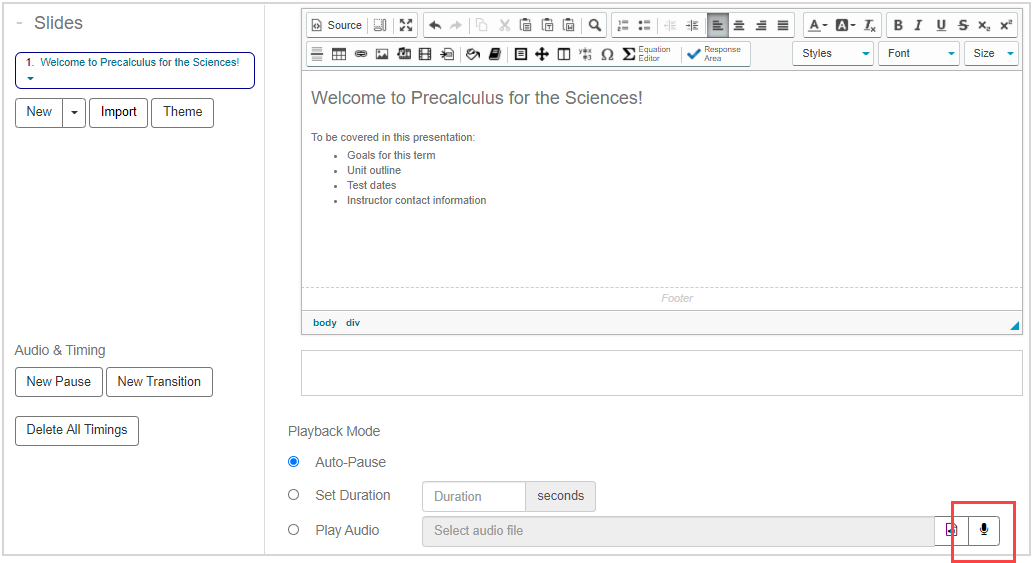
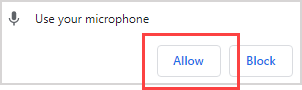
Click Allow (or similar, depending on your browser) to permit Möbius to listen to your microphone.
TIP: If access to your microphone is blocked by your browser, you'll receive an error message stating that Möbius can't connect to your microphone:
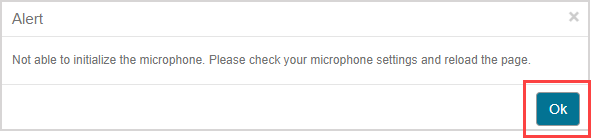
Click Ok, then navigate to your browser settings and allow Möbius to access your microphone.
Click Record on the Record Audio page to start the recording for the selected slide.
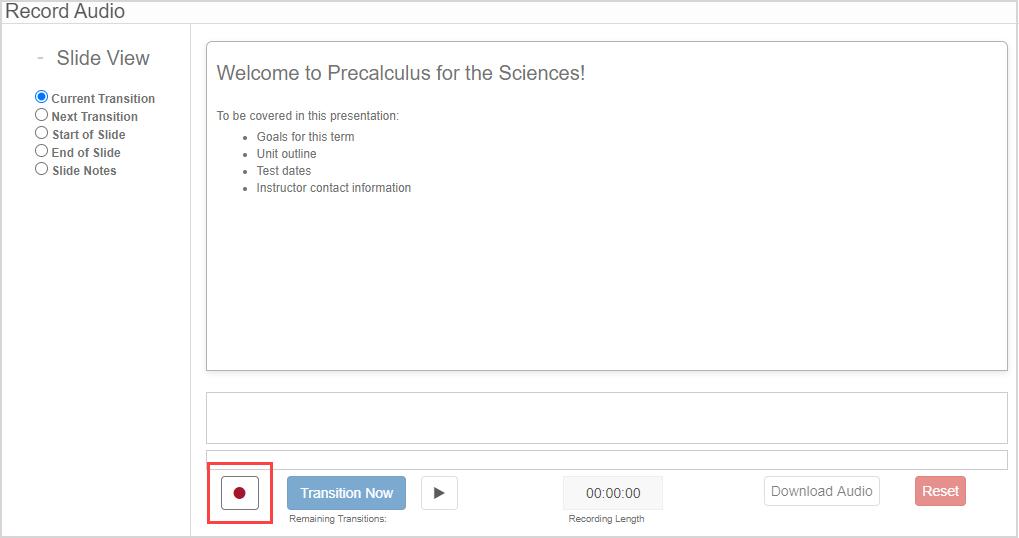
TIP: You can select different slide views while you're recording to ensure that your audio is applied at the intended point in time during your interactive narrative. Choose from:
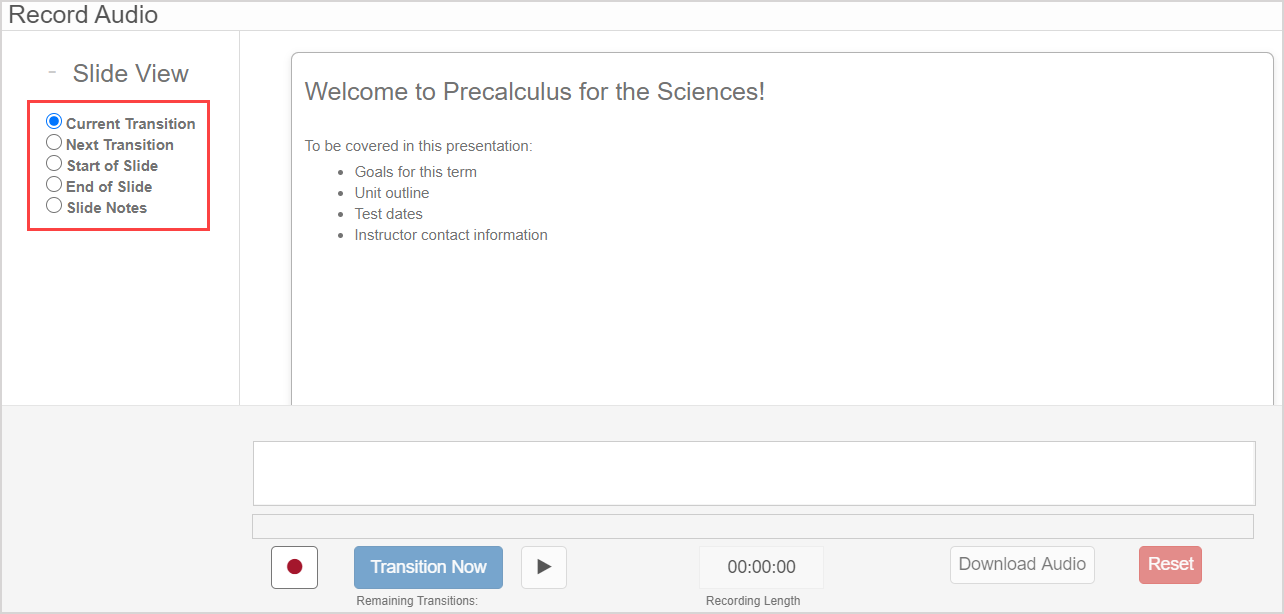
- Current Transition — Displays how the interactive narrative appears to the student at the current point in time.
- Next Transition — Displays how the upcoming transition appears to the student (assuming a transition marker has been applied from the slide editing page).
- Start of Slide — Displays a snapshot of the beginning of the current slide.
- End of Slide — Displays a snapshot of the end of the current slide.
- Slide Notes — Displays only the slide notes for the slide (if slide notes have been authored)
TIP: If you've already inserted transition markers into your slide, they'll appear on the Record Audio page.
![]()
They're visible so that you can synchronize your audio with the markers during a recording. The number of remaining transition markers is displayed in the Remaining Transitions field and updates as you progress through your recording so you can plan your audio timing.
![]()
You can also insert transition marker placeholders while recording your slide audio using the Transition Now button.
![]()
Check out Add slide transitions to an interactive narrative for help with slide transitions.
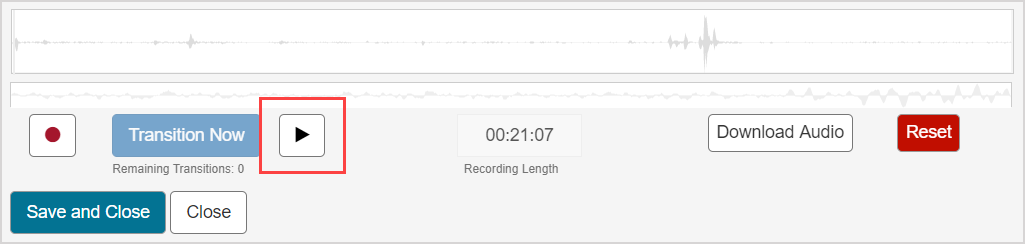
Click Stop to finish your recording.

TIP: Click Play to preview your recording.
TIP: Click Reset to erase the current recording and start over.

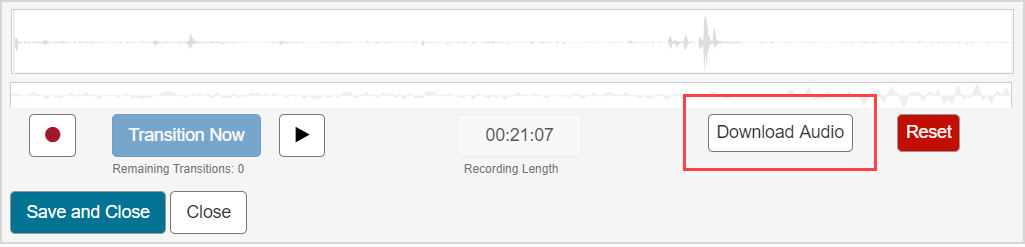
TIP: Click Download Audio to save a copy of the recorded audio file to your local computer.
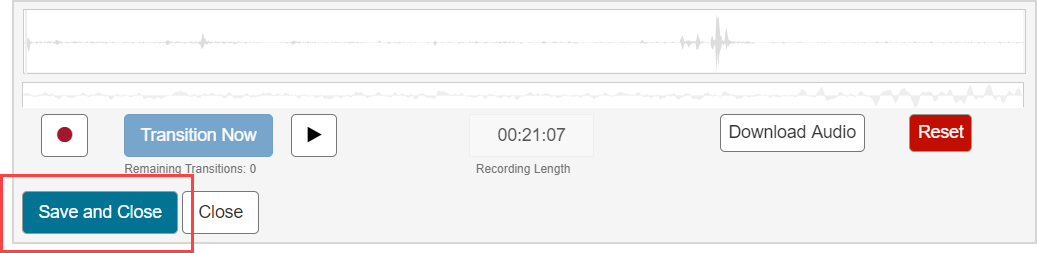
If you're satisfied with the recording, click Save and Close to upload the audio file to this slide.
(Optional) Edit the default name and file extension of the audio file.
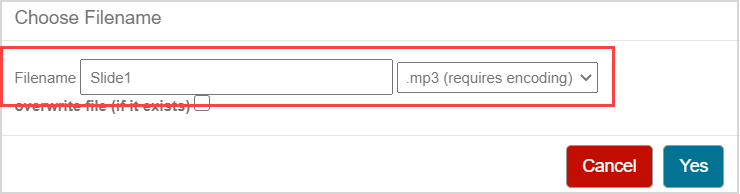
TIP: Select the overwrite file (if it exists) check box in the Choose Filename window to have this new recording replace an existing file with the same name.

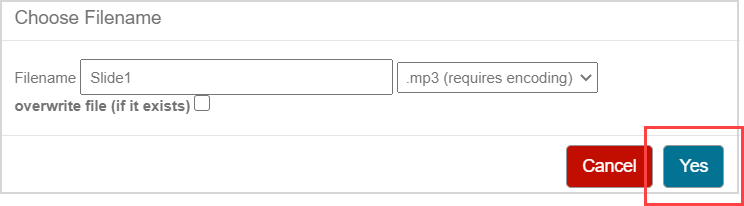
Click Yes to save the audio file.
NOTE: Saving the audio file to your slide also saves the file to your Class File Manager.
The name of the audio file is inserted into the Play Audio field of the Interactive Narrative Editor.
Click Save to save your progress and to continue working in the Interactive Narrative Editor.