Upload external files to the Class File Manager
You can upload files from outside of Möbius (Example — images, videos, and reference files) that you can then use within your content.
TIP: Your uploaded external file name can contain:
- Letters
- Numbers
- Underscores
- Dashes
- Periods
Don't use spaces in the file name.
This uploaded external content is stored in a website folder called the Class File Manager.
TIP: It's recommended that the external files that you're storing in the Class File Manager are organized into folders and subfolders for easy access. Check out Manage folders in the Class File Manager for help with organizing the files within your Class File Manager.
You can then add external files from the Class File Manager to supplement the content that you've built within Möbius.
NOTE: Any external files that you want to use in your Möbius content must first be uploaded to your Class File Manager.
External files ca be uploaded to the Class File Manager from:
- The Content Repository
- One of the content editors (Example — Assignment Editor)
Although the Class File Manager appears differently when uploading to it from the Content Repository compared to from within one of the content editors , it has the same core function of storing your external files.
Upload from the Content Repository
To upload external files to the Class File Manager from the Content Repository:
Click Content Repository from the Class Homepage.

Click View Files to enter the Class File Manager.

Navigate to the folder that you want to upload your external file to.

Click the Upload file(s) to this point icon
 .
.
![]()
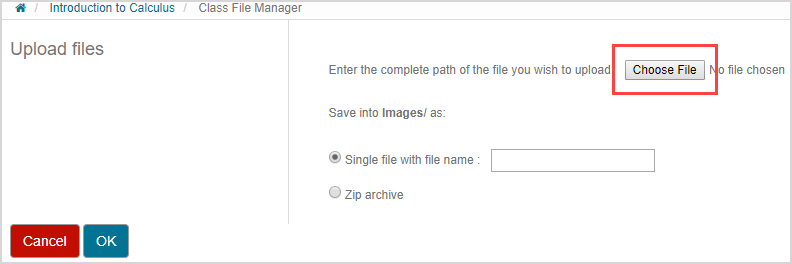
Click Choose File to locate and select the external file to upload.
NOTE: The following file formats are supported for file uploads:
- .avi
- .csv
- .docx
- .ggb
- ,htm
- ,html
- .ind
- .jpeg
- .jpg
- .lib
- .m4v
- .maple
- .mla
- .mp3
- .mp4
- .mw
- .ogg
- .png
- .pptx
- .svg
- .swf
- .txt
- .wav
- .webm
- .xlsx
- .zip
Your organization's Möbius administrator can modify this list of permitted file formats.
NOTE: The maximum size of a file that can be uploaded is determined by your organization's Möbius administrator.
Select if you are uploading a Single file with file name or a Zip archive.

NOTE:Single file with file name is selected by default and the name of the file autofills to how it's named on your computer. It's recommended to maintain the file extension in the file name.

TIP: Select the Zip archive radio button to upload a .zip file. Notes about uploading .zip files:

- .zip files are recommended for uploading multiple files.
- All of the files from the selected .zip file are automatically extracted and uploaded into the Class File Manager.
- .zip file names can contain periods but not start or end with a period.
- It's recommended to maintain the file extension in the file name.
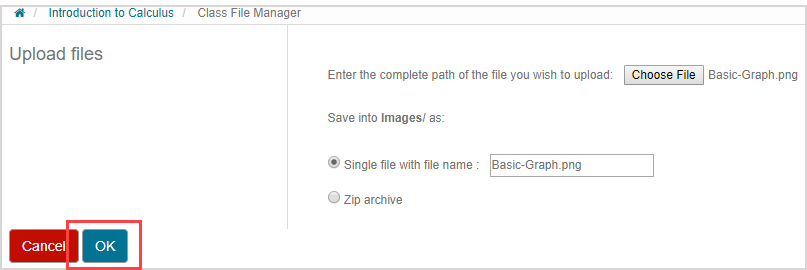
Click OK to perform the upload and return to the list of files in your Class File Manager.
Repeat steps 3 to 7 to upload additional files.
NOTE: After uploading, you can hover your cursor over the file and click the View this file icon![]() to preview the item:
to preview the item:
![]()
The uploaded external file is now available for when you're ready to add the file to your Möbius content.
Upload from a content editor
You might be working on some content (Example — authoring a question) and decide that you want to add an external file to your content that hasn't yet been uploaded to your Class File Manager.
You can then upload a file right into your Class File Manager from where you're working on your content, and then immediately add it to your content.
To upload external files to the Class File Manager while working in a content editor:
NOTE: In many scenarios, you can upload an external file to your Class File Manager through the Visual Editor (check out Use the Visual Editor). The Visual Editor is found throughout Möbius and allows you to add external files (Example — images or videos) to areas such as:

- Your question statement
- Your class description
- Hints
- And more...
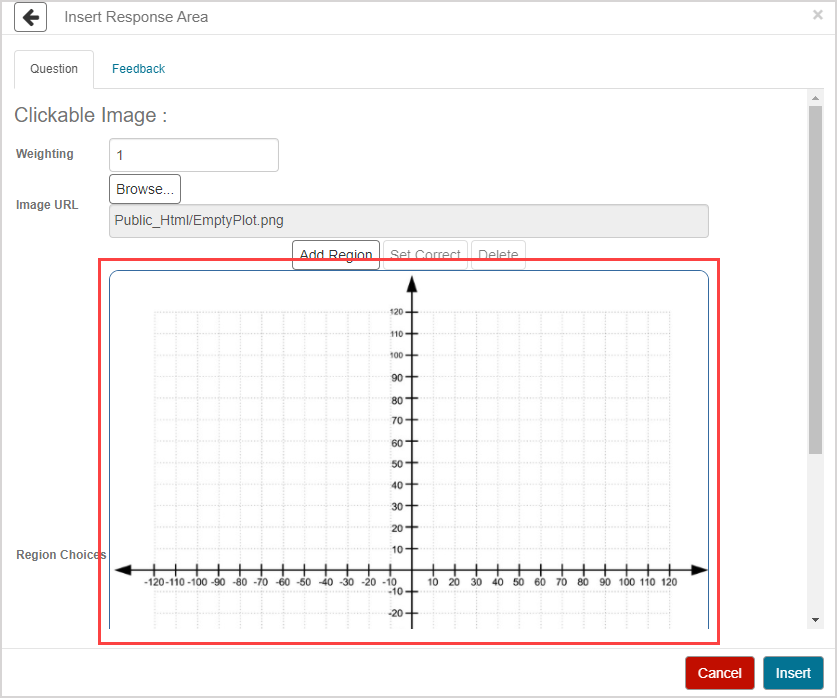
However, the set of steps in this help topic section uses the authoring of a clickable image question to demonstrate how to upload an external file to your Class File Manager while editing a student response component through the Question Editor (check out Author a clickable image question).
Click to add the external file to your content from the content editor in use.
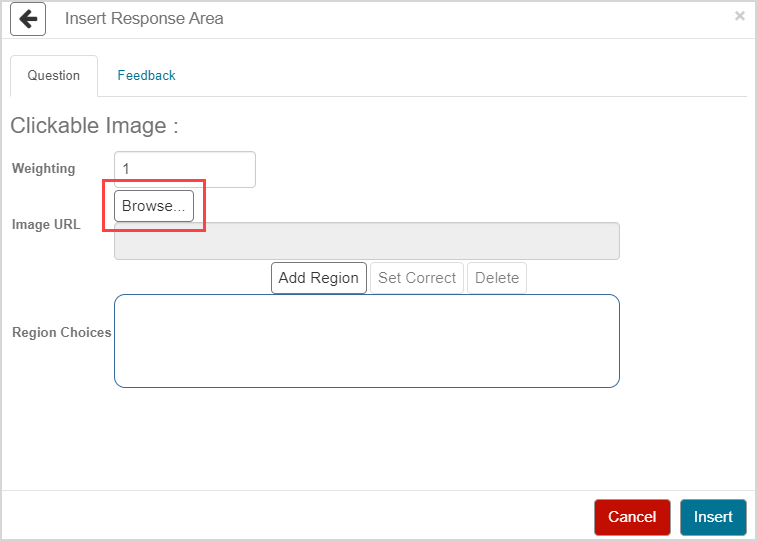
Click Upload from the Class File Manager.
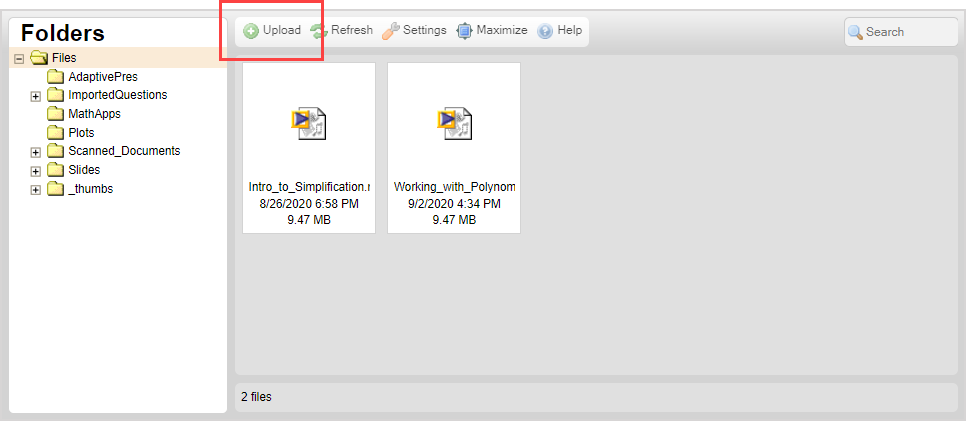
Navigate to the external file that you want to upload from your computer. Select the file(s) of interest and click Open.
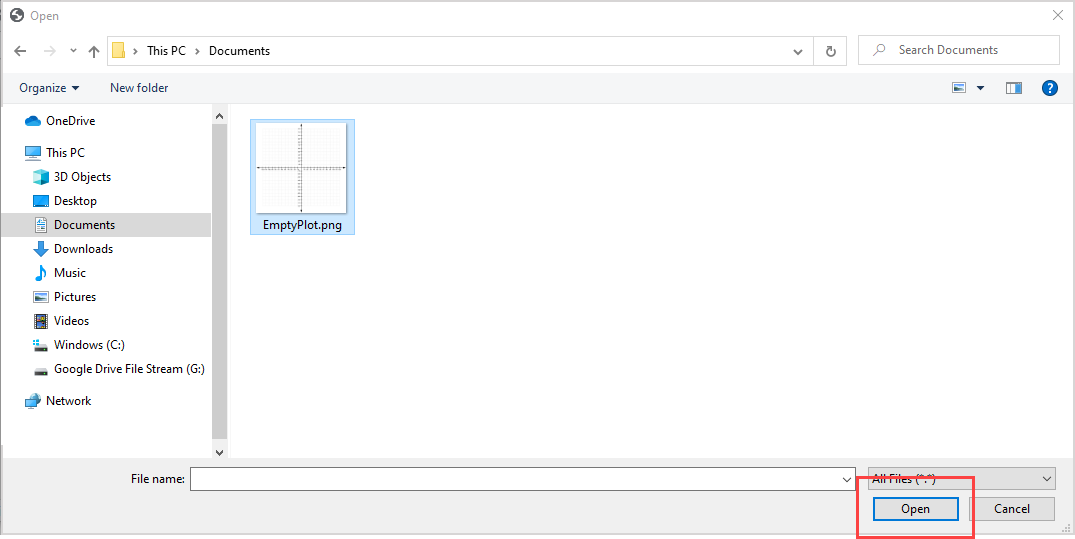
TIP: You can select multiple files to upload into your Class File Manager in bulk.
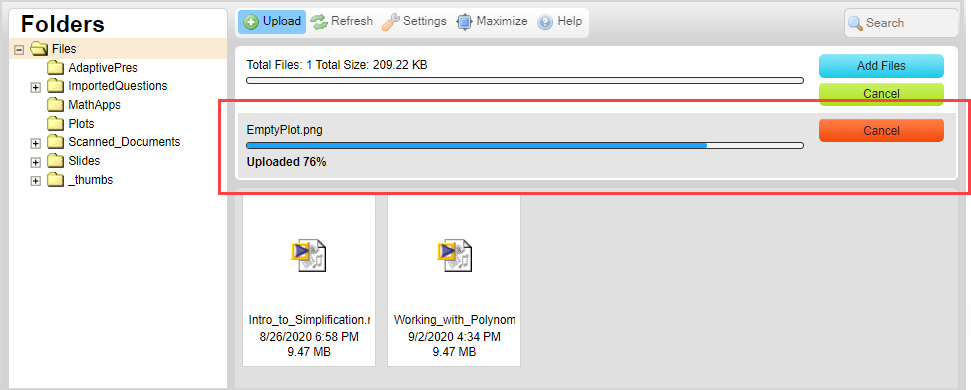
Wait while the external file uploads to your Class File Manager.
Double click the uploaded external file from your Class File Manager to add it to your content.
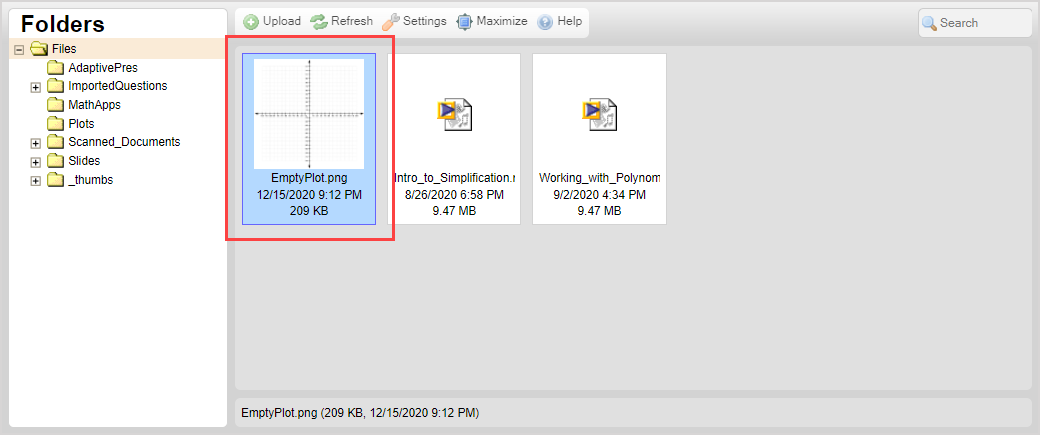
You can now work with the added external file within your content.
