Create a lesson
Lessons are a way to offer action-based learning so that your students learn by engaging.
You can present content, ask leading questions, and offer interactive apps for exploratory learning.
Lessons consist of pages to organize your content blocks.
Content blocks are used to build a lesson and can be:
- Questions
- Text
- Interactive Narratives
- Math Apps
- Question Groups
TIP: You can author new content blocks in the Lesson Editor or import content blocks from the Content Repository.
Sections can be used within a lesson to group your pages under headings.
NOTE: Any content block that contains a student response component will have its own button to provide immediate feedback to the student.
The Lesson Editor is used to create a lesson and it has 2 tabs:
- The Design tab to create the lesson.
- The Properties tab to define the lesson properties.
NOTE: To create a lesson, you must first have a class for the lesson to be stored in.
NOTE: A new lesson that's created in a parent class is automatically inherited (except for the Text to show at the head of each page and Text to show on the results page) by a child class. Changes to that parent class’s lesson are inherited by a child class as follows:
- Changes to the lesson name, short name, and description are inherited
- Changes to the text to show at the head of each page and on the results page aren't inherited
- Changes to the lesson questions are inherited
- Changes to the lesson properties aren't inherited
- Changes to the lesson Policy Set (if a Policy Set was applied) are inherited
Only certain components of an inherited lesson can be edited within child class. Check out Edit a lesson. These edits will only apply to that child class and its descendants.
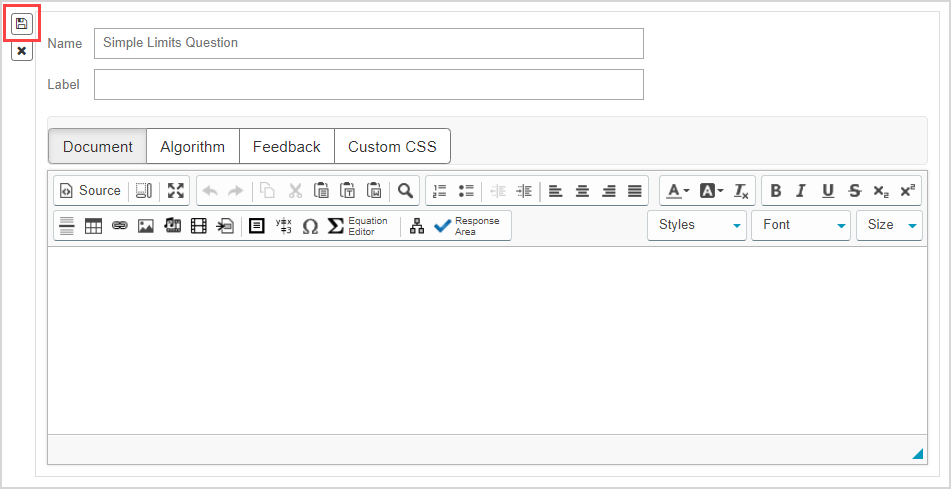
Lesson Editor's Design tab
Creating a new lesson is done in the Design tab of the Lesson Editor.
IMPORTANT: If you do not interact with Möbius for 60 minutes, you will be automatically logged out of your session and your progress is not auto-saved. If you plan to stop interacting with the Lesson Editor for more than a few minutes, it is strongly recommended that you save your work.
IMPORTANT: If you are editing your lesson's content within the Lesson Editor, always remember to click the save icon .
.
If you make changes to the content and then click another function (Example — Save & Close), you will be prompted with a warning message that you have not saved the changes to your content. Click Cancel to return to the Lesson Editor so that you can save your content changes.

To create a new lesson:
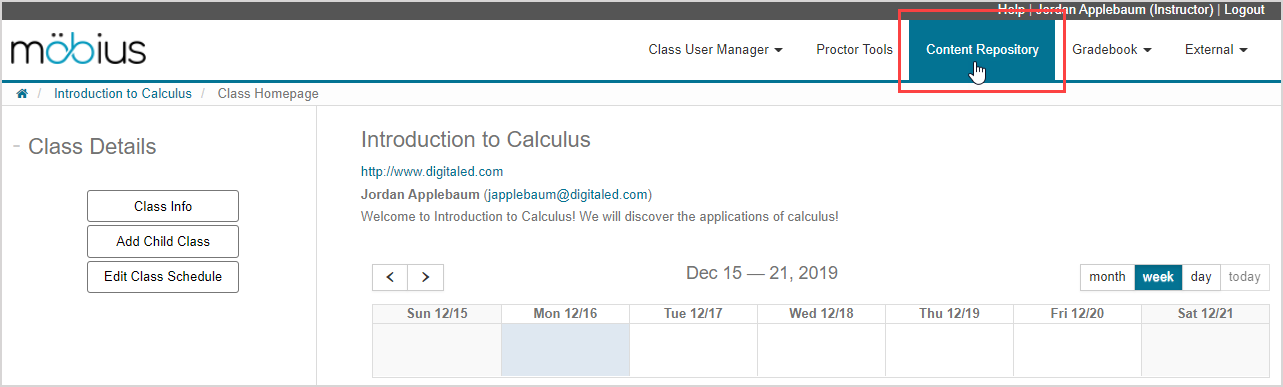
Click Content Repository on the Class Homepage.
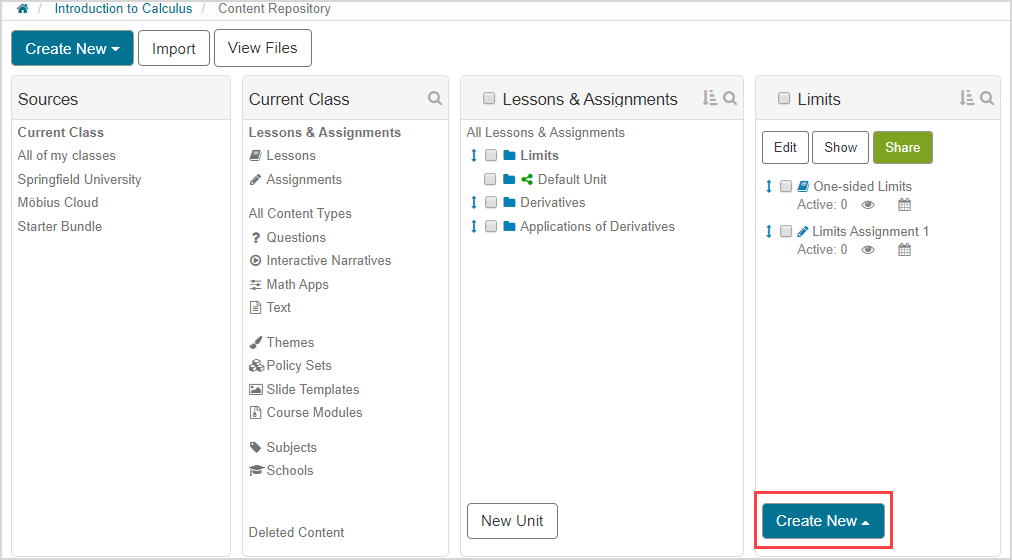
Click Create New on the main Content Repository menu.

TIP: You can also navigate within the Content Repository to the unit that you want to build your new lesson in and:
Click Create New.
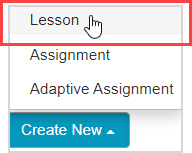
Click Lesson from the Create New menu.
Resume at step 5 of Lesson Editor's Design tab.
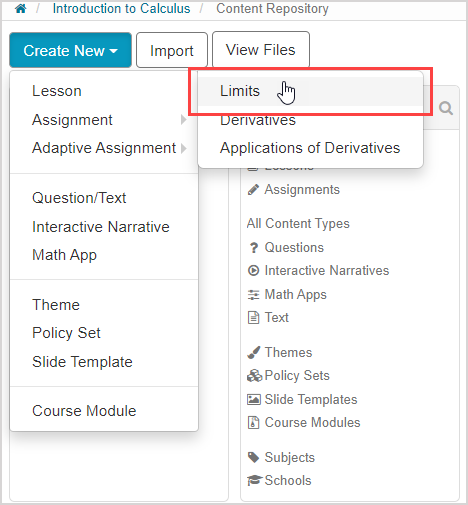
Hover your cursor over Lesson on the Create New menu to reveal a list of all available units in your class.
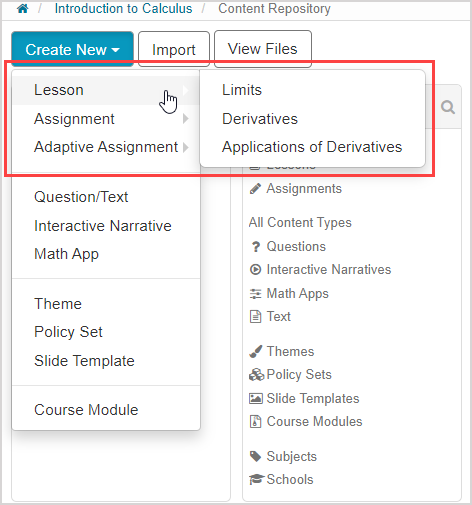
Click the unit that you want to build your new lesson in.
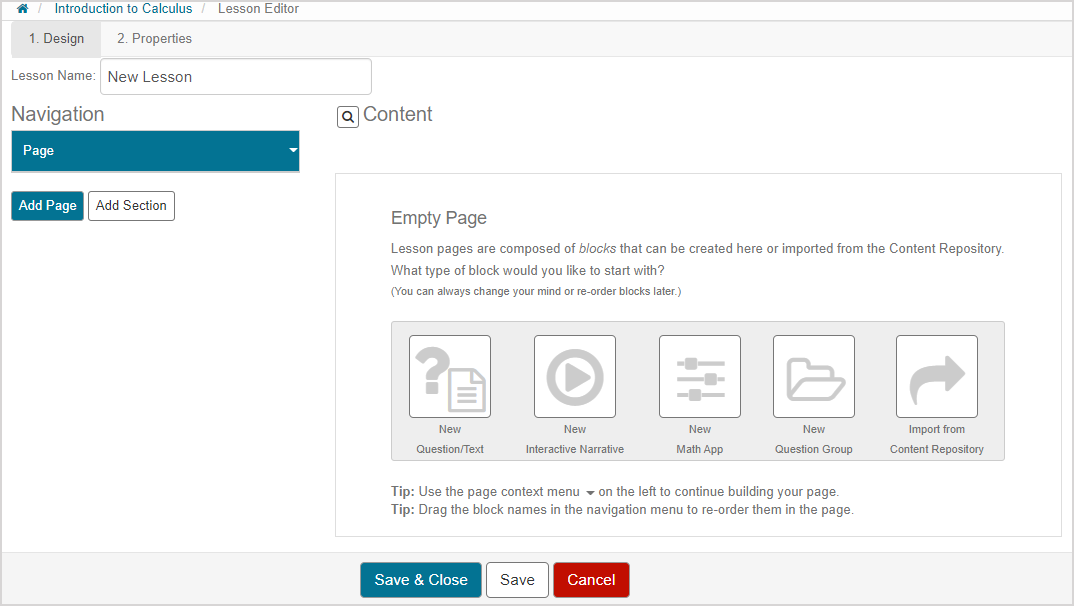
You are brought to the Lesson Editor's Design tab.
Define the lesson's name.
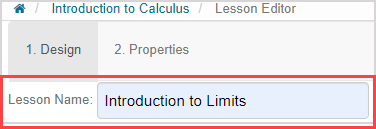
TIP: The lesson's name is displayed to your students on the Class Homepage. Ensure that your lesson's name is unique, informative, and easily identifiable.
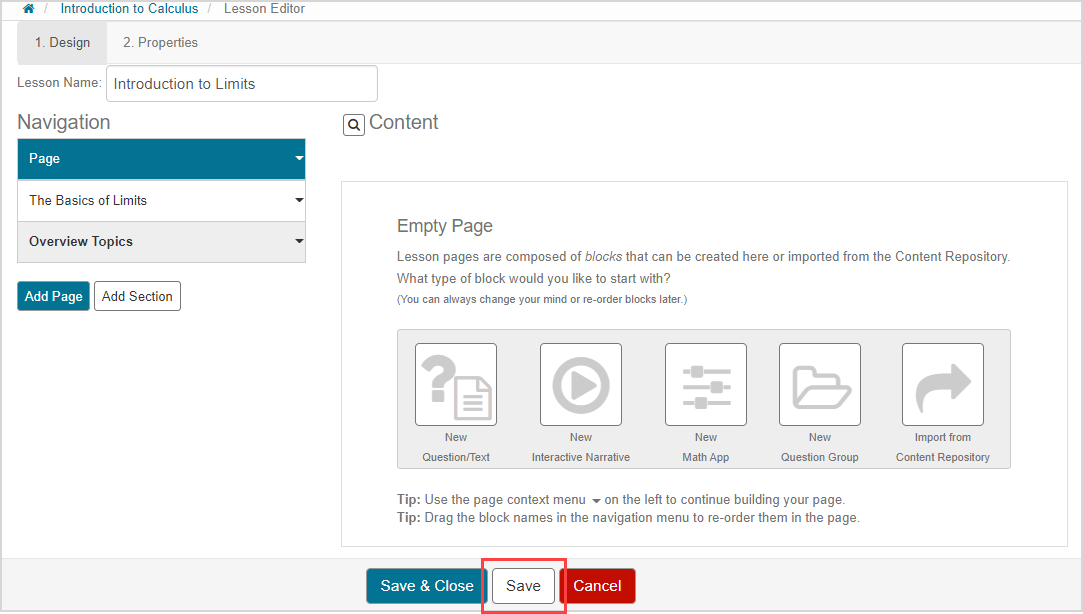
In the Navigation pane, click the Page arrow
 to choose which option you would like to use in the Lesson Editor:
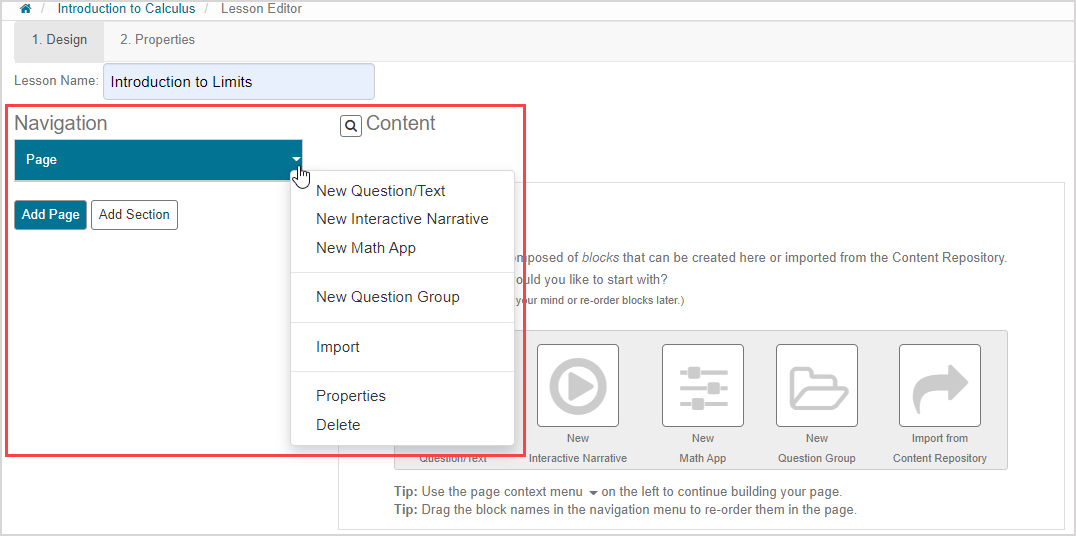
- New Question/Text — Author a new Question or Text content block (check out Author a question).
- New Interactive Narrative — Author a new Interactive Narrative content block (check out Author an interactive narrative).
- New Math App — Author a new Math App content block (check out Author an ungraded Math App).
- New Question Group — Define a set of questions that your lesson can draw from as a Question Group content block (check out Create a question group for a lesson).
- Import — Bring in a piece of content that already exists in your Content Repository as a content block.
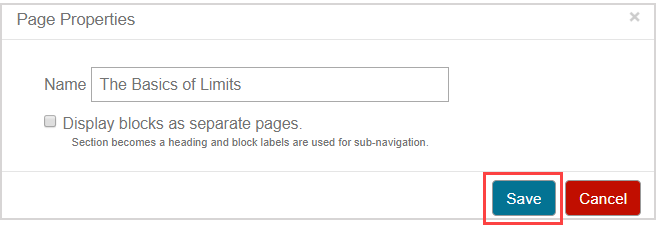
- Properties — Determine the page's properties:
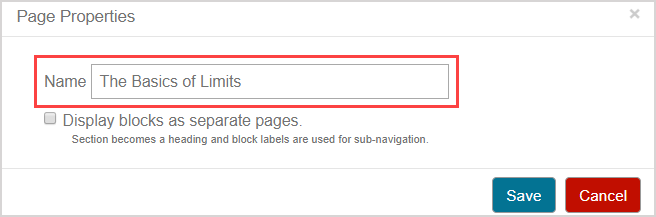
- Name — Edit the name of the page.
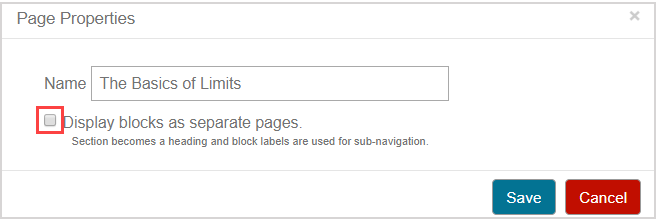
- Display blocks as separate pages — Check box to enable content blocks to display as individual pages.
- Delete — Removes the page from your lesson after a confirmation message.
TIP: Instead of using the arrow to display a page's drop-down list, use the content block pane to generate a content block to add to an empty page.

TIP: You can click-and-drag content blocks, pages, and sections to re-order them within the Navigation pane.
TIP: Click the preview icon to preview how your content block will appear and act in the lesson. You will only be able to use the preview function if the content has first been saved using the save icon.
TIP: Click the edit icon to exit the preview.
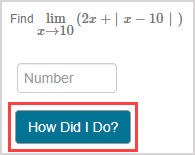
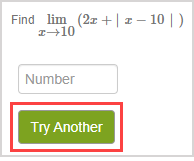
NOTE: Lesson properties define if the How Did I Do? button is visible during the lesson for an automatically-graded student response component.
NOTE: The Try Another function is only visible to the student if the question has a defined algorithm.
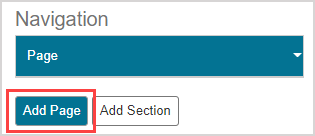
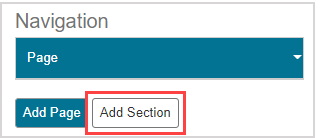
Click Add Page in the Navigation pane to add a new page to the lesson.
Edit the new page's name.
Select the Display blocks as separate pages check box if you want your content blocks to be visible as individual pages.
NOTE: If content blocks are to display as separate pages, they change from italicized text to plain text in the Navigation pane. When building a lesson page, the entire page is displayed as a series of previews of the individual page content blocks, regardless of choosing to display the content blocks as separate pages.
Click Save.
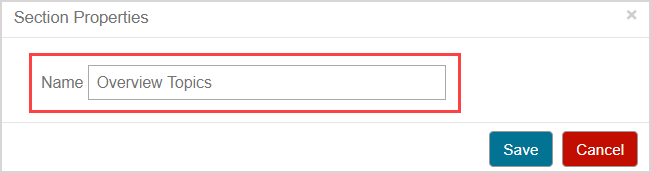
Click Add Section in the Navigation pane to add a heading to categorize pages in the lesson.
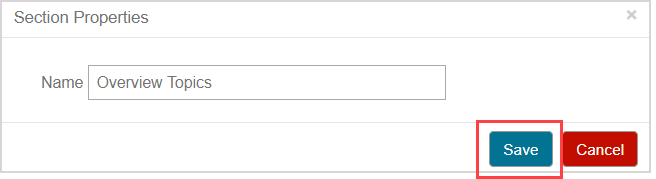
Edit the new page's name.
TIP: You can create as many content blocks, pages, and sections as you need.
Click Save.
TIP: Use the section arrow to:
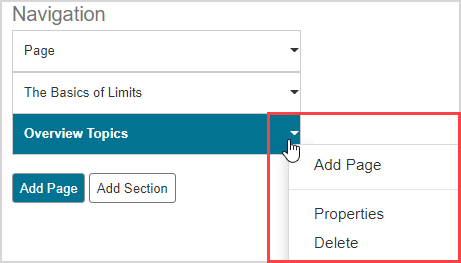
- Add Page — Create a new page within the specified section.
- Properties — Edit the name of the section.
- Delete — Removes the section from your lesson after a confirmation message.
Click Save to save your progress and continue working on your new lesson.
TIP: Click Save & Close to save your progress and exit the Lesson Editor at anytime.

If your lesson is incomplete, an error message will appear. Example — Your new lesson is considered incomplete if you have not included any content.
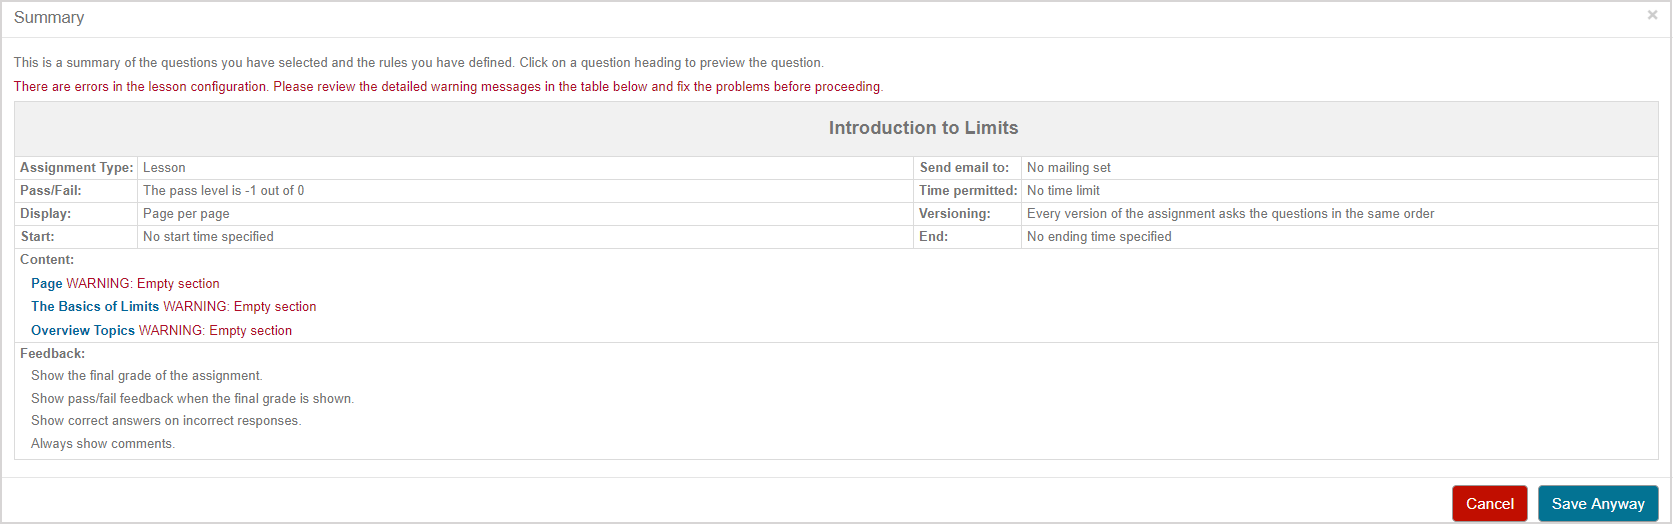
Click Cancel in the Lesson Summary page to return to the Design tab where you can resolve the issues.
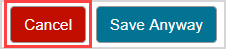
To ignore the error message and save your lesson, click Save Anyway.
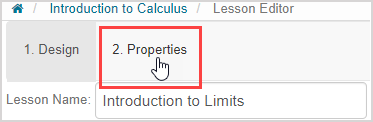
Click the 2. Properties tab to continue creating your lesson by defining the lesson's properties.
TIP: Check out Import lesson content and Delete lesson content for more details on bringing in content that already exists in your Content Repository.
What's next?
Now that you've understood how to create a lesson, you're ready for: