Create an in-class paper assessment
You can import your own PDF file into Möbius Grading to create the printable version of the assessment, which will automatically add cover pages and unique barcodes for each student.
The full PDF output from Möbius Grading needs to be printed and completed on paper by your students.
TIP: Check out Scan and upload a completed paper assessment for details on uploading the students' work into Möbius Grading to take advantage of the streamlined grading workflows.
Create the printable version of an assessment
Questions for the assessment must be prepared in an existing PDF template file, which should contain all the questions and spaces for students to write their answers.
To create the printable version of an assessment in Möbius Grading:
Add the Möbius Grading tool to your Learning Management System (LMS) course, ensuring that the Grade points match the desired total for your assessment.
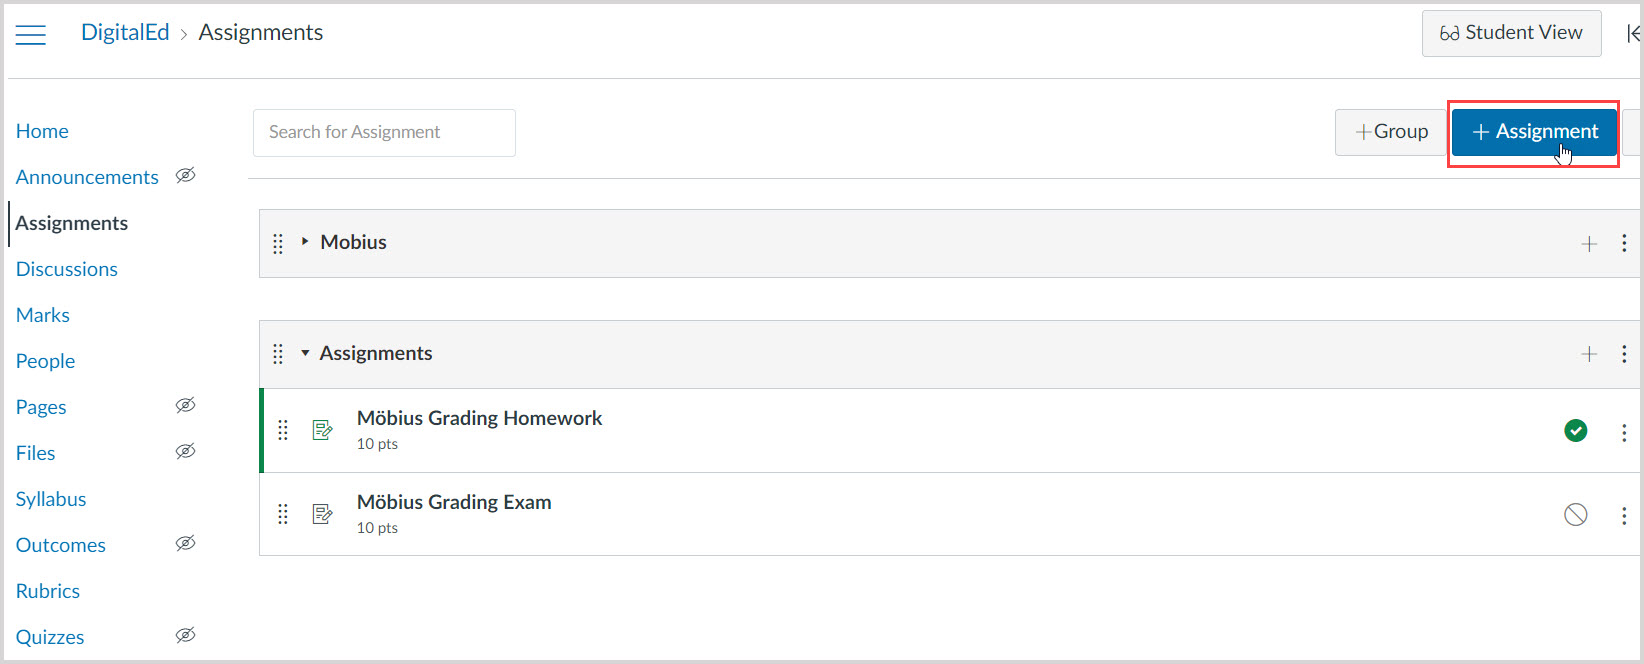
TIP: This process depends on the Learning Management System (LMS) integration, but each Möbius Grading assessment must have its own link. Check out the following help topics for help with integration:
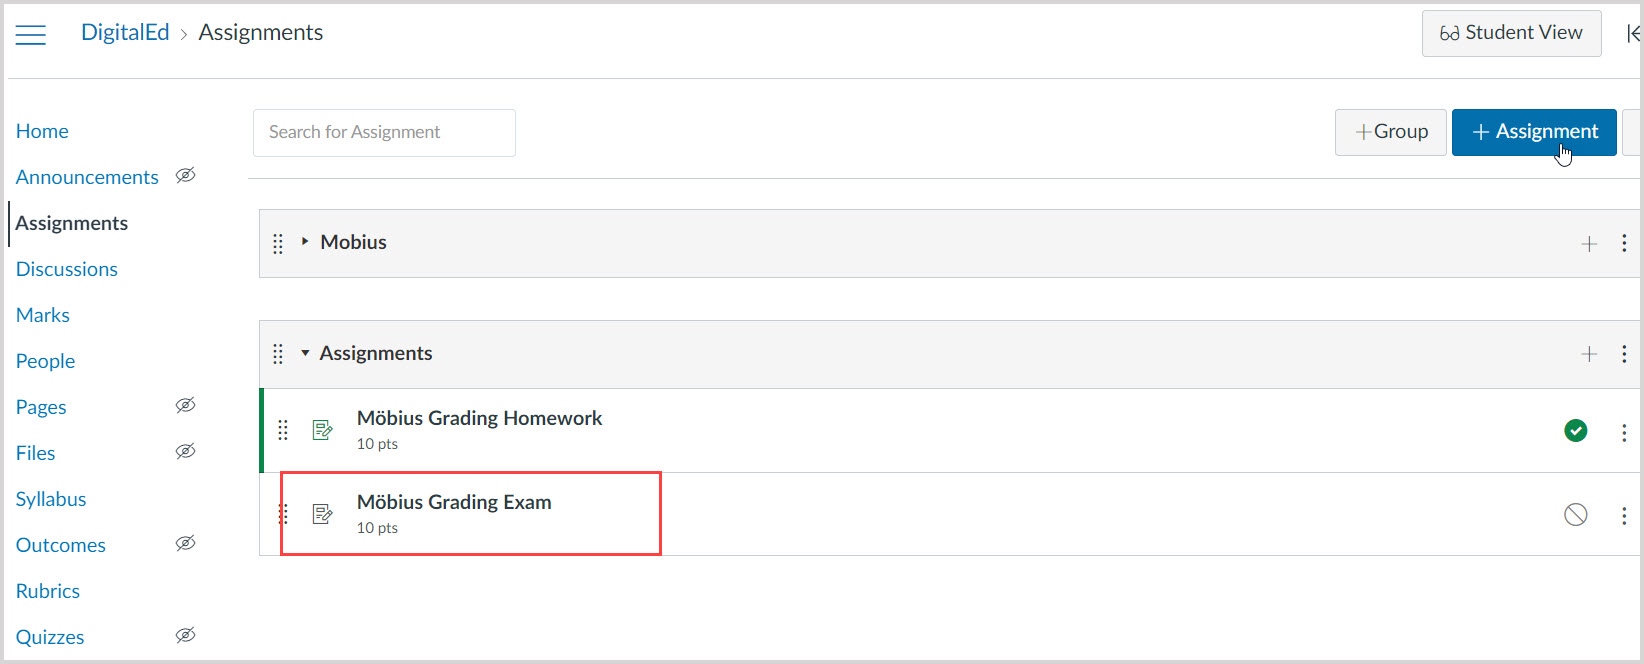
Click the link in your LMS course to open Möbius Grading.
Select In Person Exam on the Assessment page.
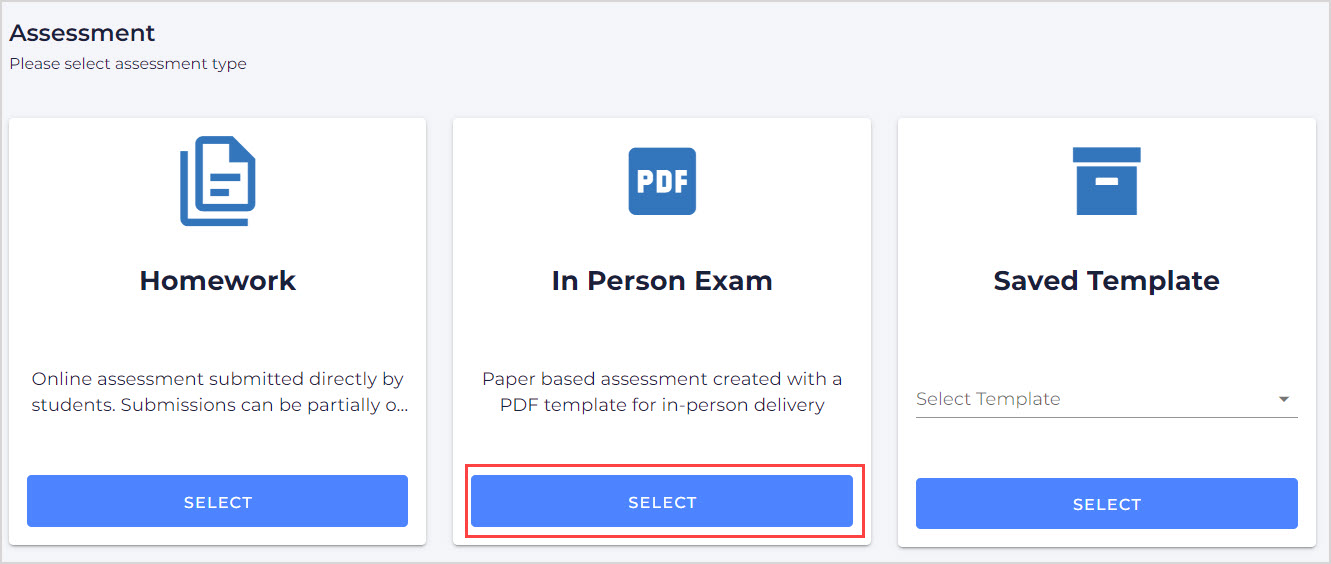
NOTE: Once an assessment type is selected and the assessment has been saved, the type can't be changed. You'd need to create a new link in your LMS course.
Click the upload area to upload the PDF template file.

TIP: Check out Create a bubblesheet assessment for more details on creating a paper assessment with only multiple-choice questions.
Navigate to the location of the PDF template file on your device and select it.
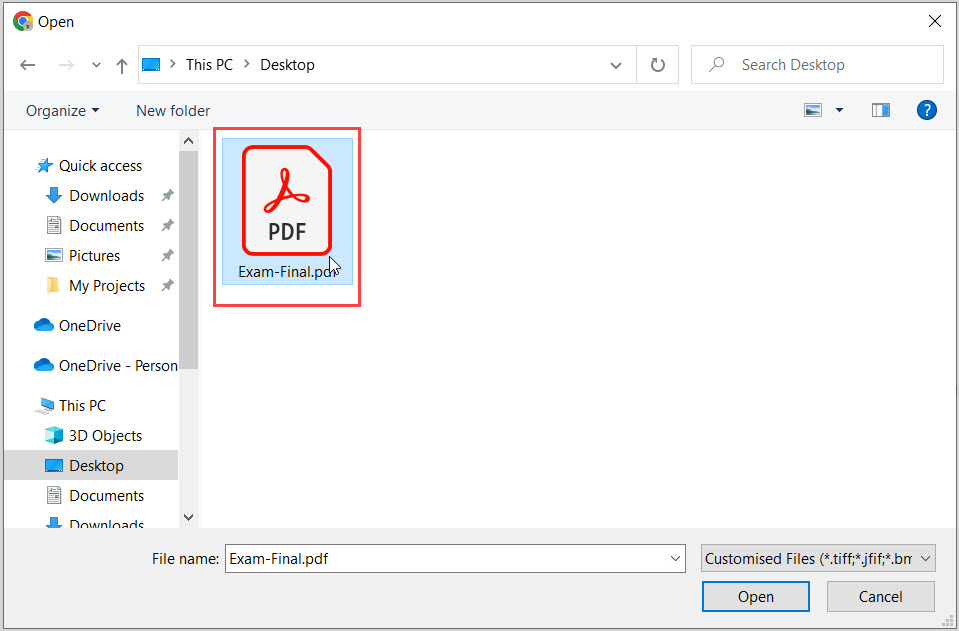
TIP: Depending on your device, you can also click-and-drag the file from the device file manager into the upload area.
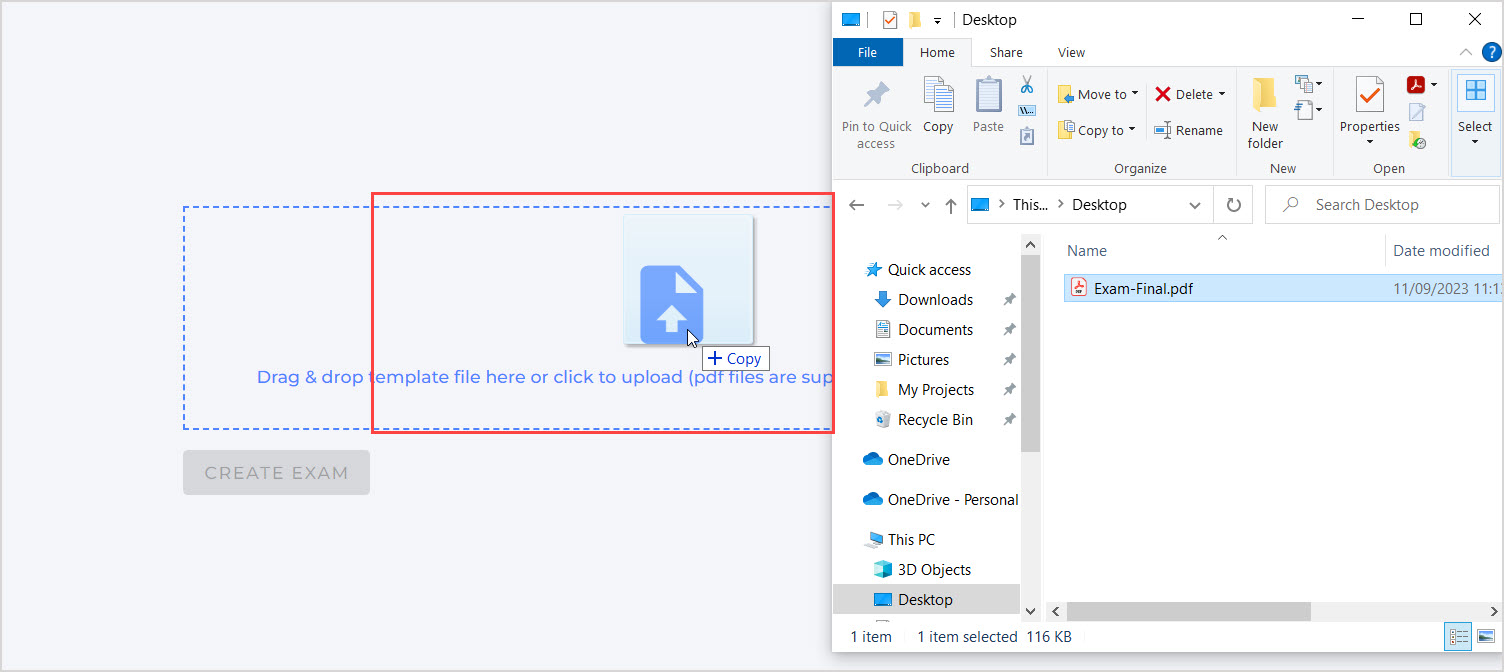
NOTE: The maximum file size for the PDF template file is 10 MB.
The Page Preview & Question Setup page opens with a full preview of the printable exam.
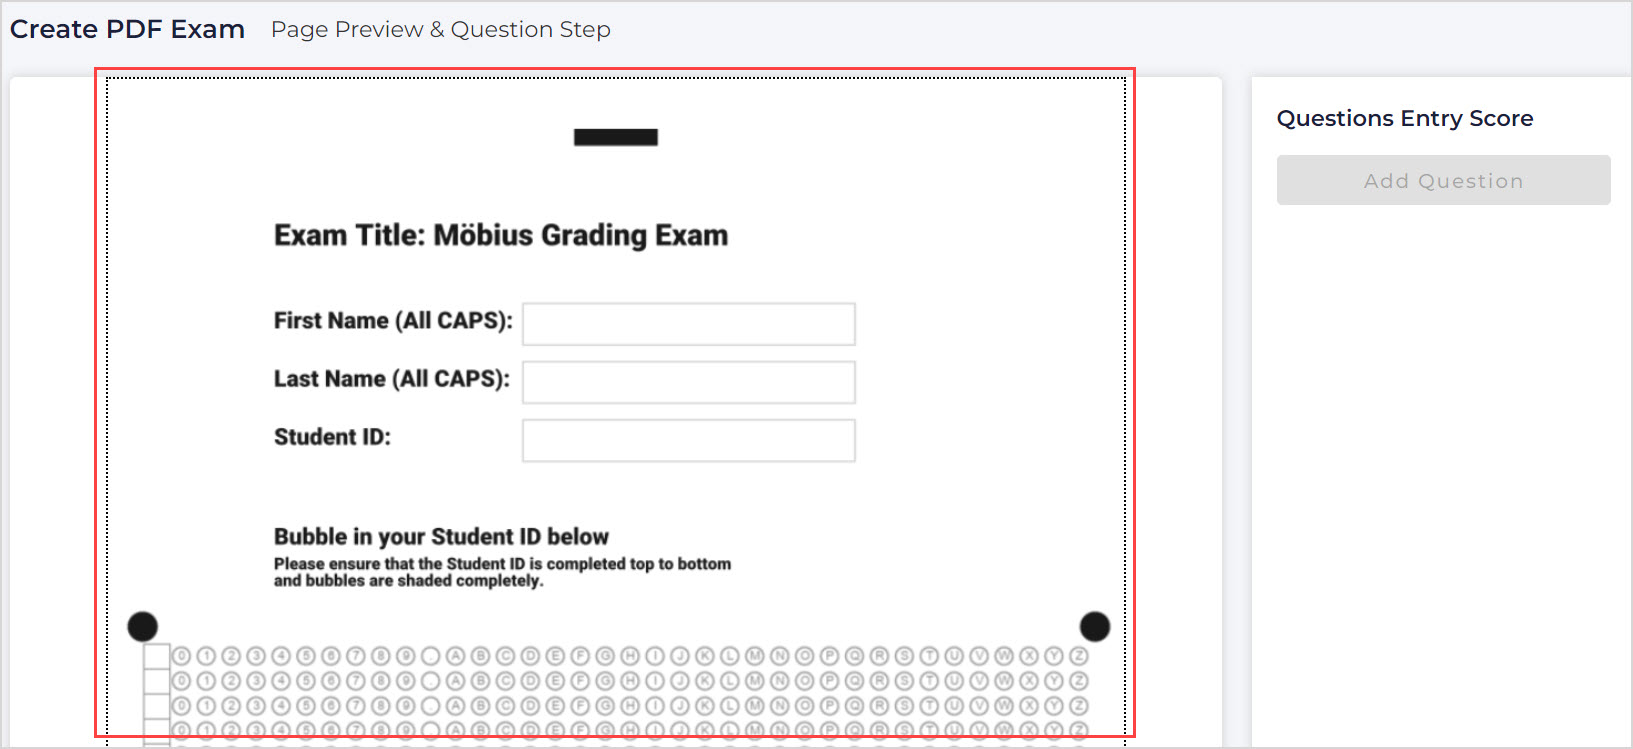
(Optional) Click the delete button to delete a question placeholder, which are automatically added to each page of the PDF file.
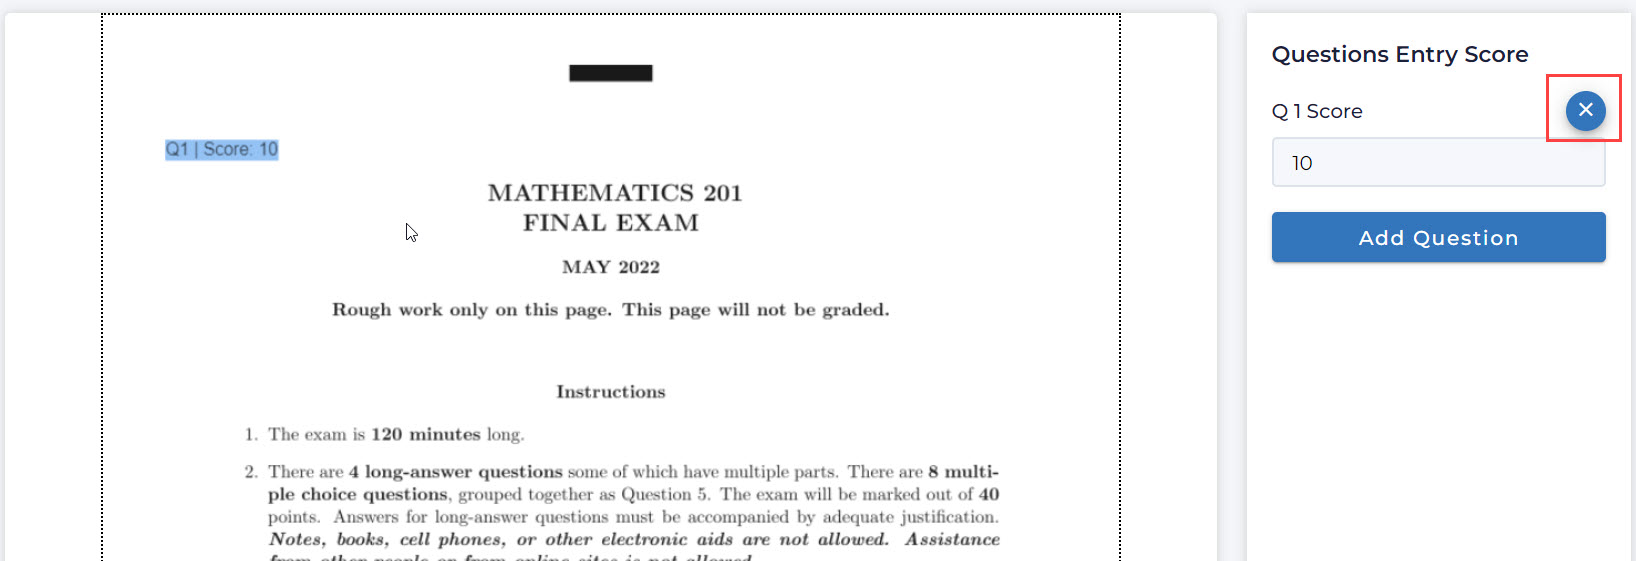
To add another question placeholder to the page, click Add Question; you can drag-and-drop to move the new placeholder to the desired position to indicate the question starting point.
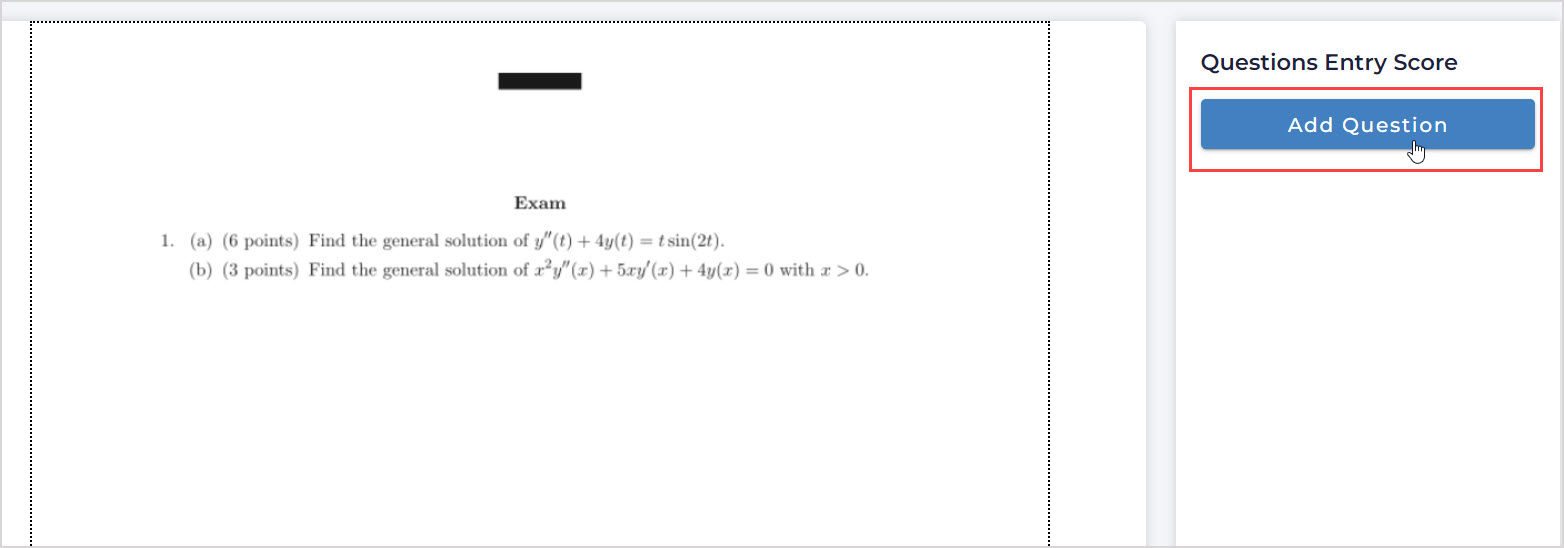
Enter the score for each question placeholder in the Questions Entry Score pane.

Once every question in the assessment has been added, scroll to the bottom of the page and click Save Exam.

NOTE: After saving the assessment, you'll be taken to the Möbius Grading dashboard for this assessment:
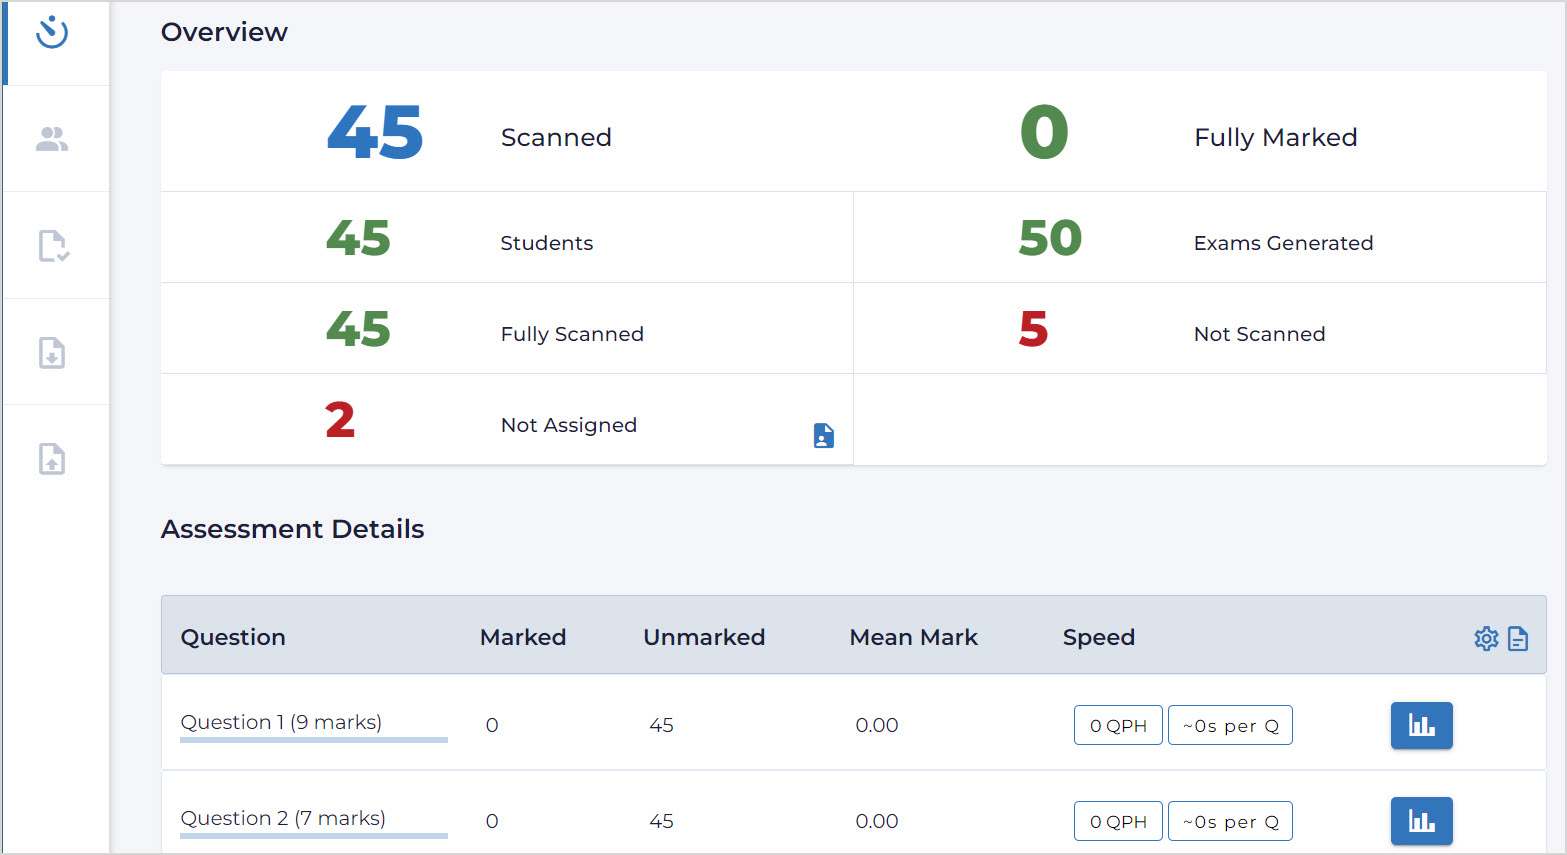
Check out View the assessment dashboard and navigation menu for more details on the dashboard.
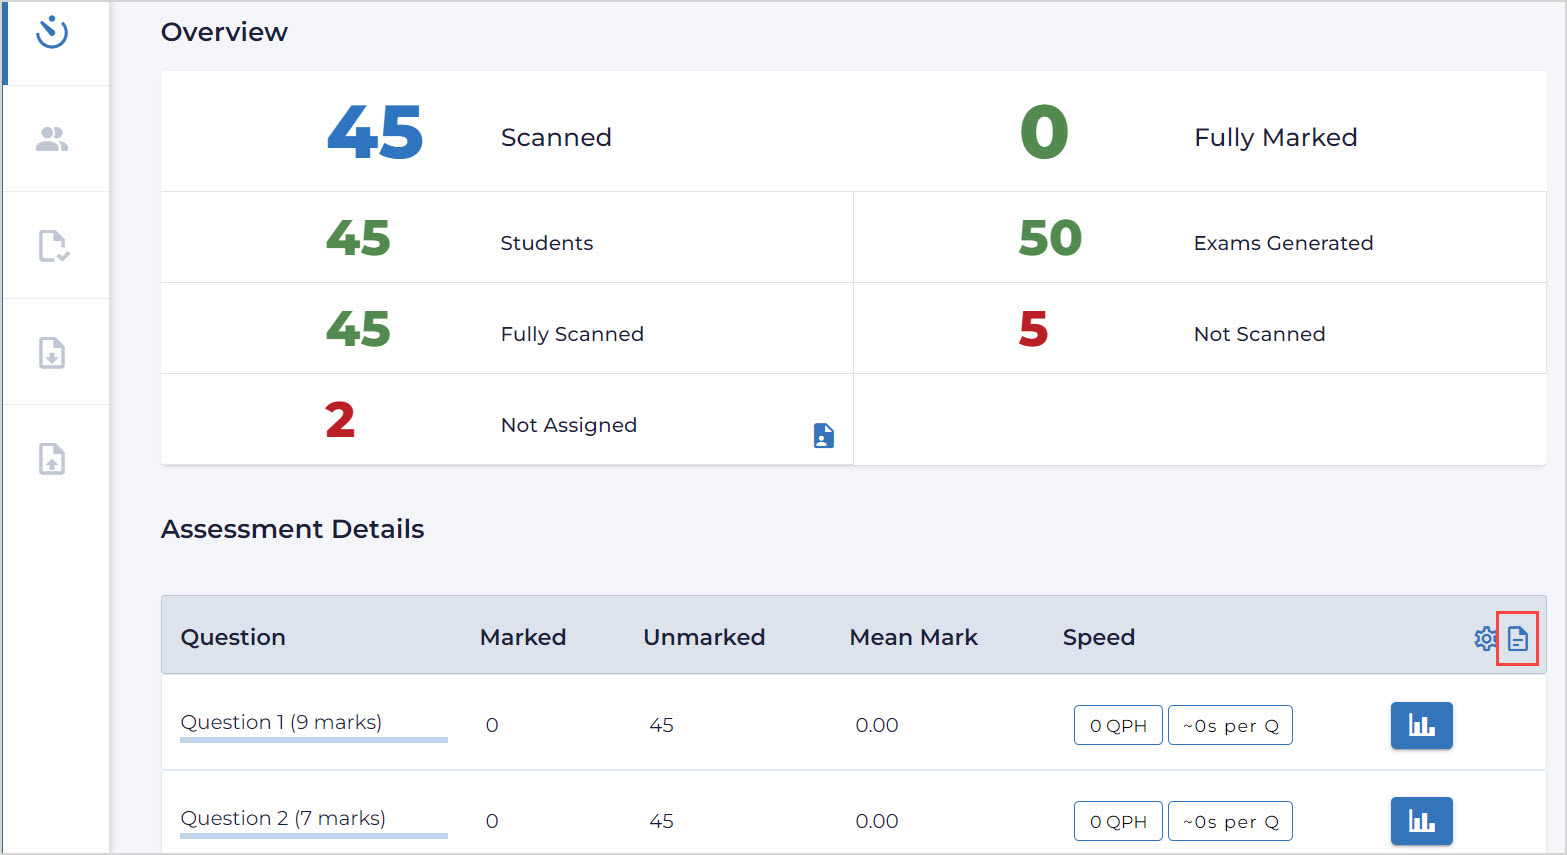
TIP: To return to this interface to edit the assessment, click Edit Exam on the Assessment Details section of the dashboard:
Download and print an assessment
From the printable version, Möbius Grading can generate PDF exam files containing as many copies of the assessment as you need to print out for the students.
Each student's paper-based assessment has a cover page and a unique barcode that's required to scan the completed work back into Möbius Grading.
IMPORTANT: Only one copy of each PDF exam file should be printed, since each page of the file has a barcode that matches one cover page to the other pages of the exam.
Printed pages should be kept in order for distributing the exam so all pages with the same barcode are provided to the same student.
You can generate and print unique exam files as many times as you need to ensure each student gets a unique copy of the exam (Example — for students in different sections, for students completing deferred exams, etc.).
To generate and download a PDF exam file for the assessment:
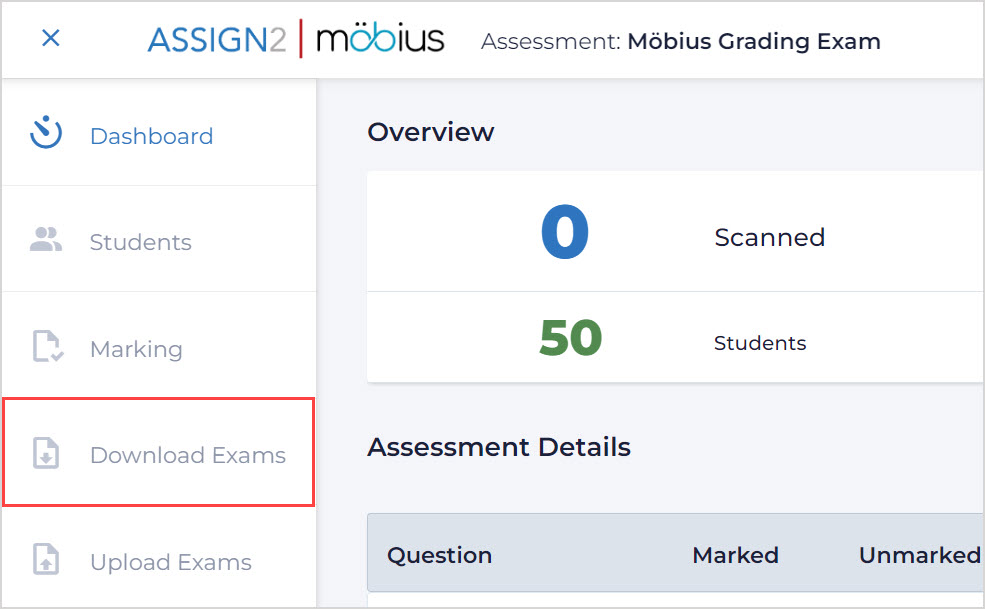
Select Download Exams from the navigation menu.
Click Generate exams on the Download Exam Files page.

Enter a string (to be included in the file name) in the File Prefix field.
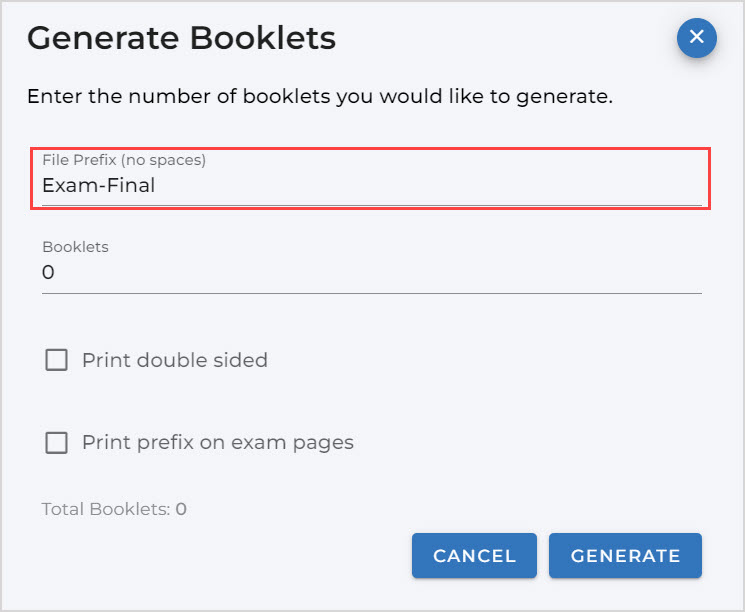
TIP: When generating multiple exam files for the same exam, it's recommended to use a different file prefix each time.
NOTE: Select the Print prefix on exam pages option if you want the file prefix to be printed in the footer of each page of the assessment.
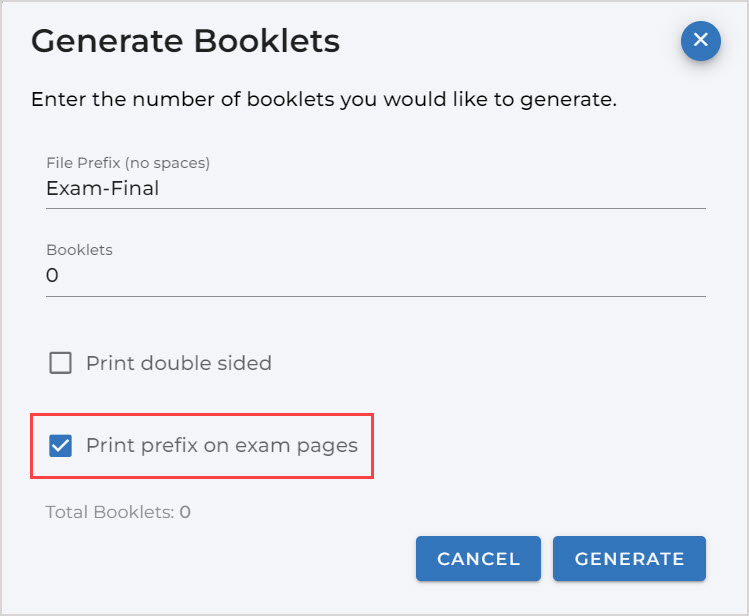
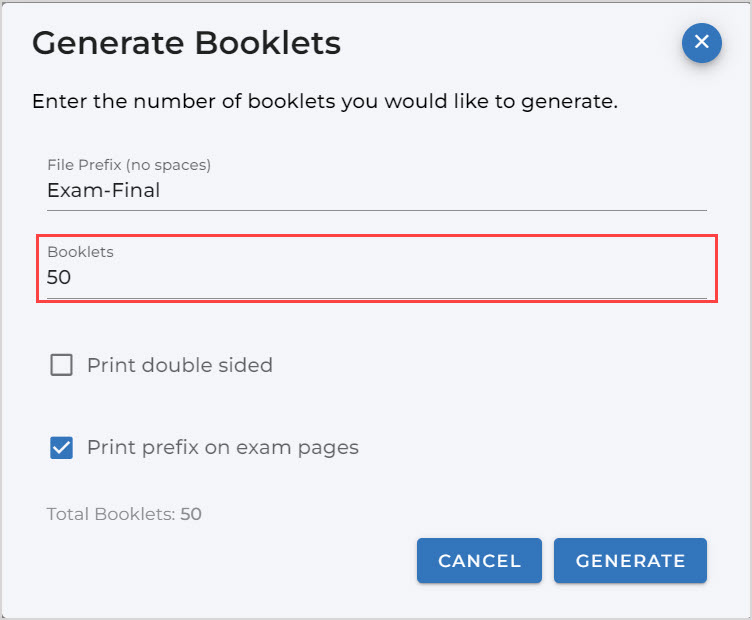
Enter the number of exam copies needed for your students in the Booklets field.
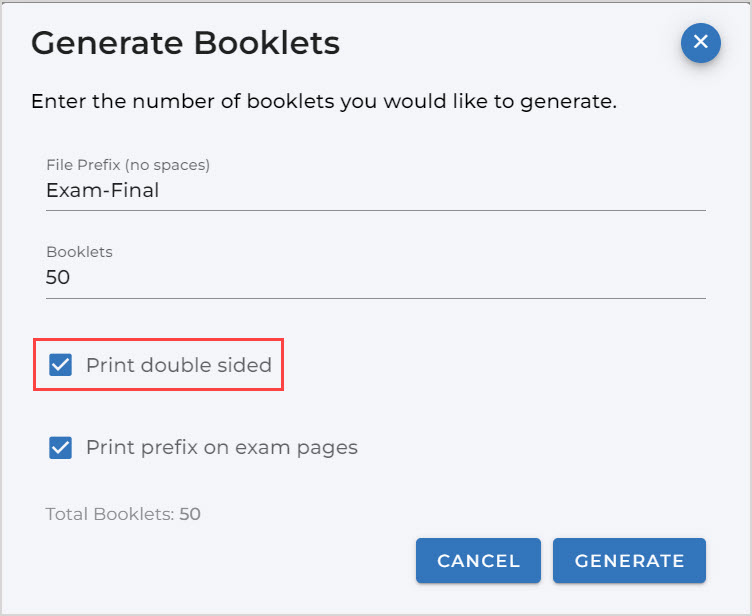
(Optional) Enable the Print double sided option if you'll be printing the exam with the double-sided printing setting on your printer.
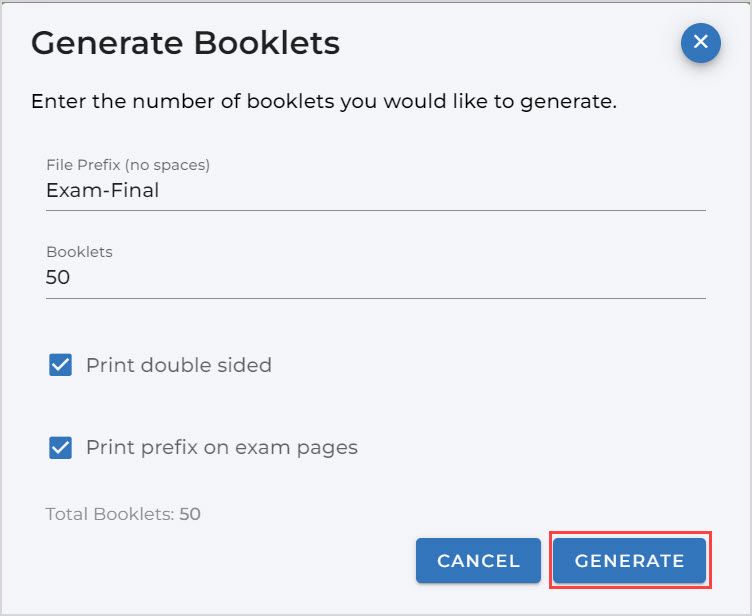
Click Generate to create the exam file.
NOTE: Once the file has been generated, the Exams Generated value will be updated on the assessment dashboard:

Click Get exam PDF file next to the name of the file to download the file.

TIP: You can return to the Download Exam Files page at any time to re-download any files generated earlier.
Print the file and provide each student with an individual assessment booklet.
IMPORTANT: Follow these recommendations when printing the assessment:
- Select the Fit to page or Scale to fit - Print entire image printer option, to ensure that the barcode is printed.
- Set the Orientation option to Portrait when printing the exam.
- Keep pages in the order they were printed to ensure pages with the same barcode are provided to the same student.
What's next?
Now that you've created the assessment booklets, you're ready to: