Scan and upload a completed paper assessment
After your students have completed an in-class paper assessment, the full assessment booklets need to be scanned and uploaded to Möbius Grading.
TIP: Check out Create an in-class paper assessment for details on generating and printing the paper assessment in Möbius Grading.
Scan and upload the assessment
You'll need to scan the completed assessment booklets that were completed by students, and then upload the PDF scan to Möbius Grading.
To upload a completed assessment to Möbius Grading:
Scan the paper exams to a PDF file.
IMPORTANT: Follow these recommendations when scanning the paper copies:
- Use a continuous feed scanner that can output a single PDF file for the whole exam.
- One file can be uploaded with any number of students exams.
- Scanned pages can be in any order, as the barcodes are used to match to the corresponding front page.
- Set the Resolution scanner setting to 200 dpi or higher.
- Ensure the Darkness or Contrast setting of the scan is strong enough to produce clear scans of the students' work.
Click the link in your LMS course corresponding to the Möbius Grading paper exam.
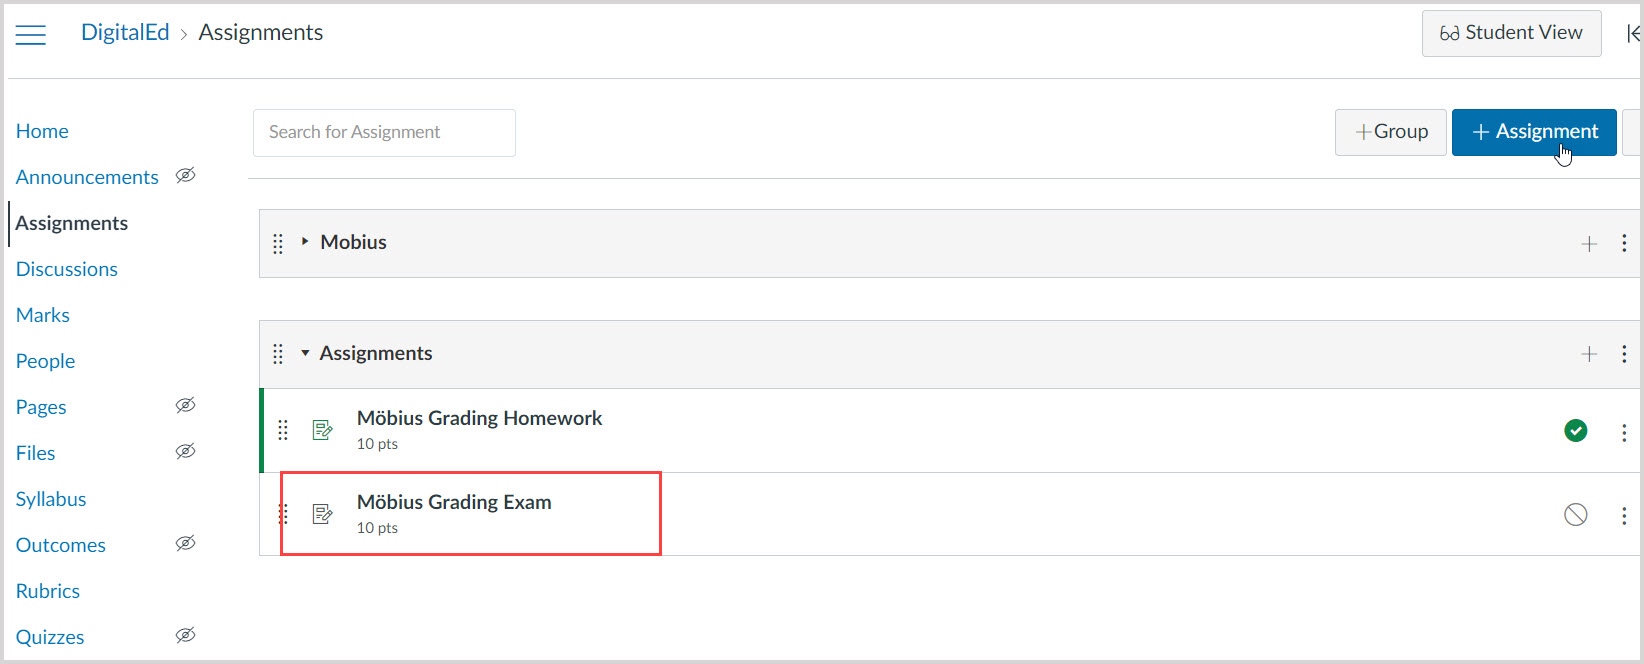
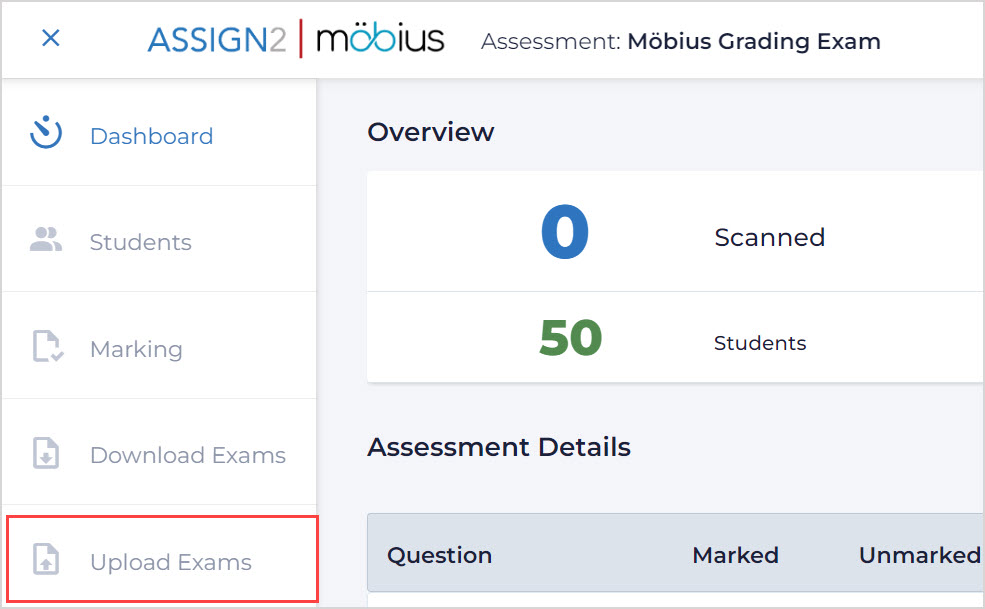
Select Upload Exams from the navigation menu.
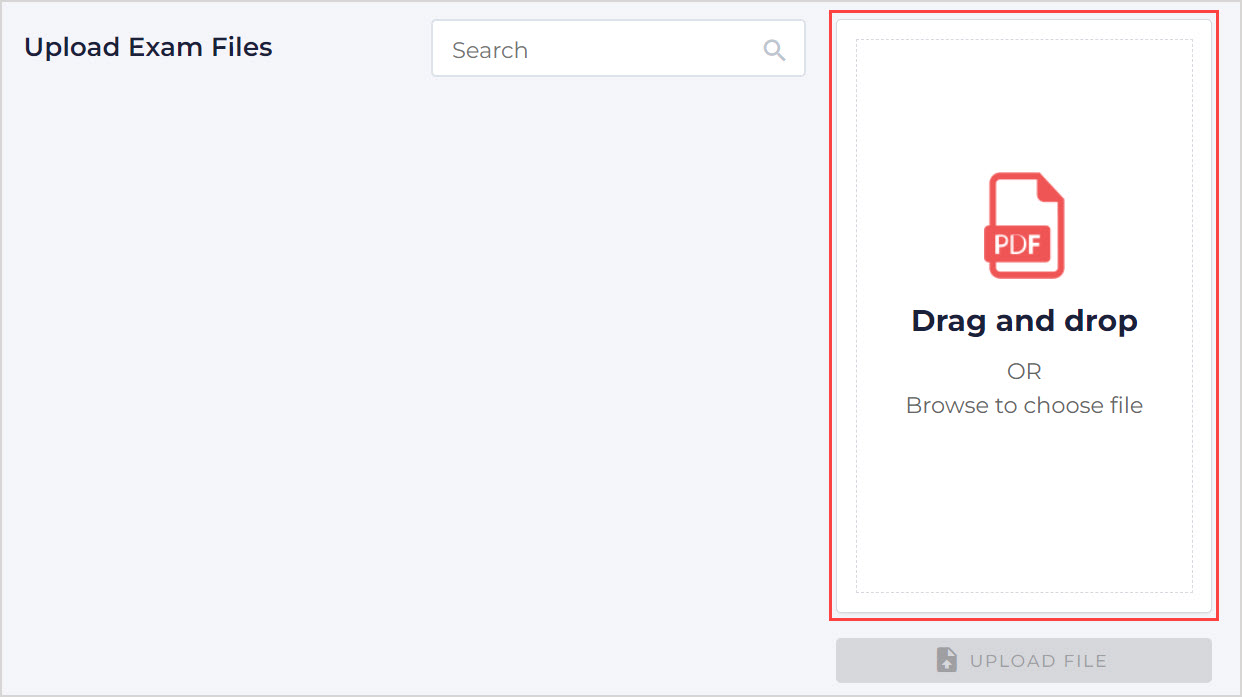
Click Browse to choose file to upload the file(s) containing the scanned paper exams.
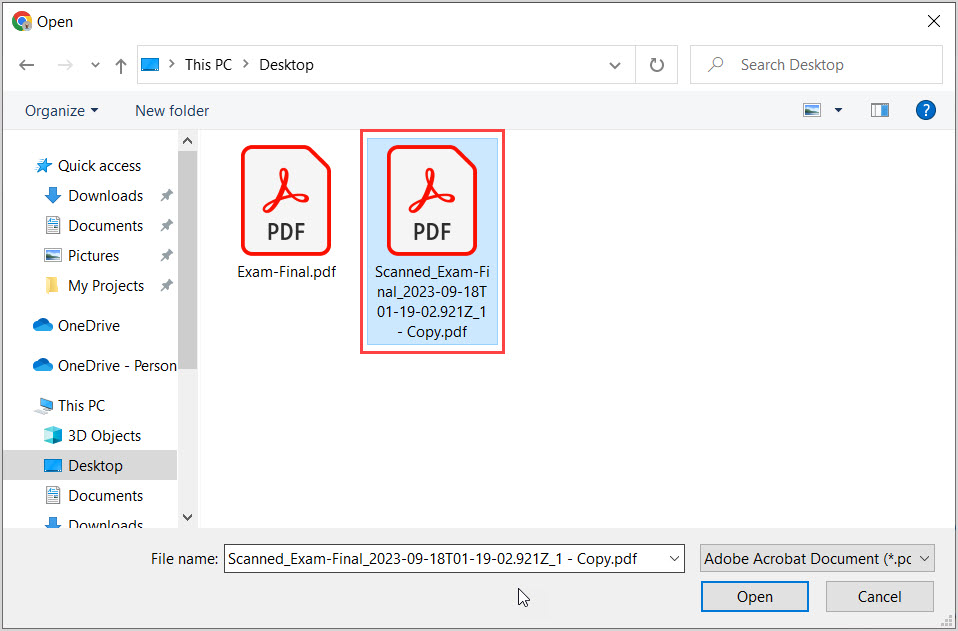
Navigate to the location of the PDF file(s) containing the scanned paper exams and select it.
TIP: Depending on your device, you can also click-and-drag multiple files from the device file manager into the upload area.
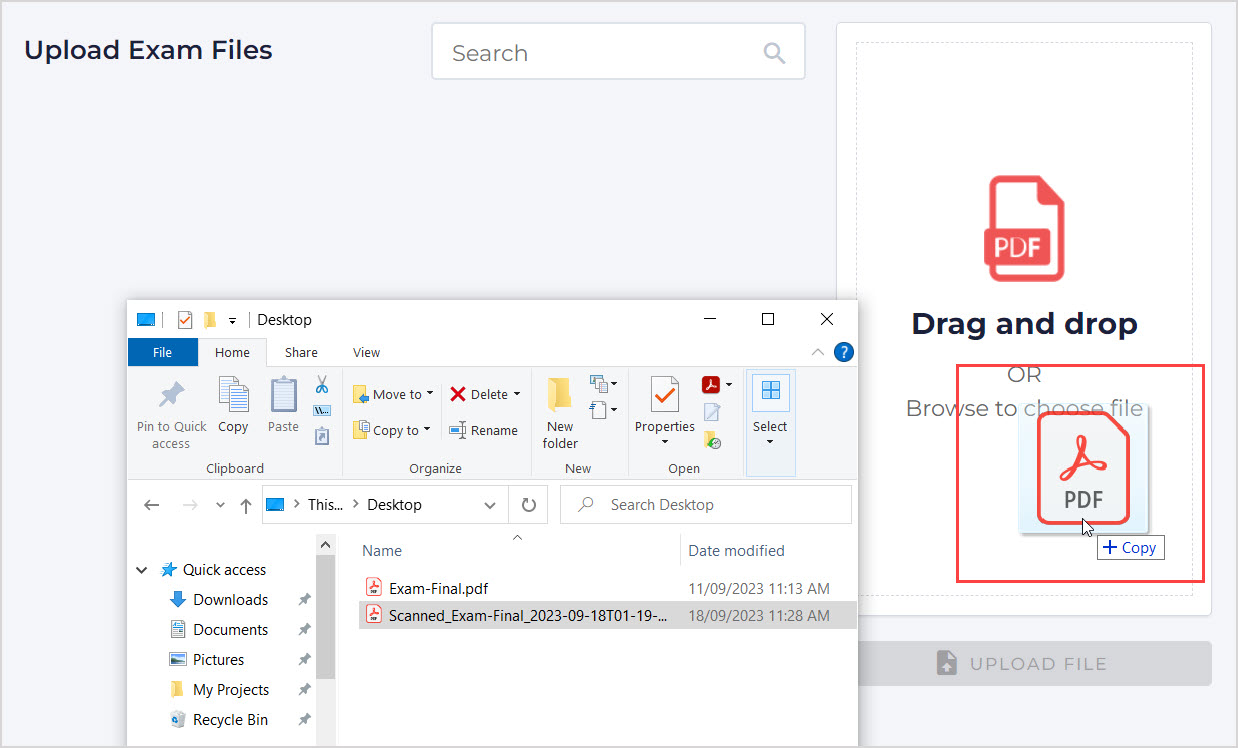
Click Upload file and Möbius Grading will begin reading the uploaded file(s).

Once reading of the uploaded file is completed, the number of completed and failed pages will appear.
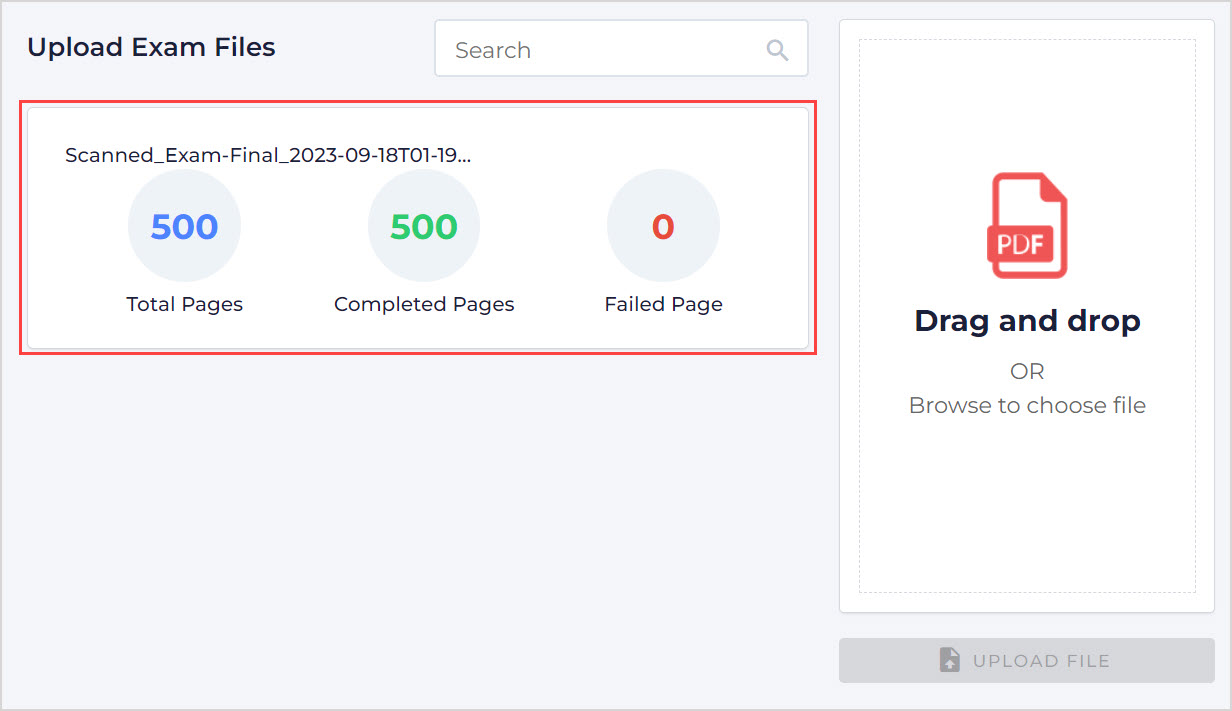
TIP: You can upload as many different scanned files as required to bring all the students' work for this assessment into Möbius Grading. The Not Scanned value on the assessment dashboard will indicate any number of exams generated that haven't yet been uploaded into Möbius Grading:
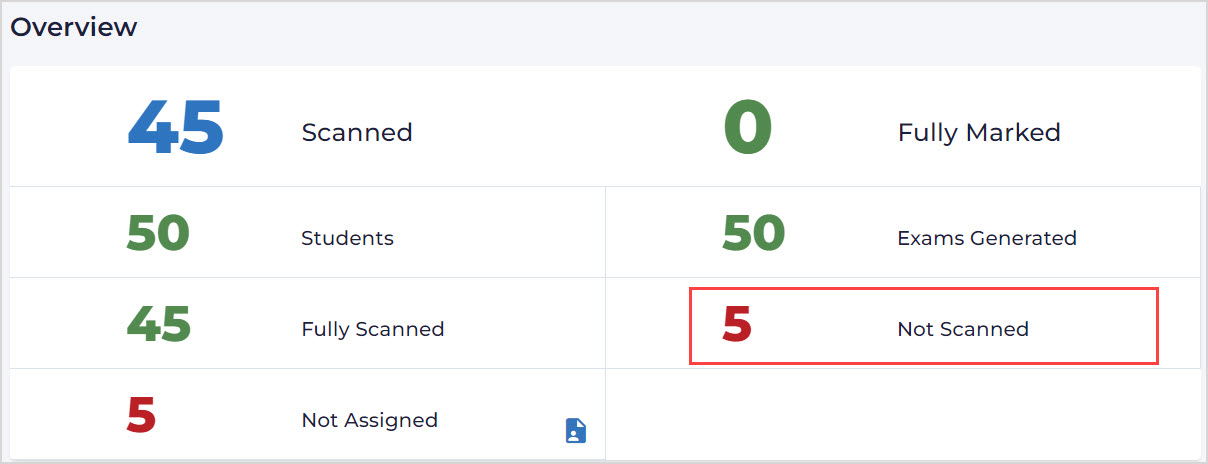
Check out View the assessment dashboard and navigation menu for more details.
Review scanning issues in an assessment
Any pages of the scanned paper exams that weren't read correctly when uploaded into Möbius Grading will be listed as Failed Pages.
To review and resolve failed pages and/or scanning issues:
Click the document icon above the Failed Pages value in the Upload Exam Files page.

Click the link for the page in the Page column of the table to view the scanned page with the issue.

Click Enter Barcode to match the scanned page to a student assessment.

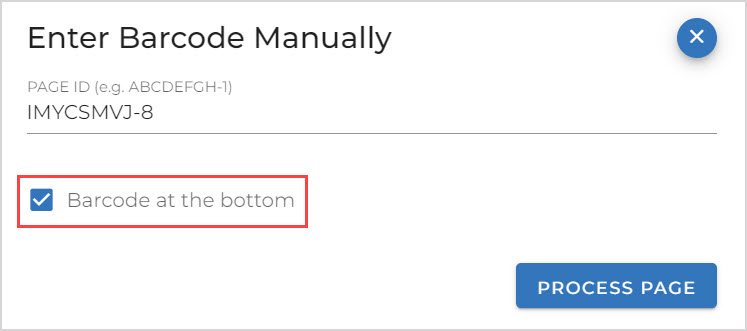
Enter the barcode of the page in the Page ID field.
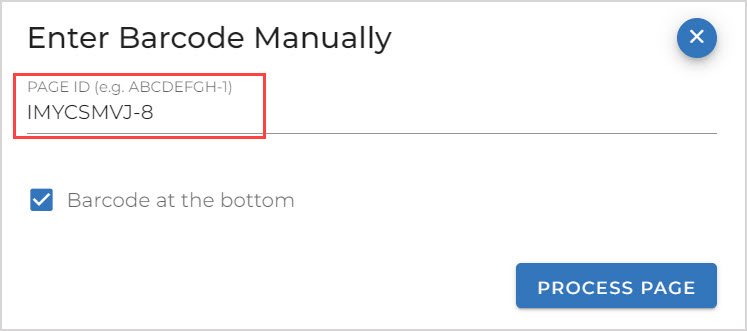
TIP: In the Enter Barcode Manually dialog box, select the Barcode at the bottom option if the details are printed at the bottom of the page and visible in the scanned paper exam.
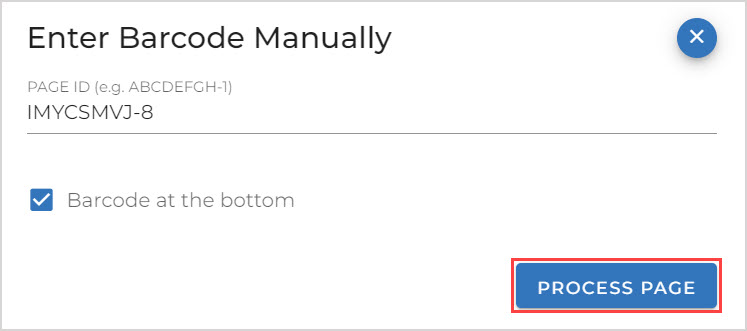
Click Process page to complete the resolution of the scanning issue.
Manually assign scanned pages in an assessment
Möbius Grading may fail to assign a scanned exam with a specific student if they don't correctly fill the exam cover page and the Student ID bubblesheet.
To manually assign a scanned exam with a specific student:
Click the document icon next to the Not Assigned value in the Overview section of the assessment dashboard.
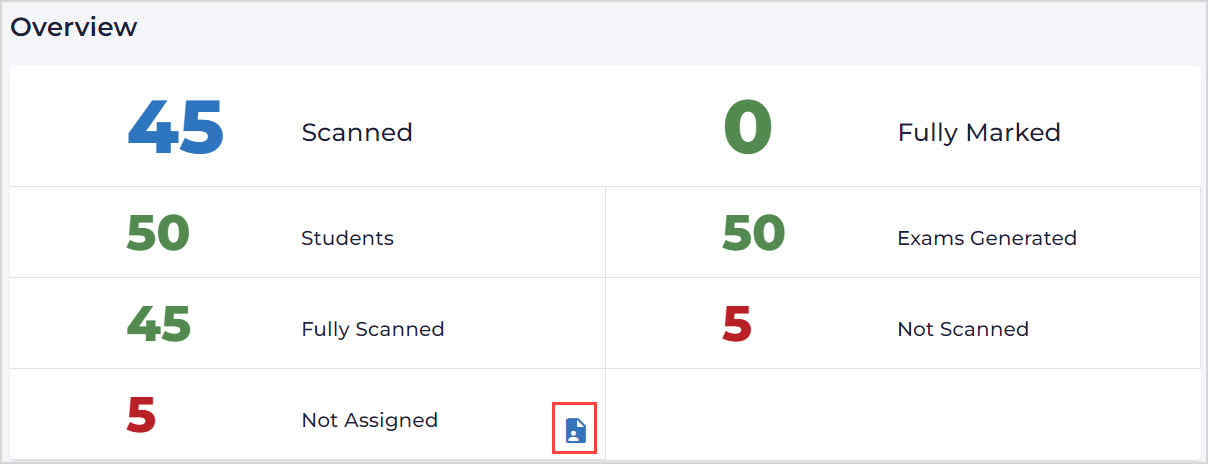
TIP: Check out View the assessment dashboard and navigation menu for more details on the dashboard and the Overview section.
View the scanned paper exam preview to determine which student to assign to this exam.
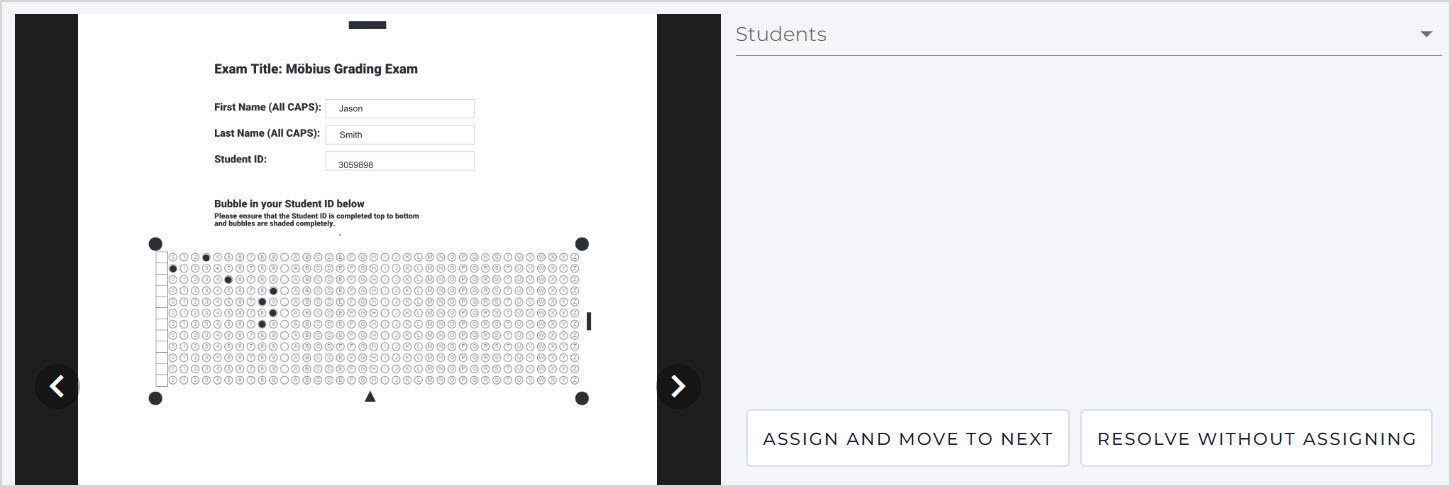
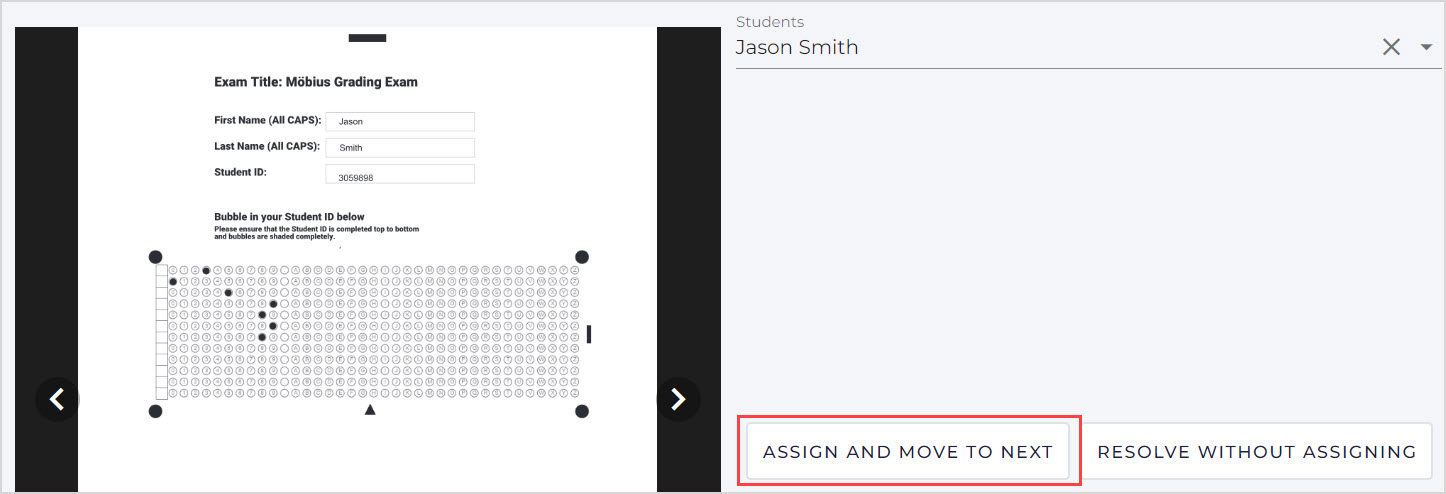
Select the student to assign to this exam from the Students drop-down menu.
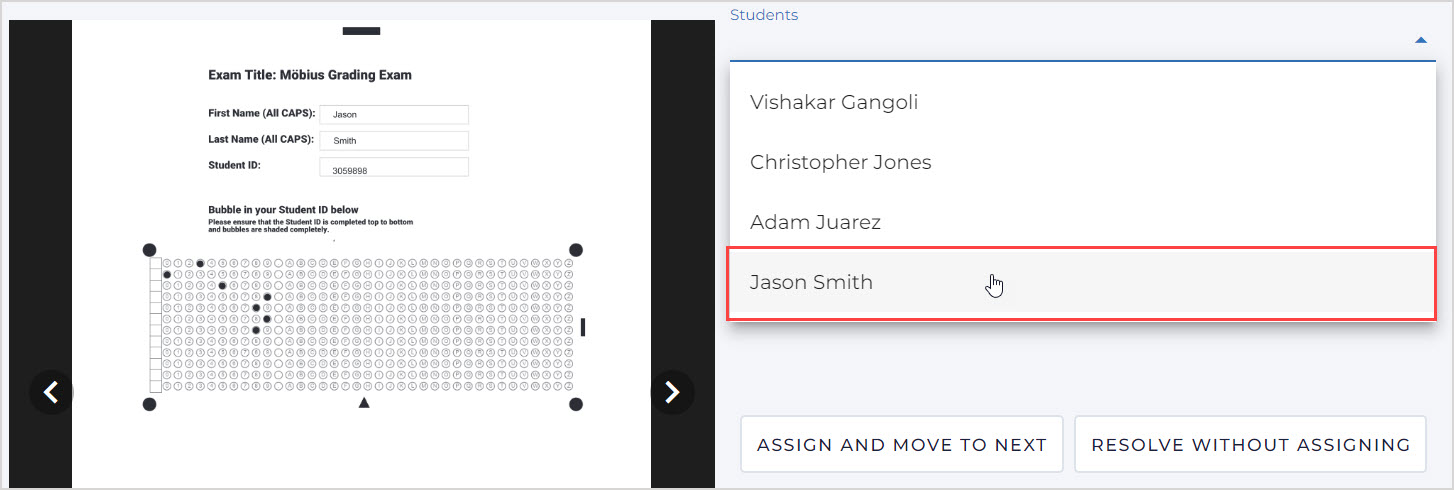
Click Assign and move to next to manually assign this scanned exam to the selected student.
What's next?
Now that you've scanned and uploaded the completed assessment, you're ready to: