Create a user
Jump to section
Only your organization's Möbius administrators and users with the instructor + create privilege can create a new Möbius user.
TIP: Contact your organization's Möbius administrator to receive a role with the instructor + create privilege so that you can create users.
NOTE: Enrolling an existing user into your class is different than creating a user. You don't need the instructor + create privilege to enroll students into your class; only to create them in the system. However, if you have the instructor + create privilege, you can create a new user while enrolling them into your class. Check out Enroll users into my class.
You can create a new user (if you have the required privileges) in two ways:
- Individually using the Add User option
- In bulk using the Import Users From Roster option
TIP: It's recommended to use the Add User option if you'll only be creating a small number of new users (Example — one or two new users). Use the Import Users From Roster option if you'll be creating several new users at once.
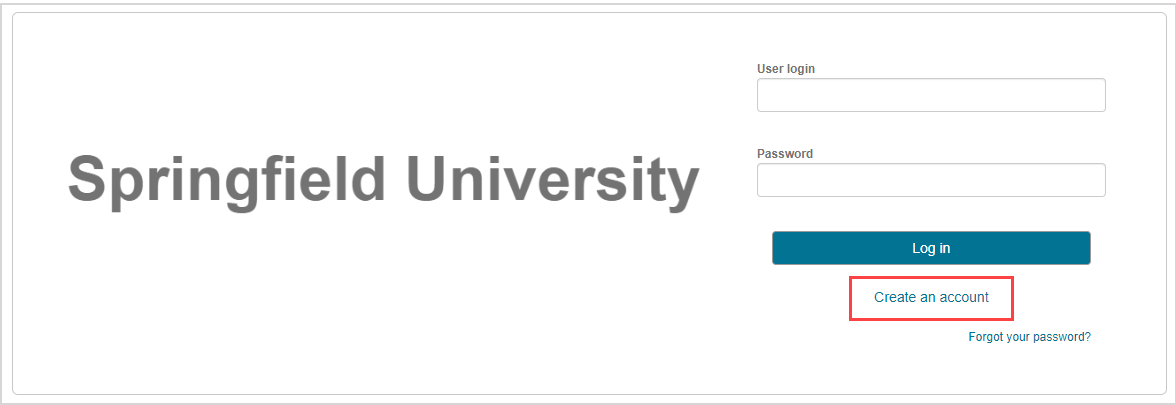
NOTE: If you don't have the role privileges to create new Möbius users, self-registration can be enabled as a global system setting to permit members of your organization to create their own Möbius account. If self-registration is enabled, users can create their own account from the Möbius log in page by clicking Create an account. Check out Manage self-registration for more information on enabling this setting.
Create a user with the Add User option
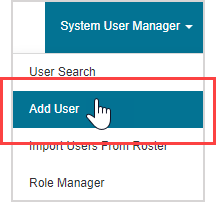
If you have the instructor + create privilege, you can access the Add User option from the System User Manager menu on the System Homepage.
TIP: The Add User option is recommended if you'll be creating a small number of new users (Example — one or two new users).
To create a user from the Add User option:
Click System User Manager on the System Homepage.

Click Add User.
Define the new user's system role. You can choose from:

- Instructor
- Proctor
- Instructor + create
- Student
- Guest
NOTE: The student system role is selected by default.
NOTE: You can only create a user with equal or lesser privileges than your own profile. Example — If you have the instructor + create privilege, you can create another user with the instructor + create privilege. However, you can't create a user with administrator privileges.
NOTE: Your organization might have additional custom roles available in the drop-down list shown in step 3.
Define the new user's User Details:
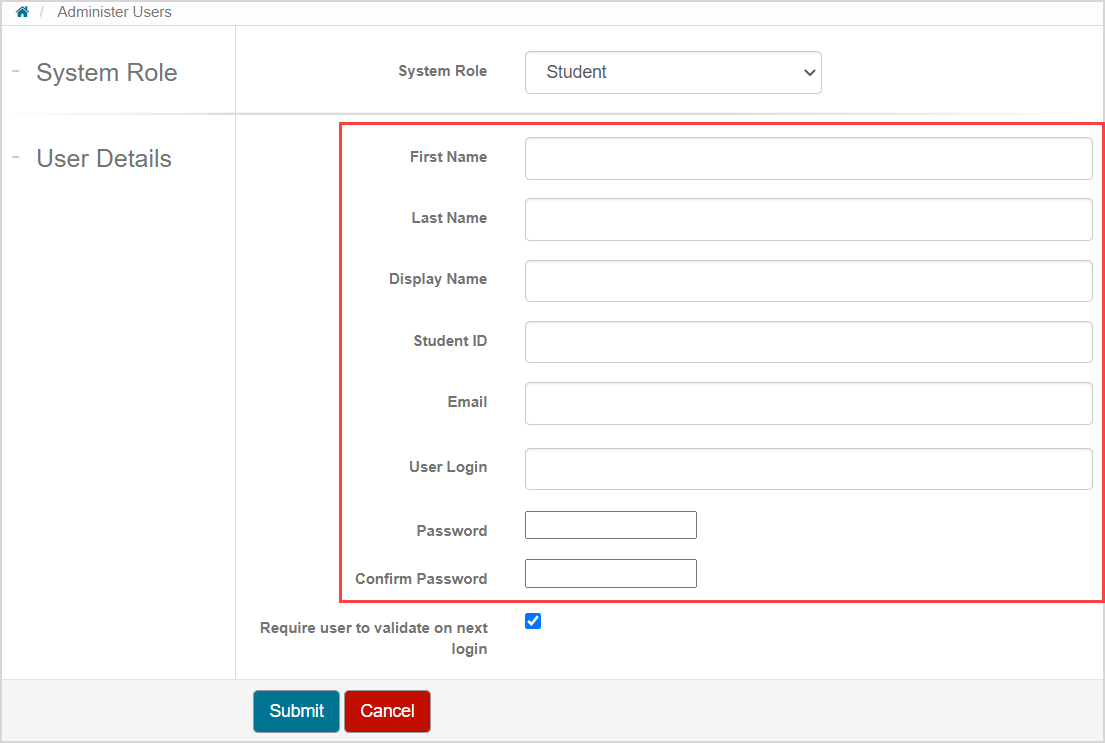
- First Name
- Last Name
- Display Name
- Student ID
- User Login
- Password
- Confirm Password
NOTE: All fields are required including any additional custom fields that might be unique to your organization (Example — Program Name).
NOTE: The Display Name will autofill using the First Name and Last Name fields, but can still be edited.
Leave the Require user to validate on next login check box selected if you want the new user to validate their profile the next time they log in. Click the check box to deselect this requirement.

NOTE: A user validates their profile by reviewing and confirming their user details upon their next login event. Check out Validate my profile.
Click Submit.
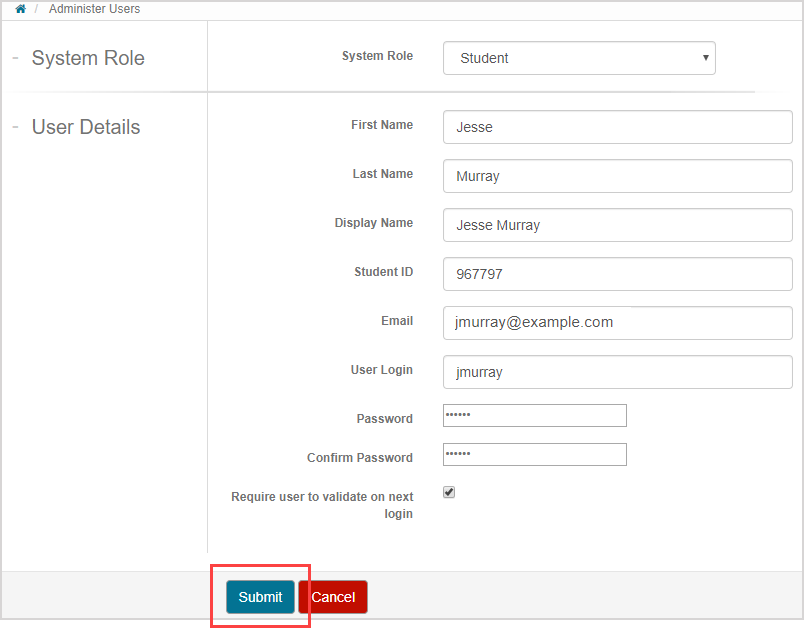
A confirmation message is displayed that the new user has been successfully created. The new user's profile now exists and they are able to log in to Möbius.
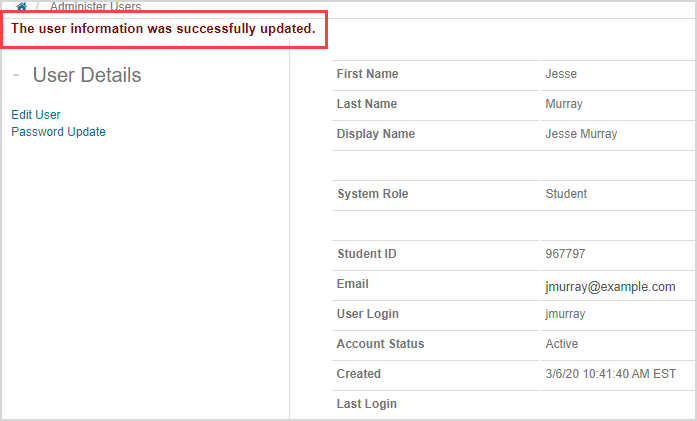
Reach out to the new user to inform them of the user login and password that you've defined (Example — send the new user an email that contains their new user login, the email address used to create their account, and the defined password). The new user can then use these credentials to log in to Möbius.
NOTE: When you create an account for a user, the new user can use either their user login or their email for logging in.
NOTE: When a user self-registers, they wont have a user login and will only be able to use their email to log in.
Create a user with the Import Users From Roster option
Jump to section
If you have the instructor + create privilege, you can create a user by uploading a user roster file using the Import Users From Roster option.
TIP: You'll want to have your .txt or .csv user roster file ready in order to use the Import Users From Roster options. Check out Work with a user roster file to learn how to work with these file types.
The Import Users From Roster option can be accessed from the:
- System Homepage
- Class Homepage
TIP: The Import Users From Roster option is recommended if you'll be creating a many new users at once.
TIP: If you have the privilege to create new users and you import a user roster file from the Class Homepage, you can create new users and then simultaneously enroll them into your class.
TIP: If you don't have the privilege to create new users, you can still use these steps to update existing users in Möbius. Check out Work with a user roster file.
Import Users From Roster option on System Homepage
Importing a user roster file from the System Homepage can be used to create new users:
Click System User Manager on the System Homepage.

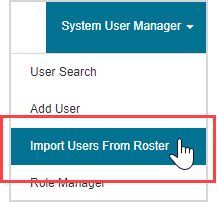
Click Import Users From Roster.
You're navigated to the Roster Upload page where you'll select your user roster file to upload to the system.
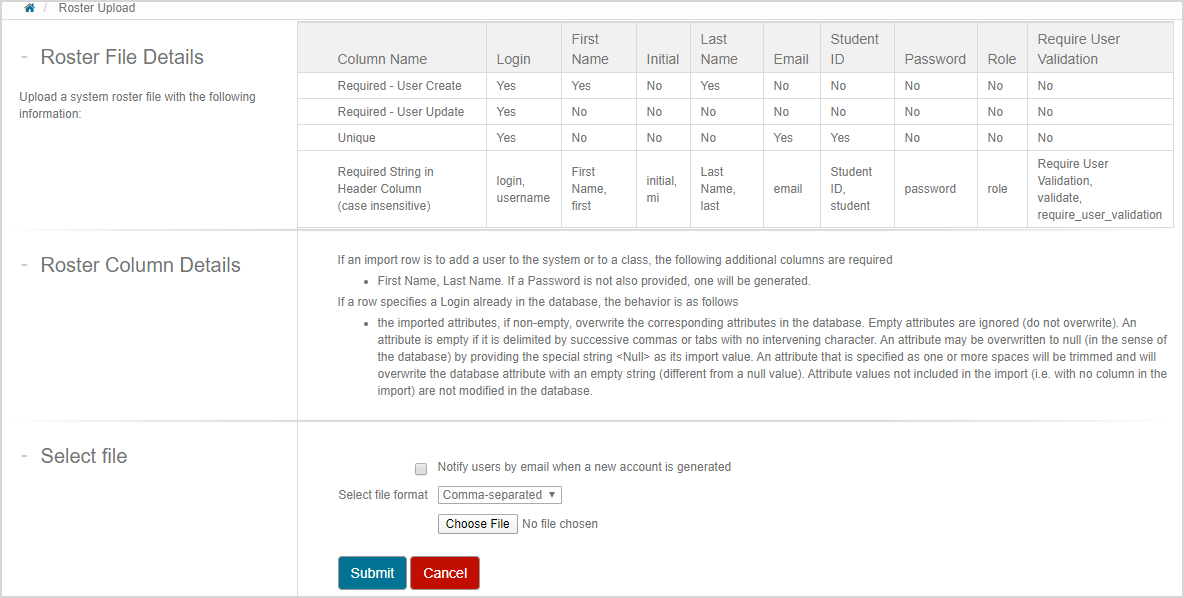
Select the Notify users by email when a new account is generated check box if you want your new users to receive an email update of their new Möbius account and login credentials.

Use the Select file format drop-down list to select the type of file that your user roster file is saved as.

Click Choose File to upload your user roster file from your computer.

Click Submit to preview your user roster file upload.

NOTE: Clicking Submit without a selected file will prompt you to select a file location.

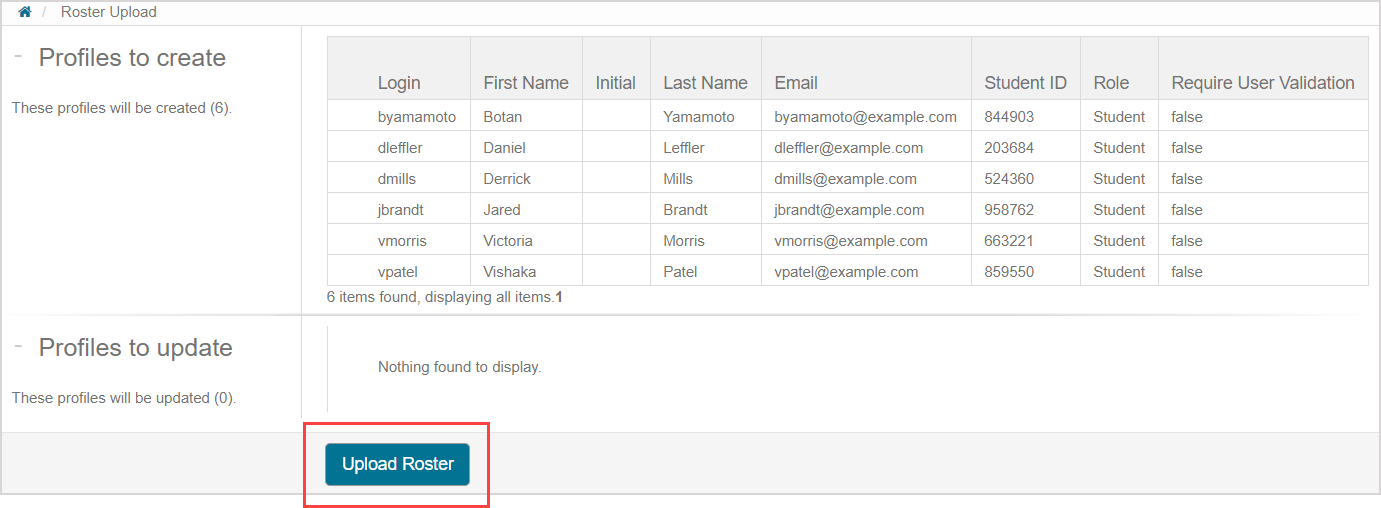
A preview of the new profiles that are to be created is displayed.
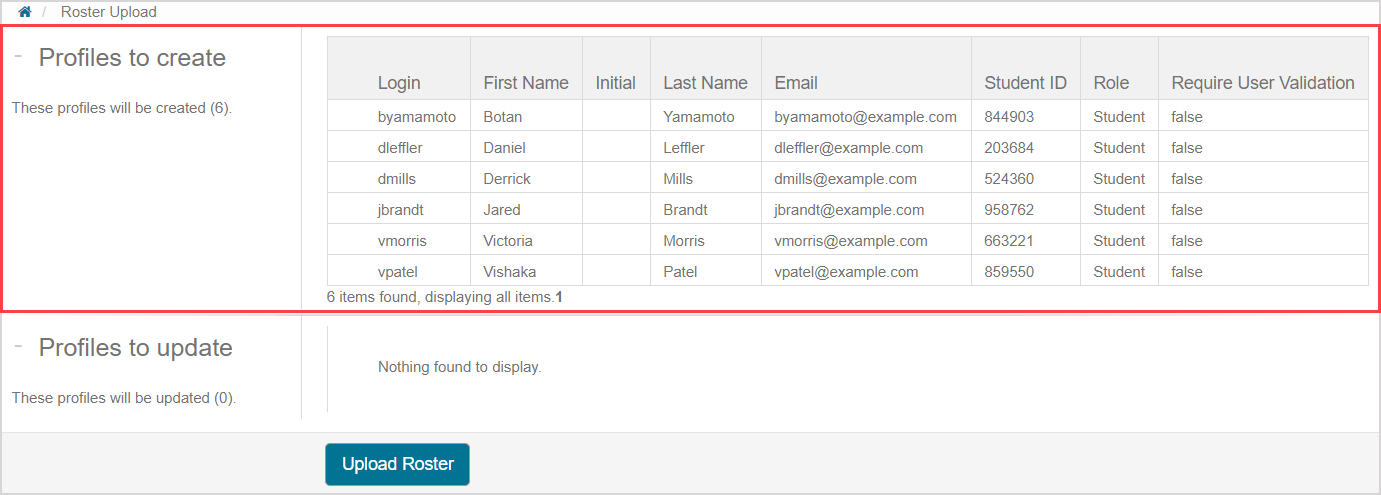
TIP: You can also use a user roster file to update existing profiles in Möbius. Check out Work with a user roster file.
Click Upload Roster.
A confirmation message is displayed with a summary of the new users that have been created in Möbius.

Click Return to be navigated back to the User Search menu of the System User Manager where you can search for specific users within your organization.

TIP: Click Create CSV to generate a CSV file download so that you can maintain a record of the users that have been created.

Import Users From Roster option on Class Homepage
Importing a user roster file from the Class Homepage can be used to create new users and simultaneously enroll them into the class you're using to import the user roster file:
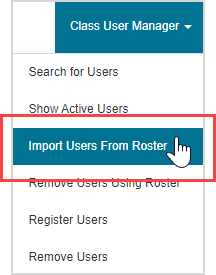
Click Class User Manager on the Class Homepage.

Click Import Users From Roster.
You're navigated to the Roster Upload page where you'll select your user roster file to upload to the system.
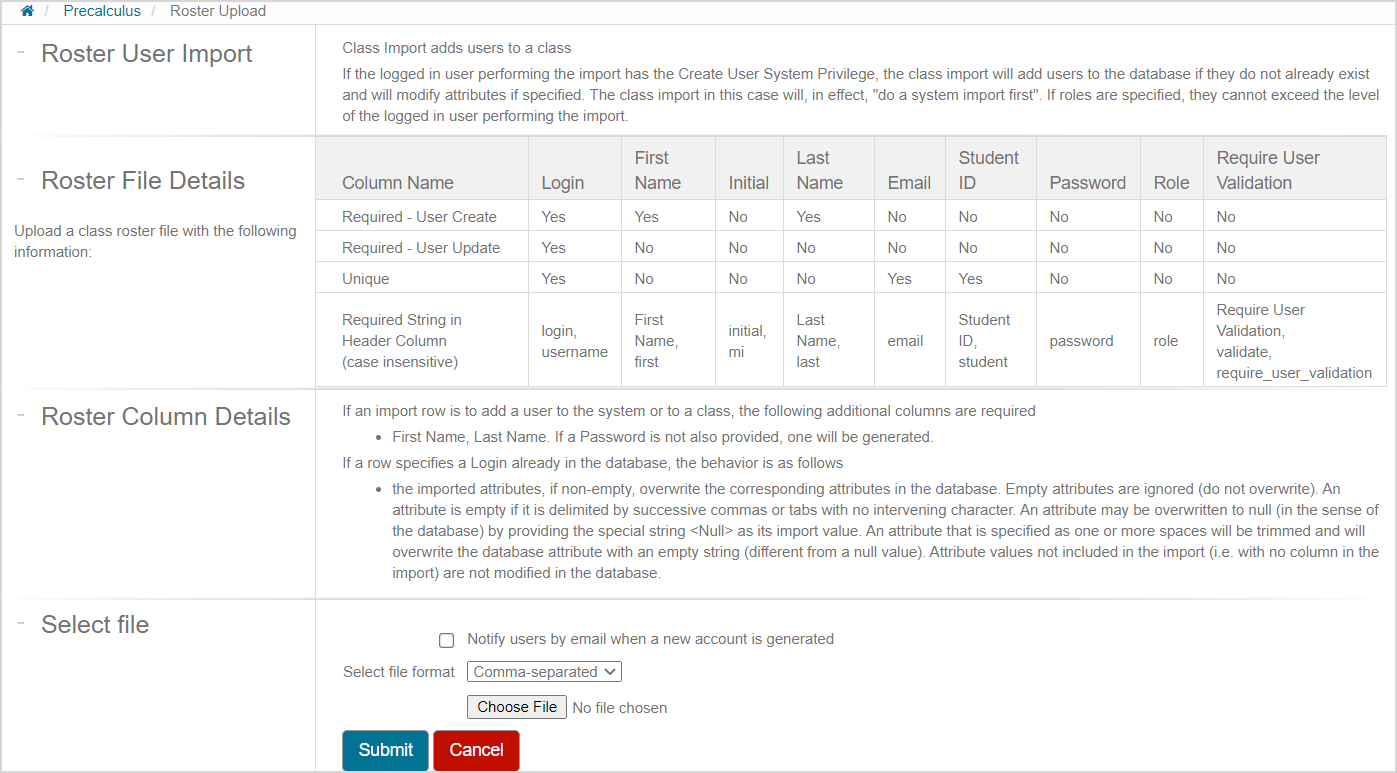
Select the Notify users by email when a new account is generated check box if you want your new users to receive an email update of their new Möbius account and login credentials.

Use the Select file format drop-down list to select the type of file that your user roster file is saved as.

Click Choose File to upload your user roster file from your computer..

Click Submit to preview your user roster file upload.

NOTE: Clicking Submit without a selected file will prompt you to select a file location.

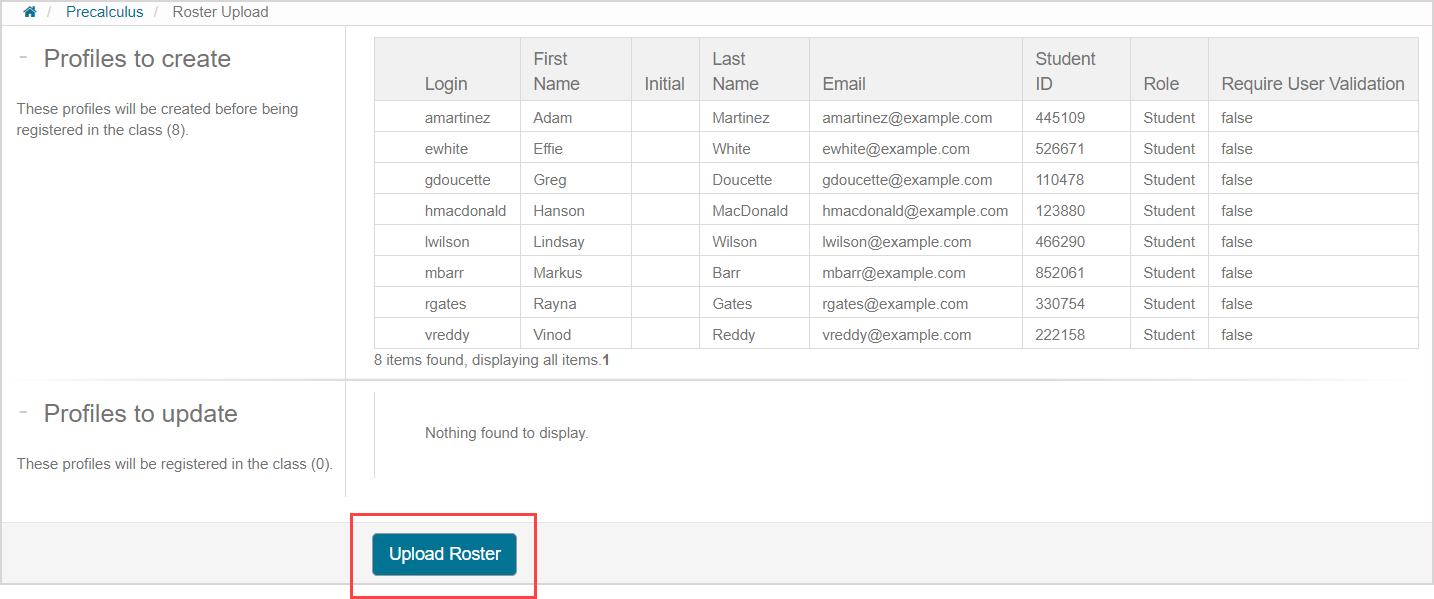
A preview of the new profiles that are to be created is displayed.
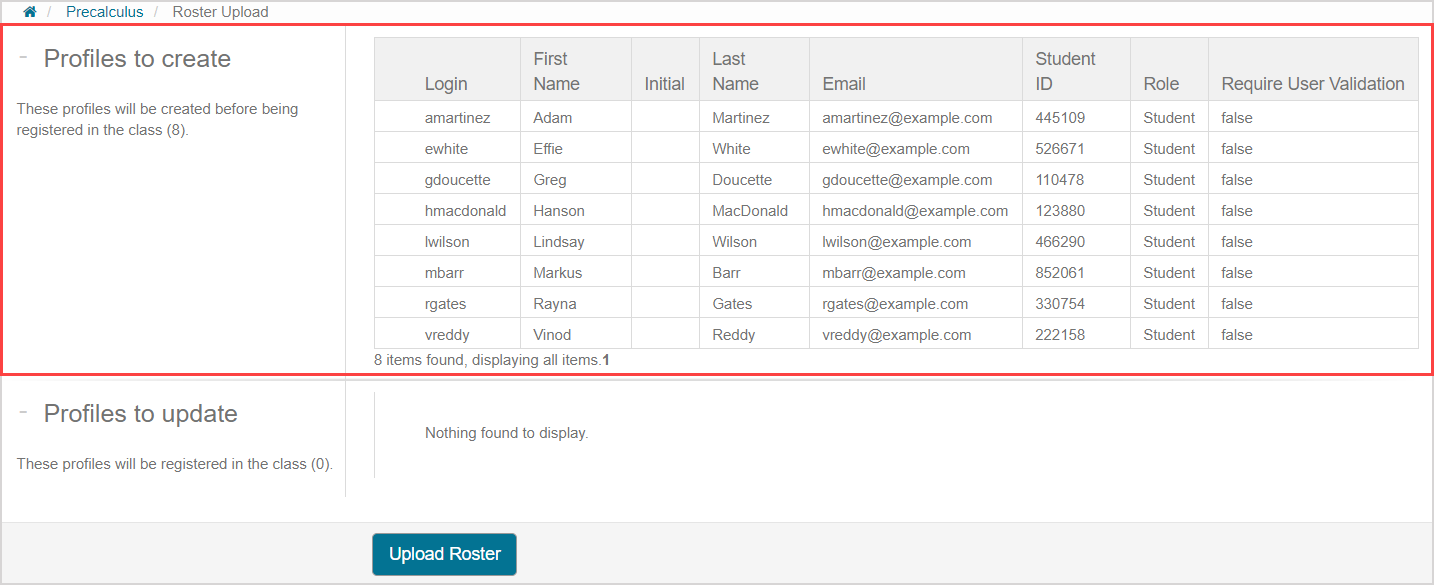
Click Upload Roster.
A confirmation message is displayed that the new users have been created in Möbius and are now enrolled into your class.

NOTE: The Password field is kept blank when you create a new user from within a class.
Click Return to be navigated back to the User Search menu of the Class User Manager where you can search for specific users within your organization.

TIP: Click Create CSV to generate a CSV file download so that you can maintain a record of the user(s) that has been created.
