Grade student submissions
You can use the markup and rubric tools in Möbius Grading to grade any assessment and add student and grader feedback.
TIP: Check out Schedule assessments and manage feedback settings for options on making the feedback available to students after grading has been completed.
These tools are accessed through the Marking option in the navigation menu.
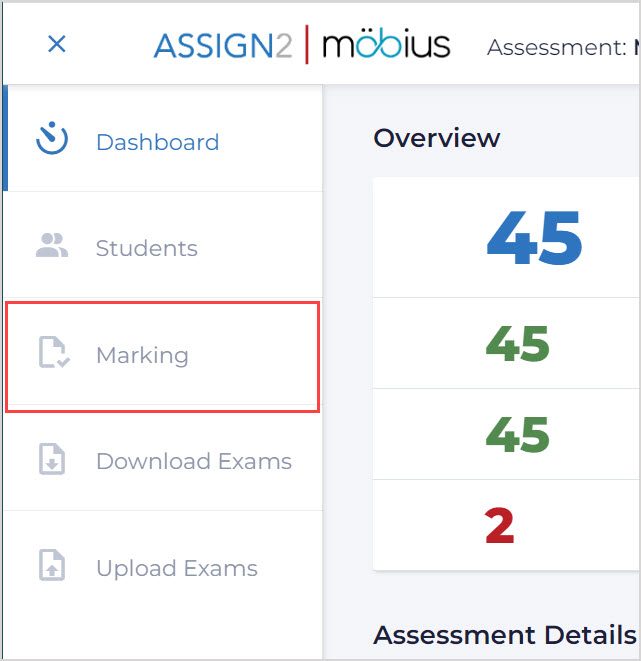
TIP: Check out View the assessment dashboard and navigation menu for more details on the navigation menu.
Overview of the grading interface
The grading interface allows multiple graders to score and markup each student submission for the assessment:
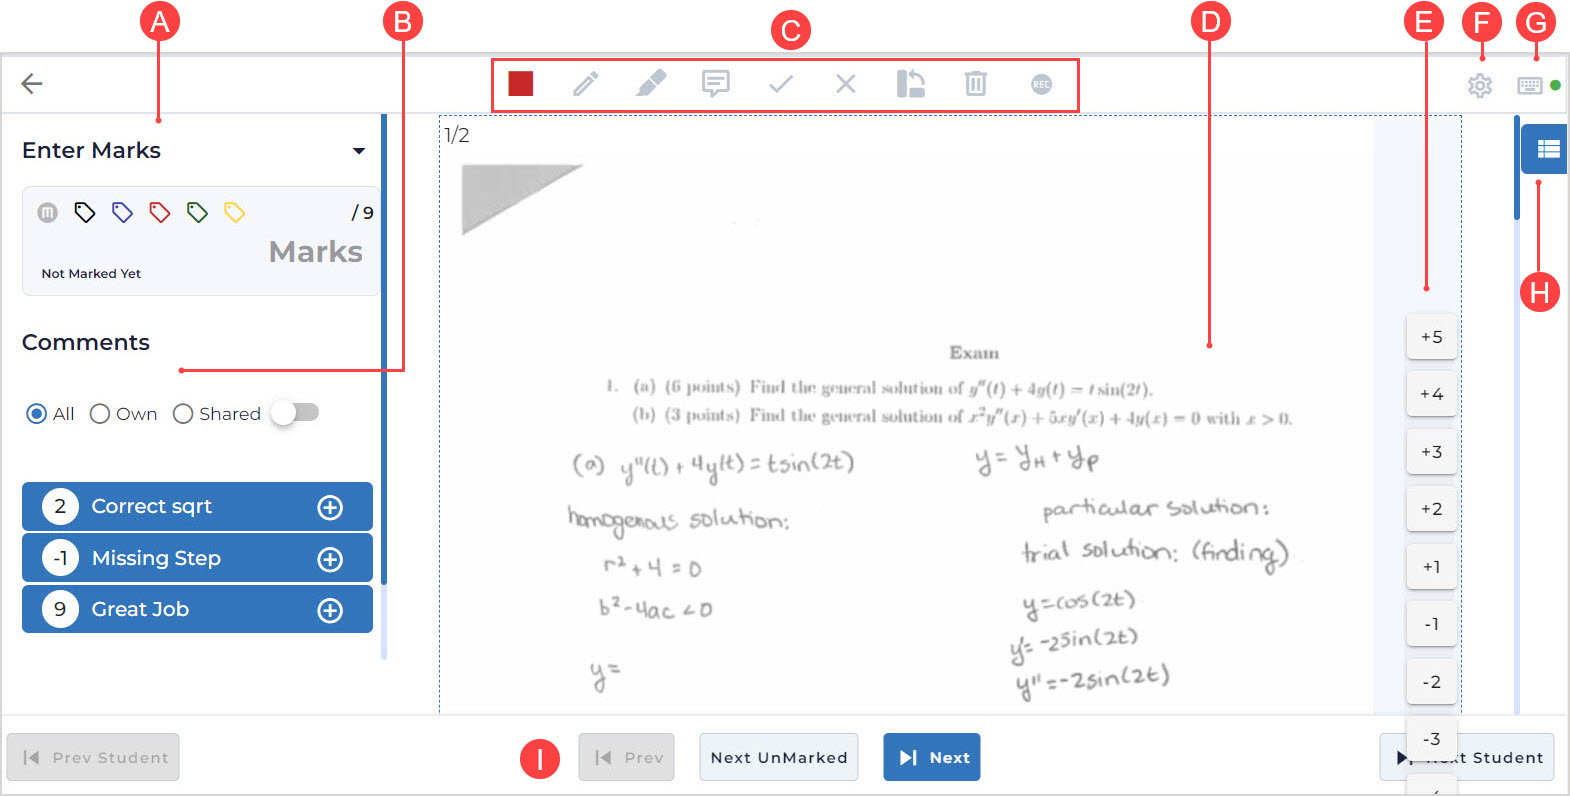
A. Enter Marks — Click to assign any of the colored tags, and enter any number to update the Marks field.
B. Comments — A list of comments or rubric items to add as feedback (check out Add comments when grading).
C. Markup toolbar — Symbols or annotations to add as feedback (check out Use the markup tools).
D. Preview — Student's response which can be annotated with comments and markup tools.
E. Quick Grade buttons — Select one of these numbers, then click anywhere in the Preview to add the selected number as a comment and modify the student's grade.
F. Settings — Control settings for the grading of the current assessment.
G. Keyboard shortcuts — Control keyboard shortcuts for the grading interface (check out Use keyboard shortcuts while grading).
H. Exam List— Hide or show the list of all submissions and grades (check out Navigate the Exam List of student submissions).
I. Navigation buttons — Navigate to the Previous Student or Next Student and their full submission, or navigate to the Previous, Next Unmarked, or Next submission by the current student.
Add comments when grading
Comments can be saved for all instructors to re-use common feedback and set up rubric-style grading for the assessment.
You can add comments to each student submission to provide feedback and modify the grade.
To save and apply a new comment for the question:
Click the Comment icon from the markup toolbar.

Enter your comment in the Comment field.
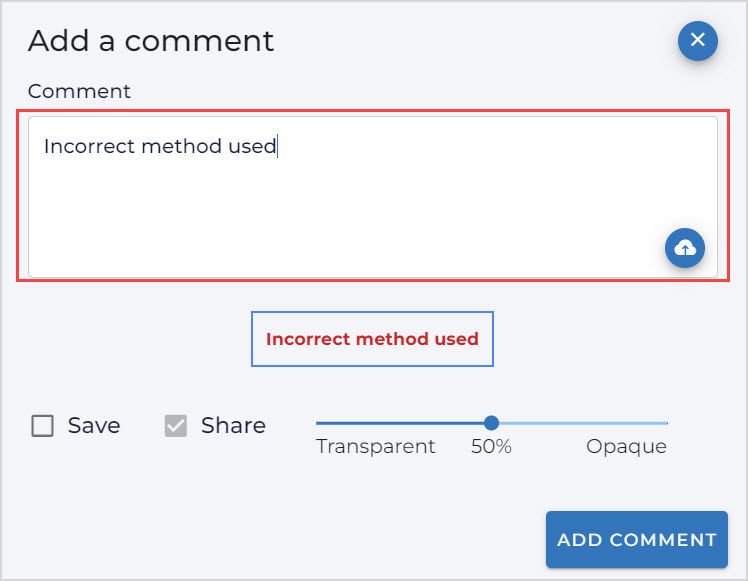
NOTE: Text, images, Markdown formatted comments, and LaTeX formatted comments can be added here.
Enable the Save and Share checkboxes to save your comment for future use in this question, and share it with other users grading this question.
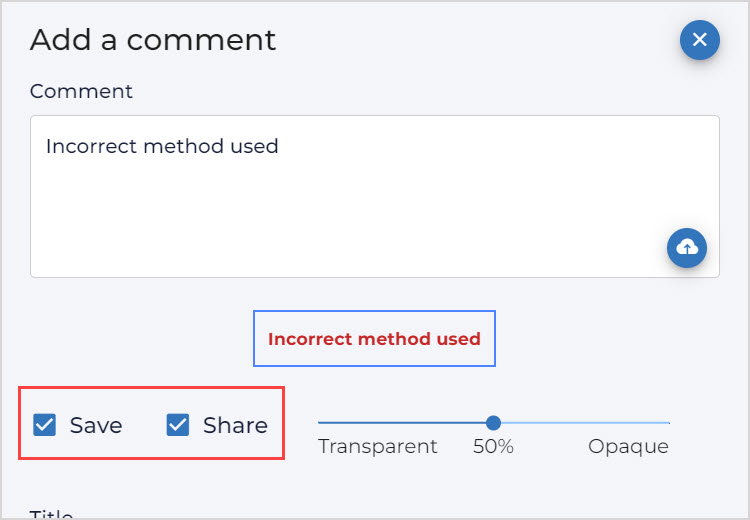
TIP: You can use the slider between Transparent and Opaque to adjust the transparency of the comment when visible on the preview of a student's submission.
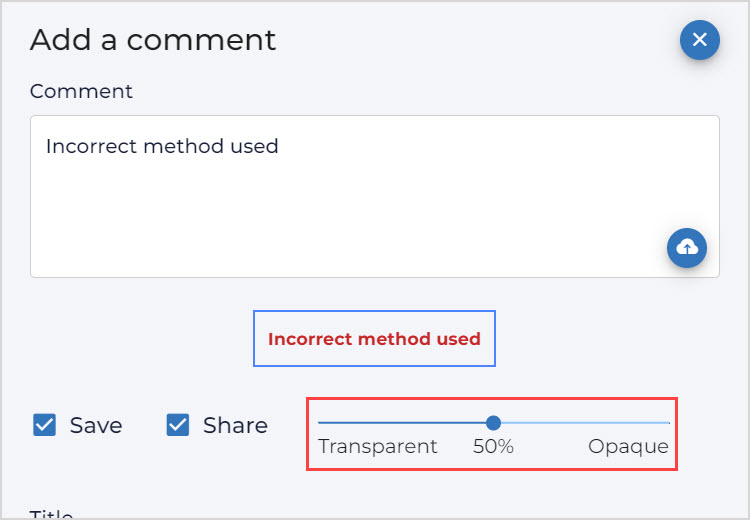
(Optional) Enter a name for the comment in the Title field; this will appear in the list of comments.
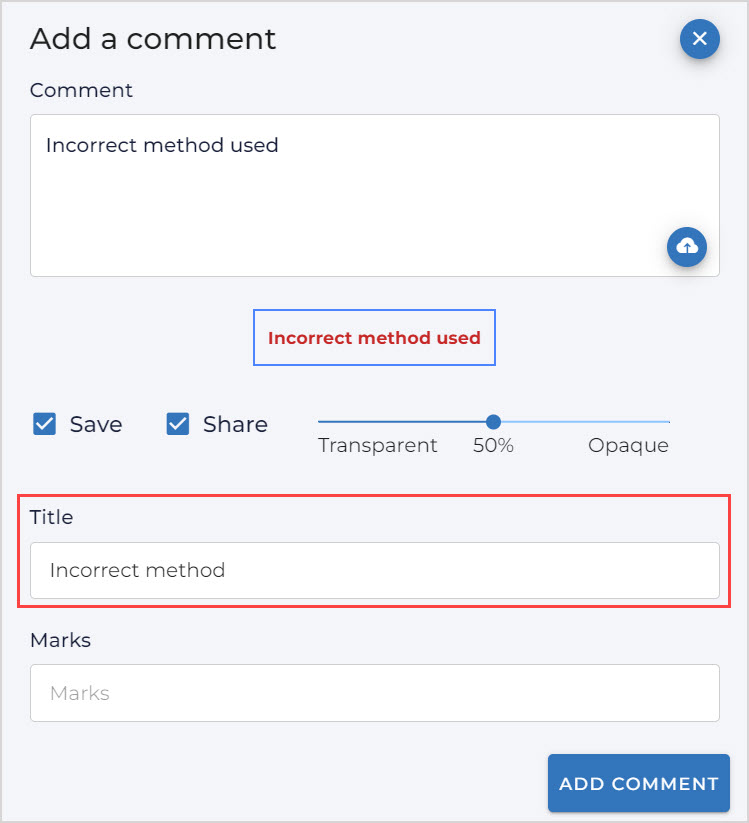
(Optional) Enter the score for this comment in the Marks field; the number will be automatically added (or subtracted for negative numbers) to the student's grade when this comment is applied to their submission.
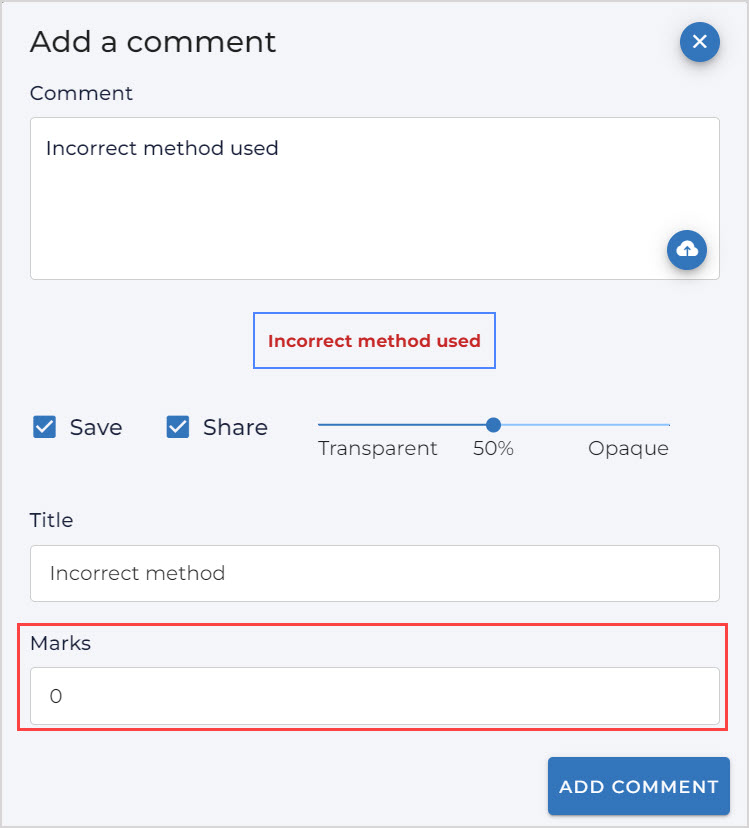
Click Add Comment to create the comment.
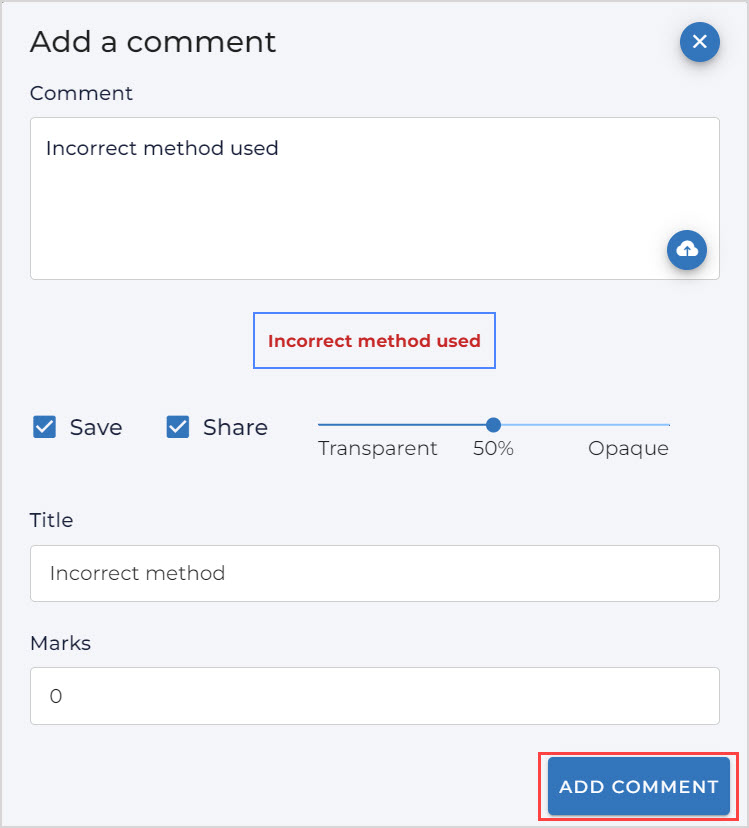
The comment is saved to the Comments list, with Trash and Edit buttons to allow for deleting or editing the comment.
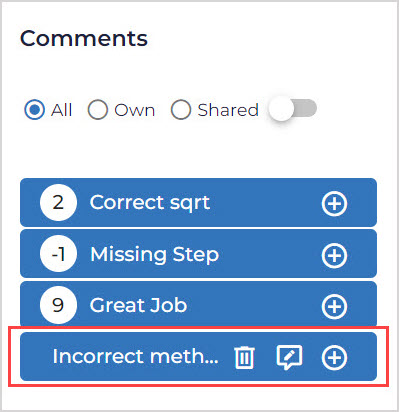
IMPORTANT: Editing the Marks allocated to a comment will update the grades for any student submission where that comment has been already added (it may be necessary to refresh your screen to see these changes).
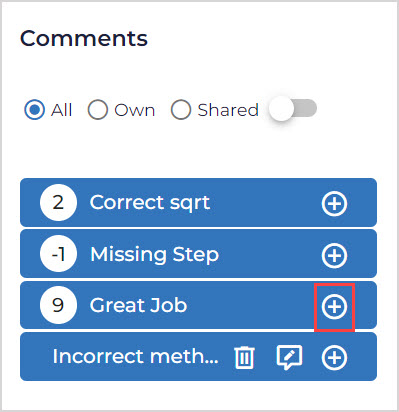
Click Add next to the name of the new comment.
Click on the Preview of the student's submission in the location where you wish to add the comment.

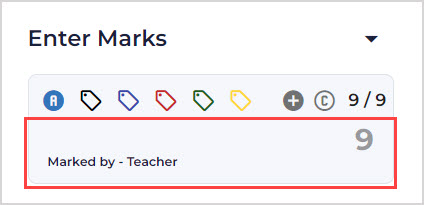
TIP: If the comment has a value for the Marks field, the students submission will be graded with this value added to the students score, and the Enter Marks section will be updated.
Use the markup tools
Each button in the markup toolbar allow graders to add annotations or symbols onto student submissions in the Preview area:

A. Colors — Click to change the color of other markup tools in the toolbar.
B. Pencil — Click to free-form draw lines on the Preview area.
C. Brush — Click to free-form paint transparent lines or highlighting on the Preview area.
D. Comment — Click to create a feedback comment (check out Add comments when grading).
E. Check — Click to add a tick symbol anywhere on the Preview area.
F. Cross — Click to add a cross symbol anywhere on the Preview area.
G. Rotate — Click to rotate the Preview area for easier viewing of the student's submission.
H. Trash — Click the Trash button, then click any existing feedback on the Preview area to remove it.
I. Microphone — Click to record feedback on your device using microphone and screen sharing.
Use keyboard shortcuts while grading
Each grader can use individualized keyboard shortcuts to assist with the grading process.
The following table lists some of the default keyboard shortcuts:
| Shortcut | Action | Shortcut | Action |
|---|---|---|---|
| [Shift + r] | Open rotate image modal | [Shift + c] | Open new comment modal |
| [Shift + x] | Select cross tool | [Shift + y] | Select tick tool |
| [Shift + b] | Select brush tool | [Shift + p] | Select pencil tool |
| [Shift + u] | De-select current tool | [Shift + z] | Show comment menu |
To view your personalized list of keyboard shortcuts for grading, click Keyboard shortcuts in the top right corner:

To modify and personalize these shortcuts, click Customize Shortcuts:
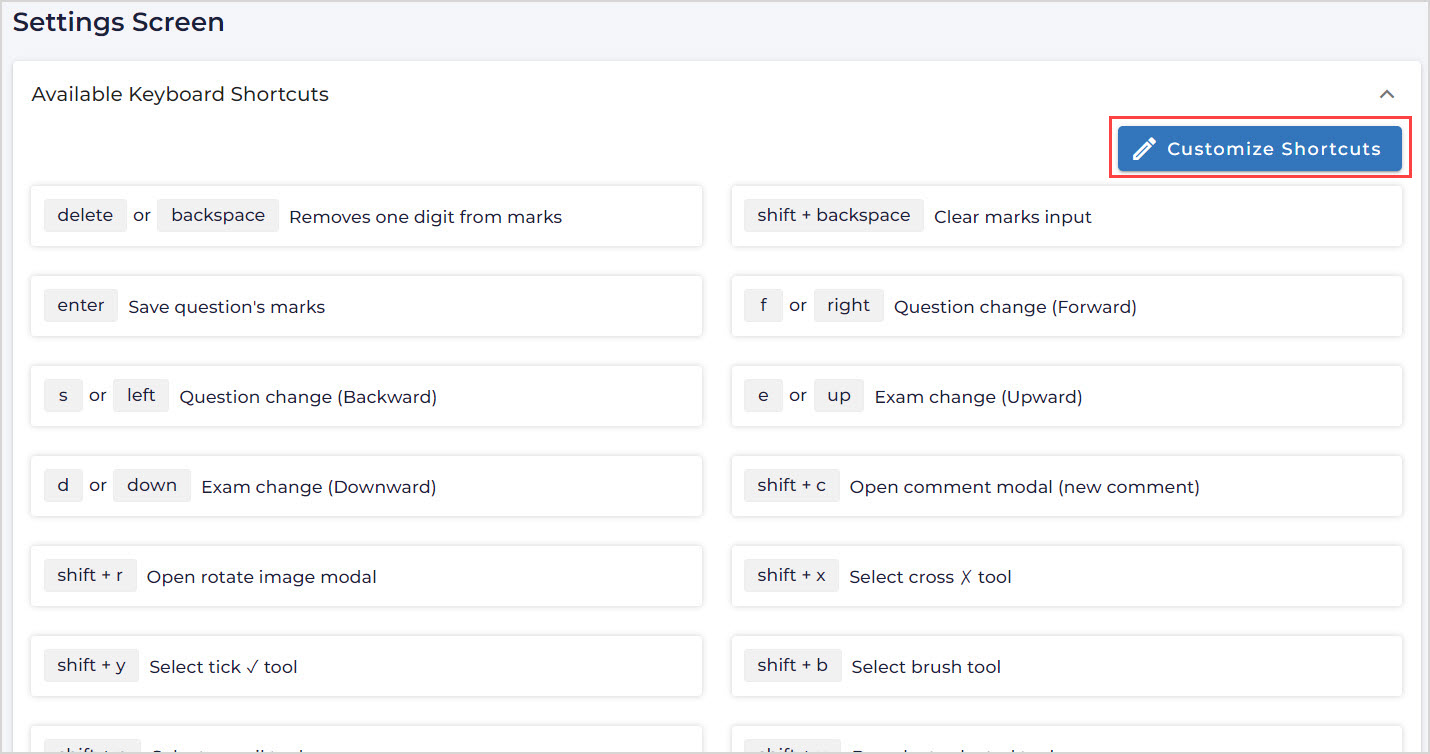
NOTE: From the Settings or Customize Shortcuts pages, use the Back button in your browser to return back to the Marking screen.
Navigate the Exam List of student submissions
The Exam List pane shows the list of all submissions for this assessment, and indicates which submissions have been updated by a grader.
Click Exam List on the right side of the Marking page to expand the list:

When expanded, the Exam List contains the following information:
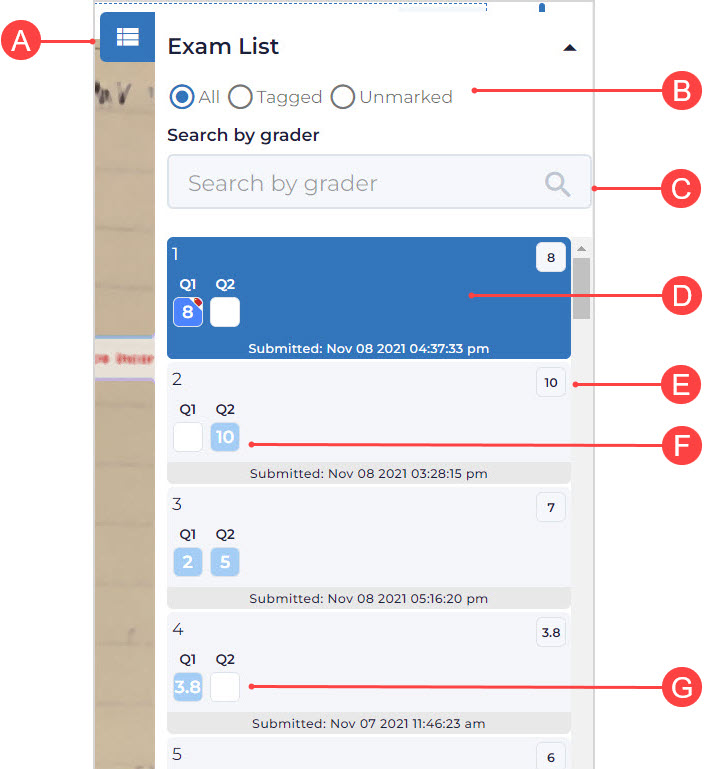
A. Show/Hide Exam List — Click to show or hide this pane from view.
B. Filters — Select the All, Tagged, or Unmarked radio button to filter out the list of submissions.
C. Search by grader — Enter the name of a grader to filter out only submissions they have graded.
D. Current submission — In the list of students, the question currently being graded and displayed in the Preview is highlighted.
E. Total score — The total grade for this student's submission across the whole assessment.
F. Question with grade — Click here to preview and update the grade for this submission. A blue highlight and a number for the question grade indicates this submission has already been graded.
G. Ungraded question — Click here to preview and grade this submission. No highlight and no number indicates this submission hasn't been graded.
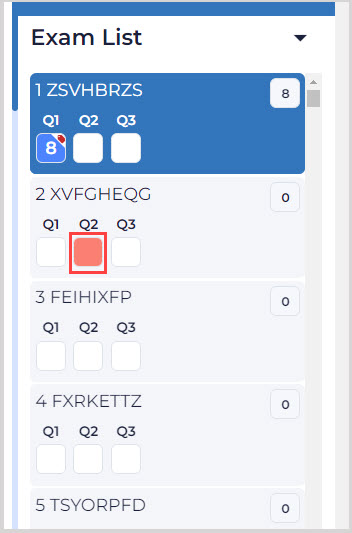
TIP: To support collaborative grading, a student's submission in the Exam List that is currently being viewed by another grader is highlighted in red.
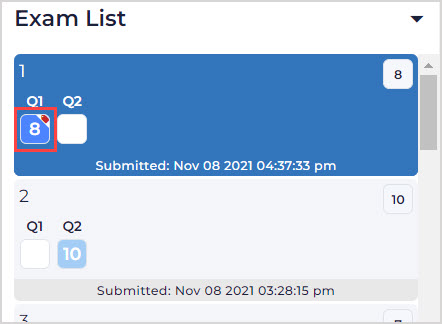
TIP: If a student's submission has been assigned a colored tag (from the Enter Marks section) then this color will appear on the Grade for that submission in the Exam List.
TIP: Check out Manage the students list in Möbius Grading for details on how to search by student and view the grades and feedback for specific students.
What's next?
Once you've completed grading for all students, you're ready to: