Edit a user
Jump to section
When searching for a user within your organization, you can perform the following tasks with the search results:
- View the user's information and enrollment
- Edit the user's information
- Change the system role of the user
- Change the password of the user
Administrators can perform these tasks by accessing the user profile of the user to be edited.
NOTE: Additionally, administrators can delete users from their organization (check out Delete a user).
View a user's profile
You can search your entire Möbius organization to access a specific user profile.
To view the user profile of the user to be edited:
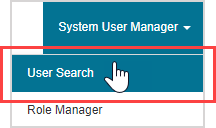
Click System User Manager on the System Homepage.

Click User Search.
Search for the user profile to be edited (check out Search for a user).

The user profiles that match your search criteria are displayed in the Active users in system pane.

TIP: Administrators can delete users from the organization-wide user search results (check out Delete a user).

Click a user login to view the user profile.

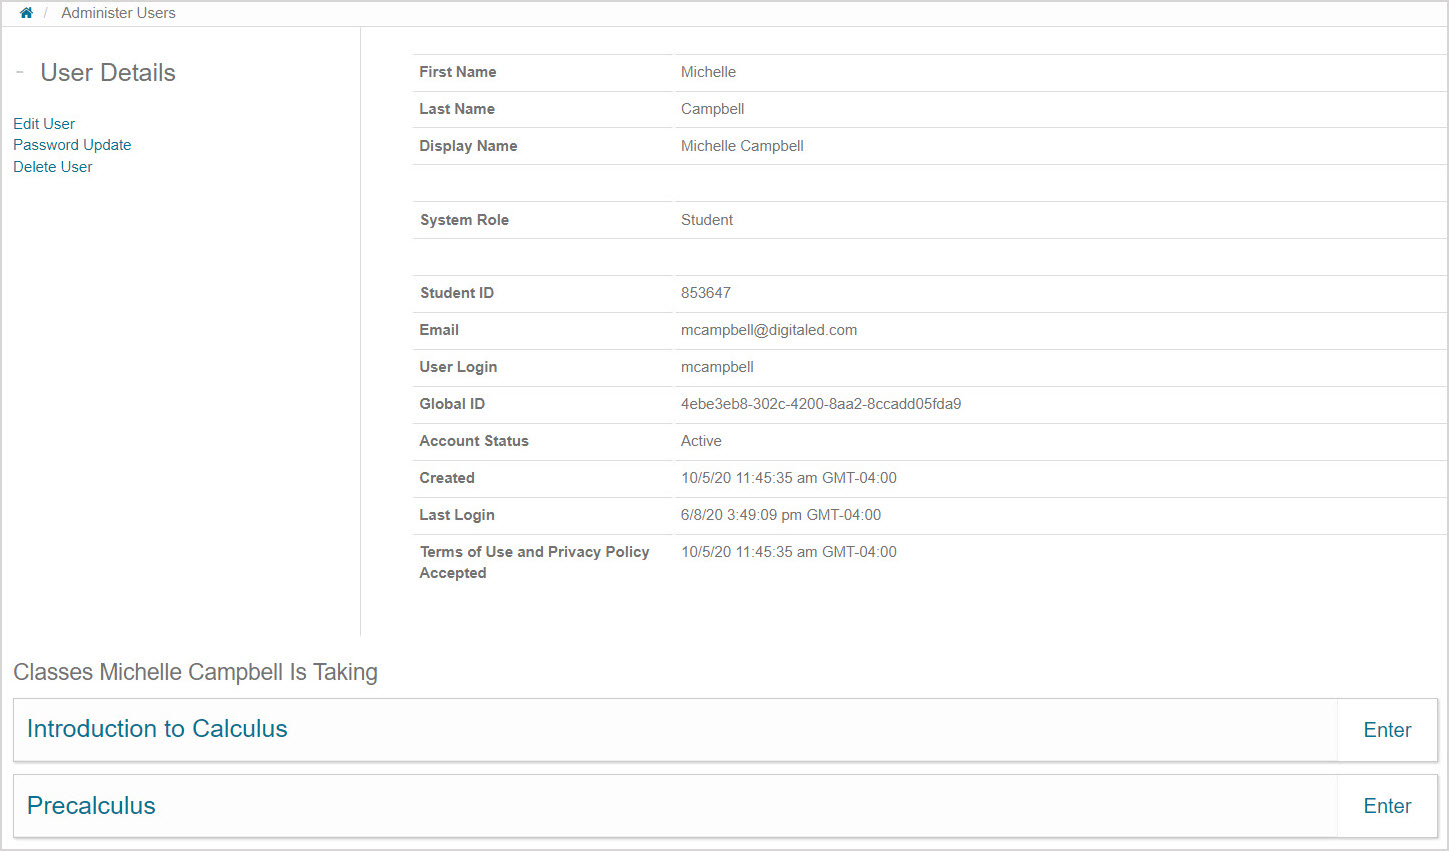
You can review the user details and enrollment information on the User Details page.
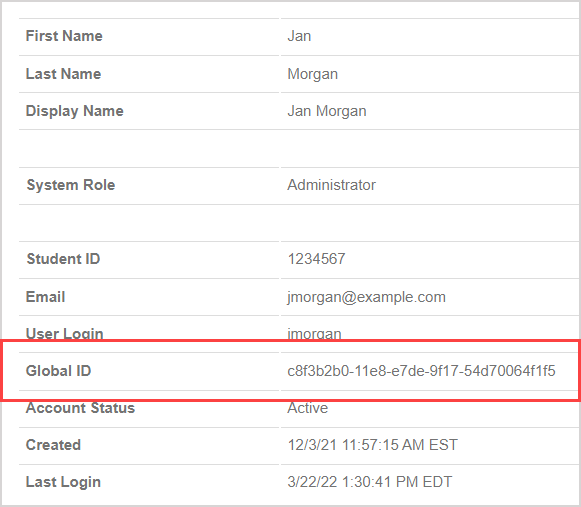
NOTE: Administrators will be able to view the user's Global ID field, which is unique to each user. This is useful if you need to contact DigitalEd's Support Team with queries about student licensing (check out Get my license using Möbius).
Edit a user's system role or profile information
To edit the details in the chosen user profile:
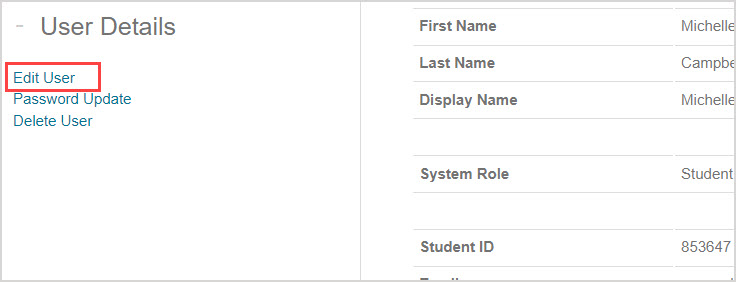
Click Edit User in User Details.
You can modify the following user information:
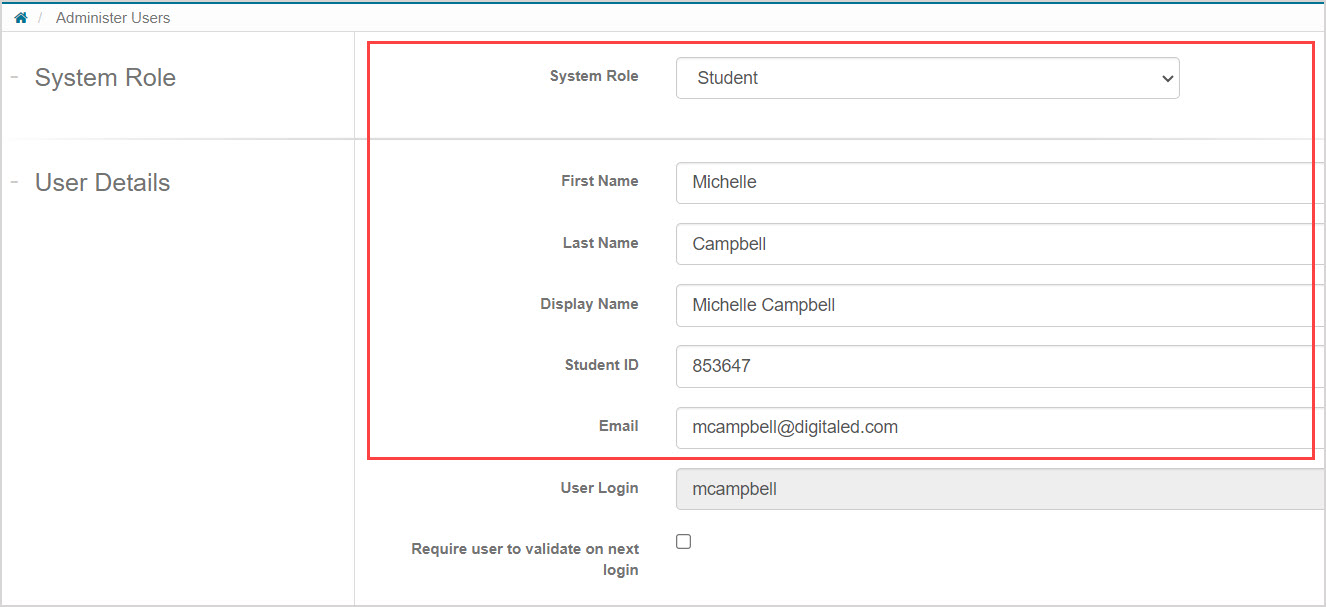
- System Role
- First Name
- Last Name
- Display Name
- Student ID
- Custom fields
NOTE:User Login and Global ID can't be changed.
NOTE: All fields except for email address are case-sensitive.
TIP: Check out Manage user roles (administrator) to learn more about the different system roles.
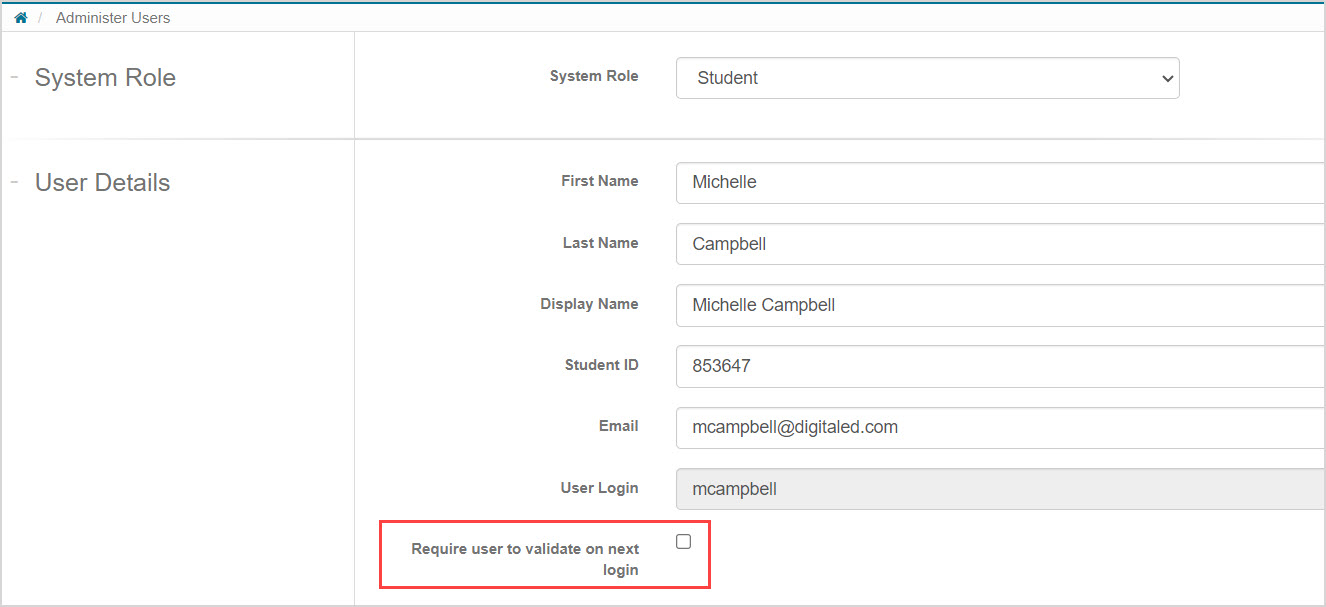
(Optional) Select the Require user to validate on next login check box to prompt the user to confirm their profile information the next time they log in.
Click Submit to save your changes.

NOTE: If a custom user field (Example — Program Name) has been created, this field is required to be filled in (check out Create custom user fields).
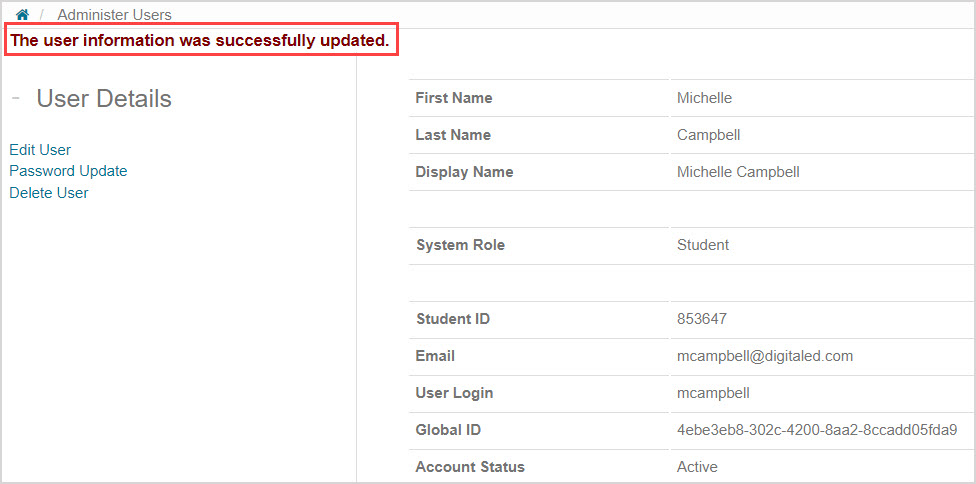
A success message appears when your changes have been saved.
Change a user's password
To change the password of the chosen user:
Click Password Update in the User Details pane.
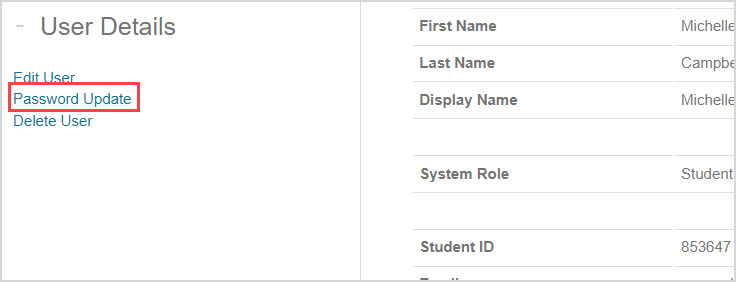
Define the user's new password.

TIP: Any new password defined for the user should:
- Be at least eight characters long
- Include both upper case and lower case letters
- Contain at least one special character (Example — 1-9, !, *, _, etc)
- NOT include a word in the dictionary
- NOT include accented characters (Example — ö, é, etc)
Re-enter the new password for confirmation.

Click Submit.

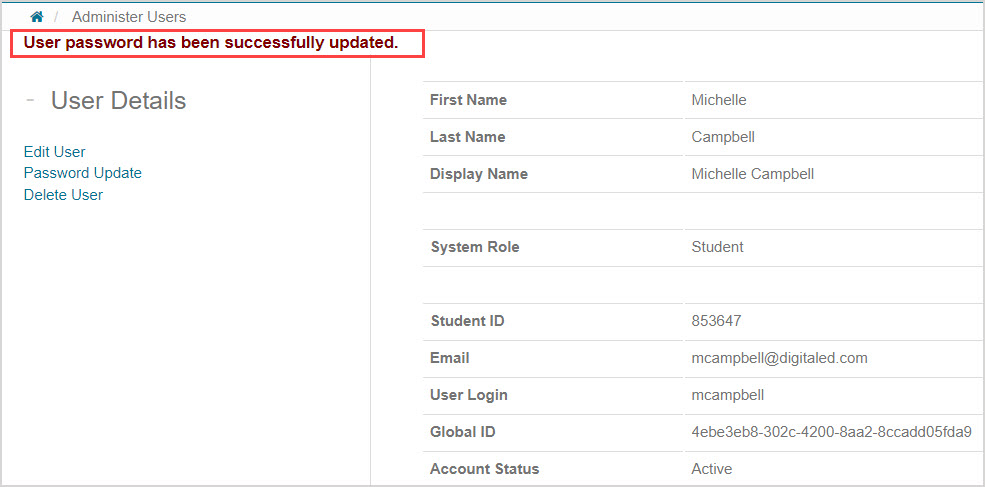
A success message appears that the password has been updated.
