Create custom user fields
Jump to section
Administrators can create custom user fields that apply to a user's profile.
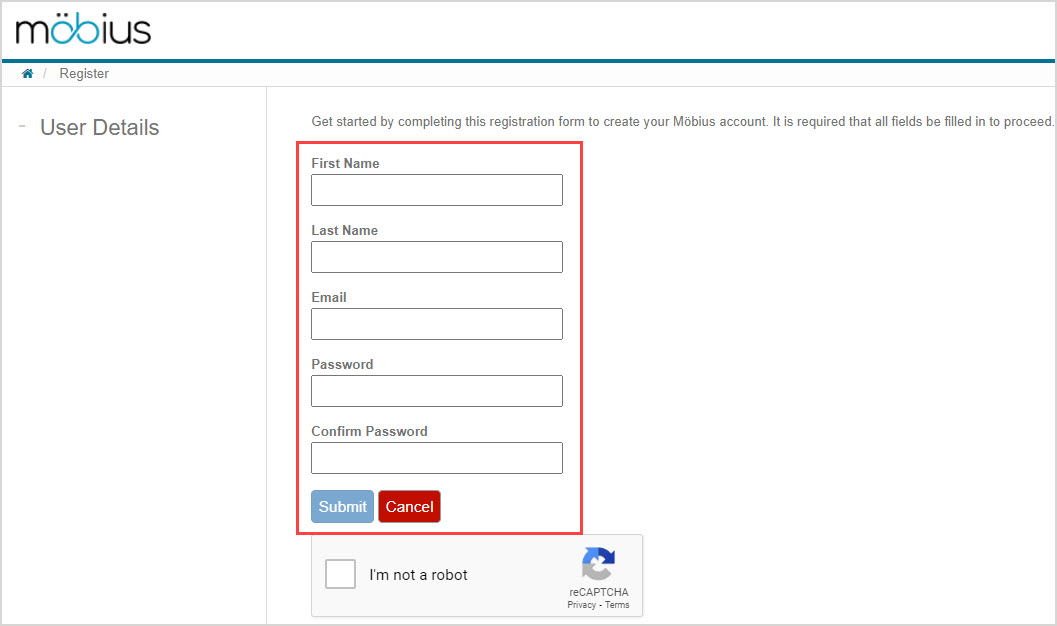
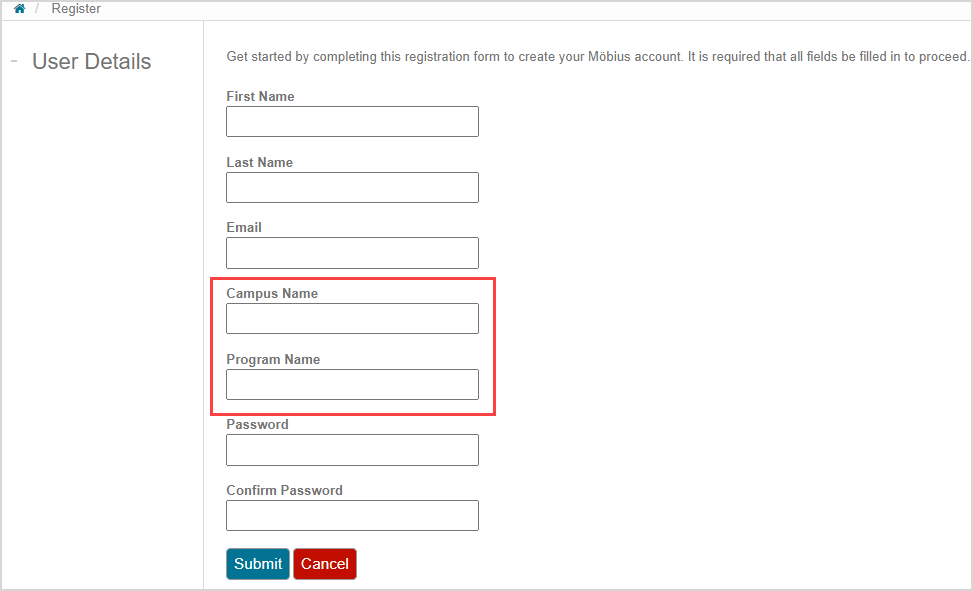
Custom user fields appear on the Register page when a new user creates their Möbius account and on the User Details page within a user's profile.
All fields (including any custom fields) on the Register and User Details pages are required to be completed by the user.
NOTE: If a custom user field is added after a user has already created their account, the field becomes a required field within the user's profile. The next time a user decides to edit their profile, they'll be required to complete the new custom user field(s) on the User Details page before being able to submit their profile changes.
The default required fields on the Register page (which are then displayed on the User Details page) are:
- First Name
- Last Name
- Password
- Confirm Password

TIP: Here are some suggestions for custom user field names:
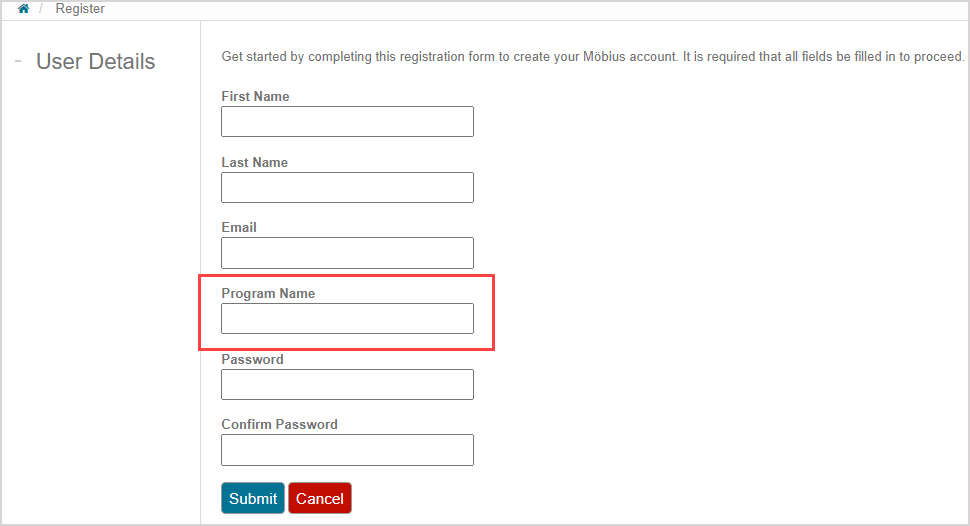
- Program Name
- School Name
- Campus Name
- Major
- Phone Number
- Favorite Hobby
Custom user fields are inserted in alphabetical order between the Email and Password fields on the Register page (and User Details page).

To create a custom user field
To create a custom user field on the Register page for new users and the User Details page of a user's profile:
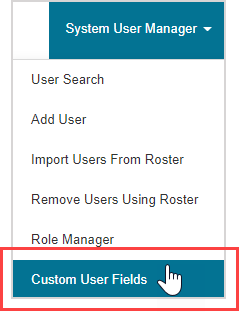
Click System User Manager on the System Homepage.

Click Custom User Fields.

Click Add to create a new custom user field.

Define the name of the new custom user field.

TIP: You can repeat steps 3 and 4 as many times as needed and then resume at step 5 to submit all of your new custom user fields at one time.
Click Submit to save your new custom user field.

A success message confirms that your new custom user field has been saved.

TIP: You an edit a custom user field at anytime by making changes to its name and clicking Submit to save your changes.
TIP: You can delete a custom user field at anytime:
Click Delete in the row of the custom user field you want to remove.

Click Submit to save the deletion.

TIP: Click Refresh to update the Custom User Fields table to the most recent point in time where Submit was last clicked.

Your new custom user field now appears on the Register page (and User Details page).
